DIY Night Cream

I absolutely love this night cream, it’s packed with amazing ingredients and makes my skin look and feel great. I smile when I apply it because it smells so good, a bit like lemon curd.

This is why it’s so good, make sure you opt for quality ingredients:

  • Raw Shea butter & extra virgin coconut oil are both amazing moisturisers, skin protectors and can help heal the skin.
  • Almond oil has been shown to reduce puffy eyes and dark circles, it also has anti-ageing properties
  • Lemon essential oil is an astringent, detoxifier, brightened and can help lighten skin spots.
  • Aloe Vera gel is a skin brightened, neutralises free radicals, repairs damaged skin, can help aid skin issues like eczema and slow down the appearance of wrinkles.
  • Honey protects, heals, revitalises and moisturises. It’s antibacterial and inflammatory properties can even help remove scars.
  • Bentonite clay helps absorb and remove toxins and impurities.
  • Vitamine E oil can help block free radicals, slow down the skins process and help heal scar tissues.

I pinched it from A Blossoming Life she has a great website, you should check it out for other great DIY ideas.

Ingredients:

1/2 tsp beeswax

1 tsp coconut oil

2 tbls almond oil

1/2 tsp Shea butter (or more coconut oil)

1 tsp Vit E oil (non GMO)

1/4 cup aloe Vera gel

1 tsp raw honey

1/2 tsp bentonite clay

5-10 drops lemon essential oil

Method:

Gently heat the first 4 ingredients in a double boiler or bowl over saucepan of boiling water. Pour into your blender / stick blender jug and allow to cool. In a separate bowl mix together aloe Vera gel, vit E, lemon EO and honey. Once the beeswax oil mixture has completely cooled and become the texture of lip balm, add the aloe Vera mixture and blend until well combined.

  
In a non-metal bowl add bentonite clay and stir with a non-metal utensil (metal will reduce its effectiveness, so no more metal in this process). Place in a glass jar or plastic container and store in a cool dry place. I separate mine into 2.5 small jars and store the extra ones in the fridge until I need them.

 The jars are little jam jars recycled from the hotel I waitress at.
It smells so good putting it on, a bit like lemon curd. Wear it at night only as the lemon EO can cause photo sensitivity in the sun.

Enjoy x

DIY Healing Lip Balm

Lip balm is the easiest skincare/beauty product to make. If you’re just starting out your DIY skincare journey, this is the place to start. All you need is some beeswax (preferably the pellets, they simplify the process) and some oil. You can play around the the quantities depending on whether you prefer it firm or soft. Start with extra virgin olive oil, it’s an excellent moisturiser and has healing properties. Use a 1:1 ratio of olive oil and beeswax, melt the beeswax down in a double boiler or microwave, mix in EVOO, pour into a small container and allow to cool.

You can then try adding different ingredients and playing around with the quantities. The firmer your oil (eg coconut oil/ shea butter) the less beeswax you’ll use. Jojoba and coconut oil are another two ingredients I love to use.

I’ve made many lip balms and love this one. The great thing about making your own products is that you can decide what goes into it, you can tweak it to suit you and you can make sure there are no nasties in it.

Ingredients:

1 teaspoon Beeswax pellets (or grated) – This creates a later of protection on your lips to seal in moisture.

1 tbls Shea butter – very moisturising, great for healing sore lips.

1 tsp almond oil – revitalises, soothes, moisturised, evens lip colour and the vit B2 treats cracked corners.

1 tsp raw honey – amazing ingredient which protects, heals, revitalises and moisturises. It’s anibacterial and inflammatory properties even help remove scars.

1 tsp extra virgin olive oil – Extra virgin has a high concentration of antioxidants which is good for healing, it’s also an excellent moisturiser.

10 drops vit E – protects lips and skin from sun damage and has anti ageing properties

3 drops peppermint essential oil – adds a great flavour and has healing properties.

Method:

Gently heat the beeswax and Shea butter in a double boiler or use a bowl over saucepan with boiling water in it. Remove from heat and wipe the outside of the bowl, you don’t want to get any water in your lip balm as it can go mouldy. Add the rest of your ingredients, mix and quickly transfer to your clean and dry lip balm container. Allow to cool.
I use the little breakfast glass jam jars from the hotel I work at. They would otherwise go in the bin, you could probably enquire at your local hotel.

Enjoy X

Paleo chocolate cake

Giving up grains, dairy, refined sugar and processed/junk food doesn’t mean no treats! This cake was so easy and very tasty, the kids loved helping and eating!

I pinched the recipe from Paleolithic diet recipe book, originally called chocolate loaves.

Makes a small cake, can double the recipe and make 2 with a filling e.g. Cashew nut butter, in the middle.

Ingredients:

2/3 cup unsweetened cocoa powder

2/3 cup coconut flour

1/3 cup arrowroot

1/2 tsp baking powder

1/2 tsp bicarbonate of soda

5 eggs

1/4 cup raw coconut oil – melted

2/3 cup raw honey

1 tsp natural vanilla extract

Method:

Preheat your oven to 160•C (140•C fan) grease a small cake tin or 8 individual loaf tins.

Sift together the dry ingredients.

Beat together the wet ingredients and add to dry ingredients. Fold through until incorporated.

Pour the batter into your tin or oven proof dish. Bake for 25-30 min until cake tester comes out clean.

Remove to a wire rack to cool before serving.

Nut butter / coconut butter made a nice topping, otherwise my kids favourite is to make some Nice-cream (blended frozen berries & banana) topped with frozen blueberries, or add some fruit or just enjoy plain.


Enjoy X 

Creamy Paleo ‘Yoghurt’

Nourishing my insides by eating Paleo makes me feel like a Super Hero! Dairy definitely doesn’t agree with me but I do miss it, especially yoghurt. So I started experimenting with chai seeds and came up with this delicious creamy recipe. The Avocado gives it the creaminess (without the avo flavour), the lemon juice prevents it from turning brown and the chai seeds help thicken it up. 

You’ll need to soak your cashews first for at least 4h to soften them.

Makes about 200ml

*UPDATE: if you haven’t got a small blender you could try first blending just the chai seeds (dry) until fine powder. Replace the cashews and water for 200ml coconut milk and follow recipe.*

Ingredients:

1/4 cup cashew nuts

1 Tbs chai seeds

150ml water

1 medjool date

1/2 small avo

1/2 cup frozen (or fresh) blueberries/strawberries 

2 tsp lemon juice 

Method:

Soak the cashews for at least 4h. 

Rinse the cashews well and add to blender (preferably a small blender or use a stick blender) add the chai seeds and about 1/4 cup of water (to just cover ingredients) and blend well. When is gets thick, add your date and a bit more water (about 30ml) and blend. 

 
Your ingredients should be ground down, smooth and thick. Add the rest of your water, lemon juice, avo and fruit and blend.

  
It should be the consistency of a very thick smoothie. Taste it, if you want more sweetness add another date or some honey if you want more sharpness, add some frozen cranberries (if you have any). I like the taste as it is. It should be  smooth, if the chai seeds are still crunchy, they have not been ground down enough, you need to blend it some more.

Pour into a jar and refrigerate, it will thicken up overnight (or at least 3h). 


Enjoy! I had mine for about 3 days and it didn’t go brown, was perfect with my Paleo Veggie Brekkie – see other post, and frozen blueberries (I love FROZEN blueberries, I eat them like sweets).

Next day:   


Paleo egg wrap lunch

One of my kids favourite meals used to be tortilla wraps. Since the whole family are eating clean, refined grains are off the menu, how sad. However these tasty egg wraps make a great alternative and are super easy to make. My kids love them, result!

All you need are eggs and coconut flour. You can substitute the coconut flour with almond flour (ground almonds) if you wish.

Ingredients:

2 Eggs

1 tsp coconut flour

1 tsp coconut oil or clarified butter

Wrap fillings of your choice

Method:

Mix your eggs with some coconut flour and seasoning. I use 2 eggs with 1 tsp coconut flour. I use my stick blender to prevent lumps, but you can whisk it if you don’t have a blender.


  Heat your pan and add oil, pour in egg mix and tilt your pan so that you have an even layer of egg mix covering the pan.

  
When the sides of the egg start to lift from the pan, flip it and cook other side. Remove from pan.

  
Add your fillings and roll it up. Iceberg lettuce adds a wonderful crunch and paleo mayo tastes delicious. You can also make a wrap for each person and leave all the fillings in the middle of the table, allowing everyone to make their own. 


Enjoy x 

Natural DIY Olive Oil and Milk Soap 

My journey of making natural skincare, hair and beauty products all started with soap. I have made many variations and love this one (recipe from my mom – thanks Mom), it is great for eczema, sensitive skin, your face or your babies skin. It doesn’t created much lather, but it’s gentle and mild and leaves your skin feeling lovely.

I used to be addicted to hand and body cream because commercial soap would leave me feeling dry. Now my skin only feels dry after swimming in a chlorinated pool, but soon returns to normal without moisturising. I don’t moisturise my hands Or body anymore, it’s great! Commercial soap contains a long list of ingredients, including harsh chemicals and synthetic fragrances and dye.

“But what about the caustic soda?” Yes I hear you, you need this to turn the fat into soap, there is no way you can make soap (from scratch) without it. However the caustic soda is neutralised during the soap making process (saponification), so once it’s cured and ready to use, NO caustic soda remains in it, it is completely safe at this point.

❗️We do have to be careful while making it, because the caustic soda (lye) BURNS! Wear gloves and goggles if you are new to this and if you get it on your skin, WASH IT OFF IMMEDIATELY. Same goes for your work surfaces, floor and clothes. Keep the room well ventilated and do it when there are no kids or pets around. DON’T use any aluminium pots or spoons. Use stainless steel, cast iron pot and steel, wood or plastic utensils. Line your work surfaces with newspaper if you think they might stain.❗️

Ingredients and equipment:


Ingredients:

165g Full cream milk

63g lye/caustic soda/ sodium hydroxide

500g Olive oil

Essential oils of your choice (optional). I put Ylang Ylang in this one, it smells nice and has great properties, however I’m not convinced they hold their properties after the whole process. Most essential oils don’t hold their fragrance. Peppermint is one I sometimes use, it gives a good fragrance, but you need to use quite a bit. I sometimes put lavender or tea tree in as well.

Equipment:

Stainless steel saucepan

Mixing bowl

Whisk

Thermometer (I use a sugar thermometer)

Stick blender (Emerson blender). I have seen recipes where people use their Kenwood mixer on a low setting so it doesn’t splash. Hand beater might splash the mix, so it’s not good as the caustic soda is still present.

Scales

Mould-you can use one plastic container and cut it up the next day, just line it with cling film to assist removal. I use silicone cupcake holders, the soap comes out easily and they look cute.

Blanket or towel.

Method:

Weigh your milk and get it in the freezer, it needs to be slushy. The lye heats up when added, freezing it first prevents the milk proteins from cooking.


Slowly add your lye, whisking well at the same time. It smells gross and goes a yellow green colour. Don’t worry if it starts to cook slightly and it goes slightly lumpy (like scrambled eggs).


Set aside to cool.

Now slightly heat your oil in the saucepan. Take the temperatures for both milk mix and oil. You need them to be the same temperature, around 110-125 F. If one it warmer put a little cold water in the sink and sit the bowl or pot in there to cool, or put an ice pack under the warmer one.

When they are both the same temperature, carefully add them together and mix using your stick blender. Try not to splash it. Mix for a minute or two and then leave it for a few minutes (get your mould ready during this break) and repeat until you reach trace (the mixture gets stable, the ripples formed stay on the surface, it’s thick and pourable).


Once you reach trace you can add any fragrances. If you add herbs they will probably change colour, experiment and have fun, that’s the joy of making your own soap – you decide what goes into it.

Pour your soap into your mould/s and cover with cling film (optional, I cover it to prevent it going onto my blanket).


Wrap it up in a blanket or towel so it can cool down slowly. Leave it for around 15 hours.


The next morning it/they should be firm, remove from the mould and cut into blocks if you used one mould. Place your soaps on a drying rack or somewhere ventilated and allow to cure and harden for a couple of weeks. The colour changes slightly and should go really hard.

This batch makes 10 cupcake size soaps.


Quick and easy garlic and herb mayonnaise 

My family and I love homemade mayonnaise, it’s a good thing it’s so easy to make.

All you need are 1-3 fresh free range eggs, mustard, vinegar or lemon juice, light in colour olive oil, garlic, herbs, salt and pepper. Keep it sealed in the fridge for up to 5 days.


Method:

I made a quick (cheesy) video for you. Quantities will vary according to your personal preference and quantity of Mayo you’re making. Feel free to omit the garlic and herbs and pepper for plain mayonnaise. 

Remove hard stalks from herbs such as thyme or Rosemary. Soft stalks e.g. Lemon thyme and basil, can be included in your Mayo.

  
Just remember there’s raw egg in it so don’t use it to make a hot sauce (unless you fancy scrambled egg sauce) otherwise use it to liven up any dish, enjoy!

Paleo Veggie Brekkie 

This is my ‘Ssh everyone’s asleep’ breakfast, when I’m working at the crack of dawn. This mixture of baked vegetables (and optional fruit), nuts and seed goes down well as breakfast or a snack, my daughter takes some to school for her snack and I sometimes keep some in my bag for emergencies.

I’m starting my whole3040 on Monday so I had better start preparing myself. Its round 2 for me and round 1 for my husband. He’ll be doing whole30 and I’m doing an extra 10 days.

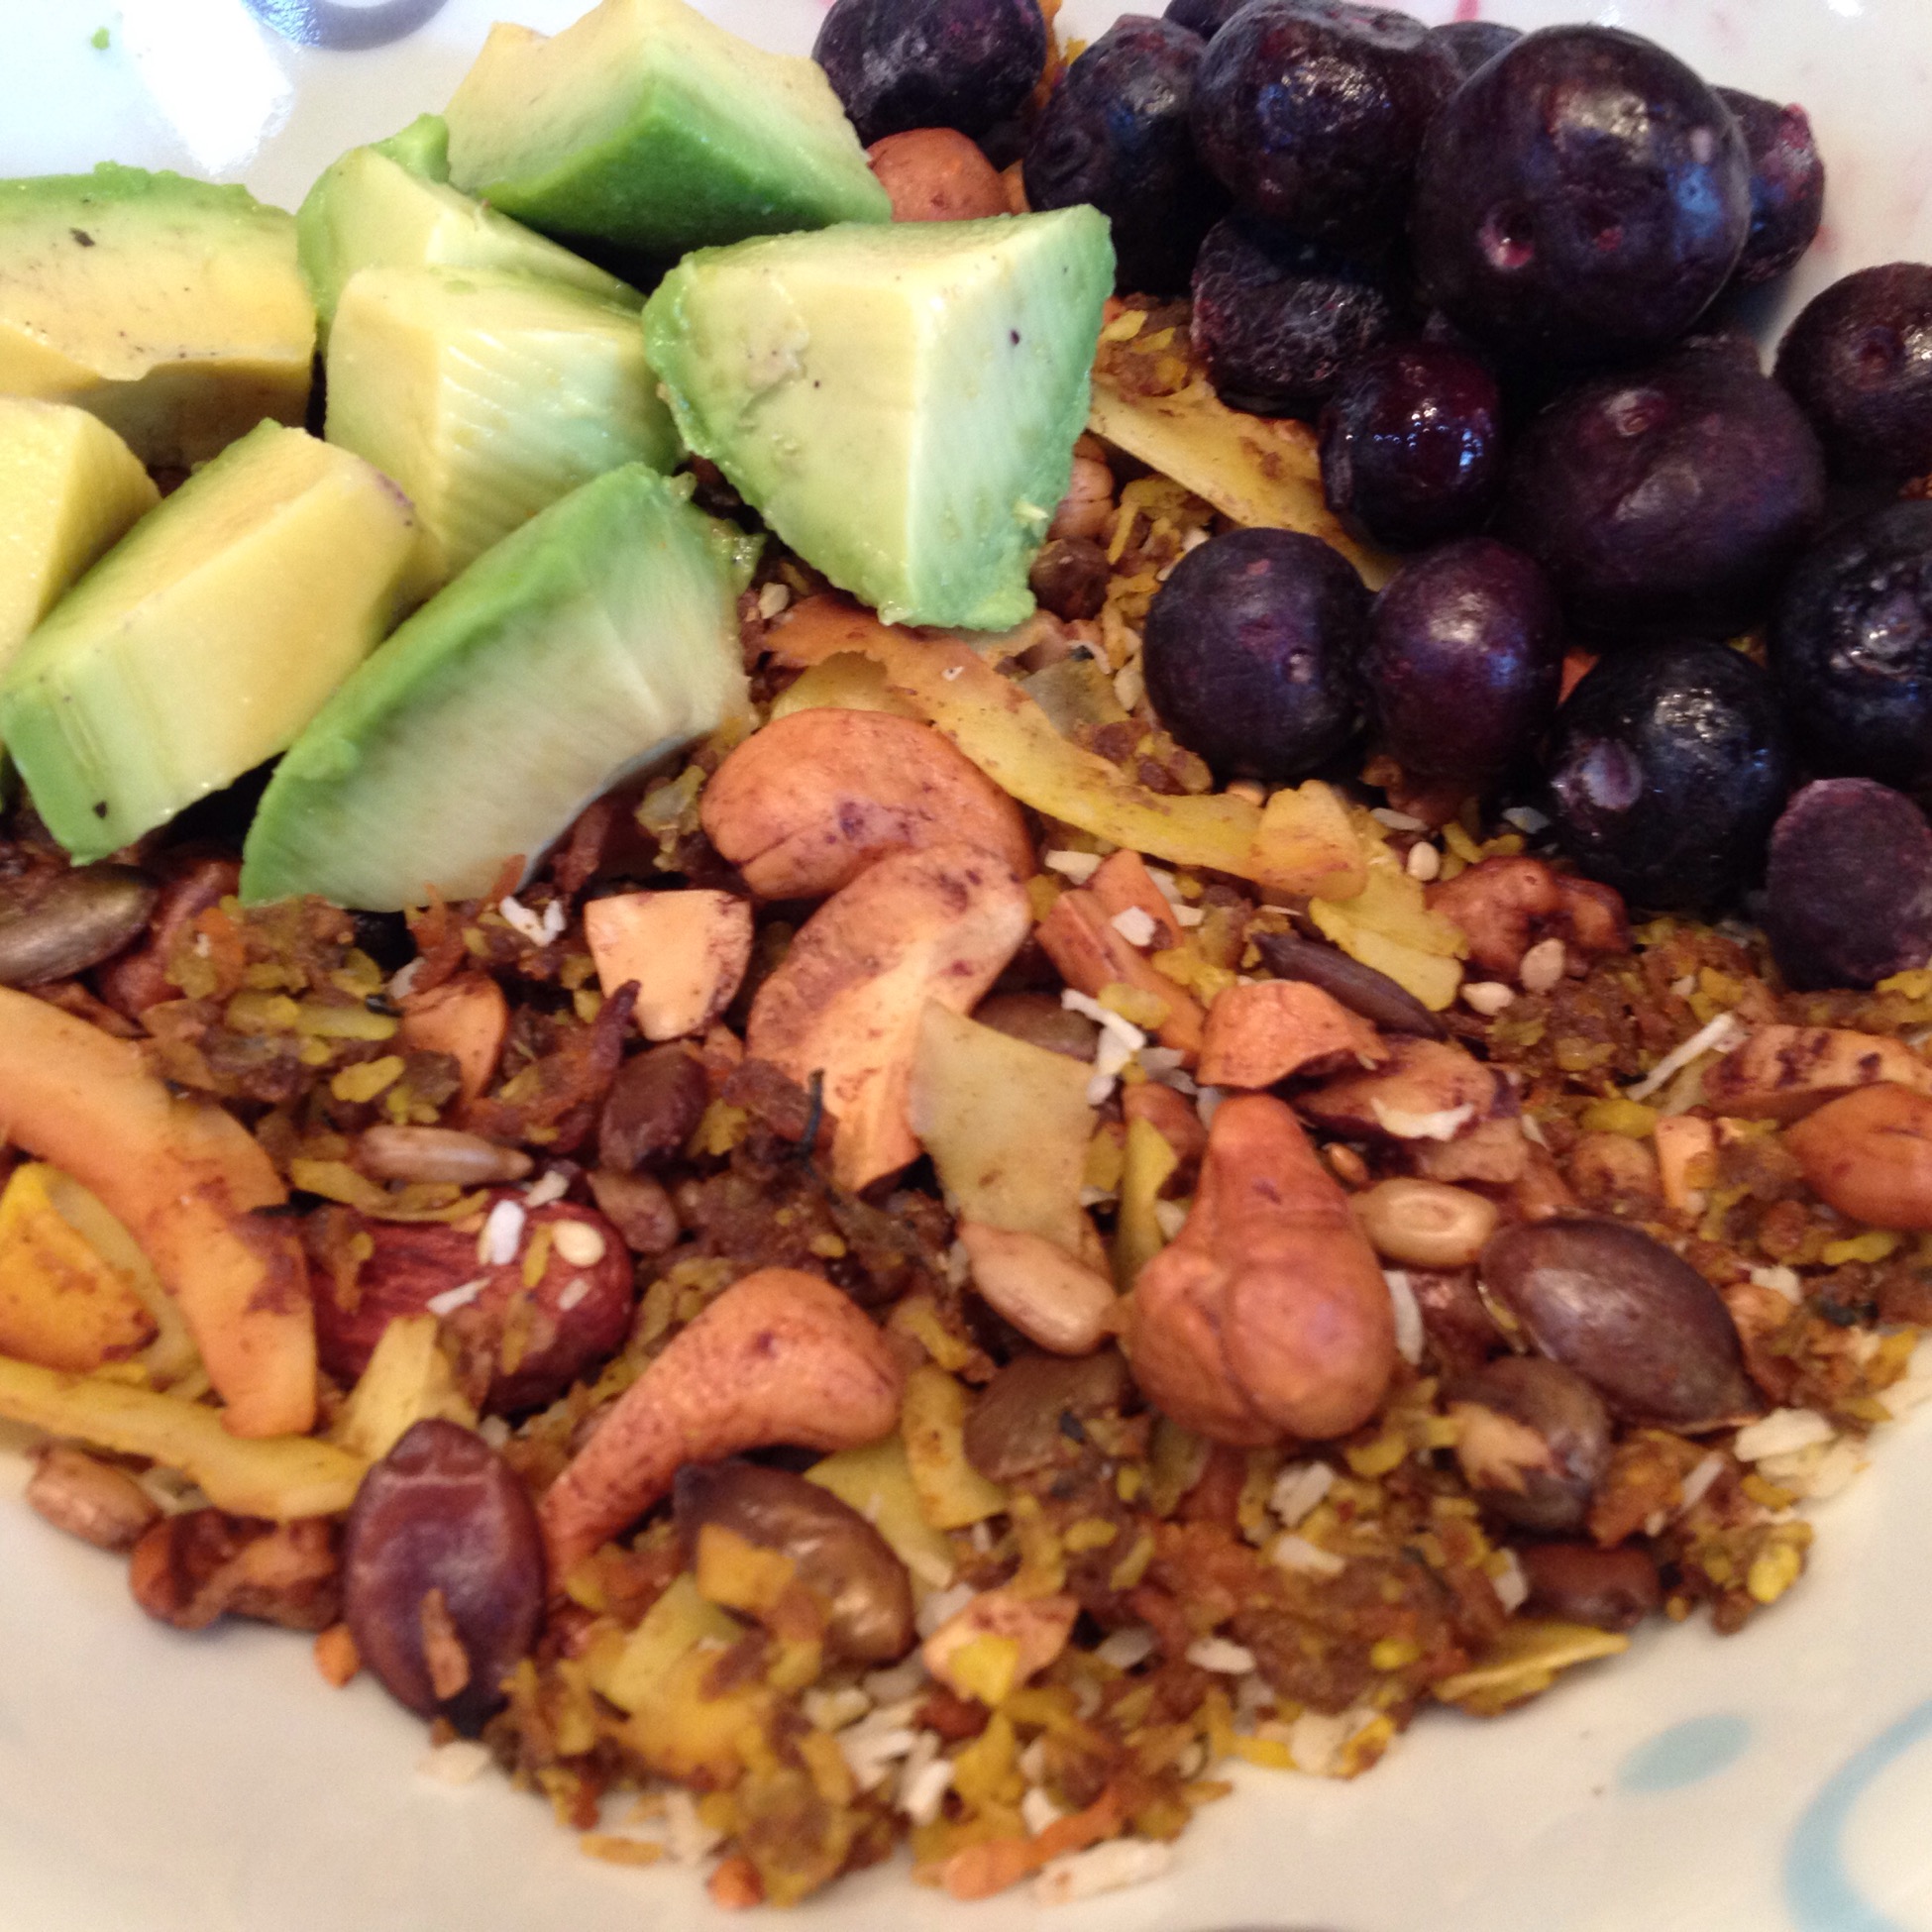
I first made Ditch the Carbs Grain-free Granola and added some grated carrot and apple. Since then I’ve kept on adding more and more veggies, that now it has to be called Veggie Brekkie. You don’t taste the vegetables and the fruit just add a little sweetness. These all reduce down to about a third by the end.

All of the ingredients are completely optional, quantities are also optional. Make it according to what you like or what you have. My family all love it (it has not always been that way, especially for my 3 year old), so I make a large batch. I store it in the fridge however we went camping last month and it was fine left out in the hot tent for almost a week (but I don’t recommend that).

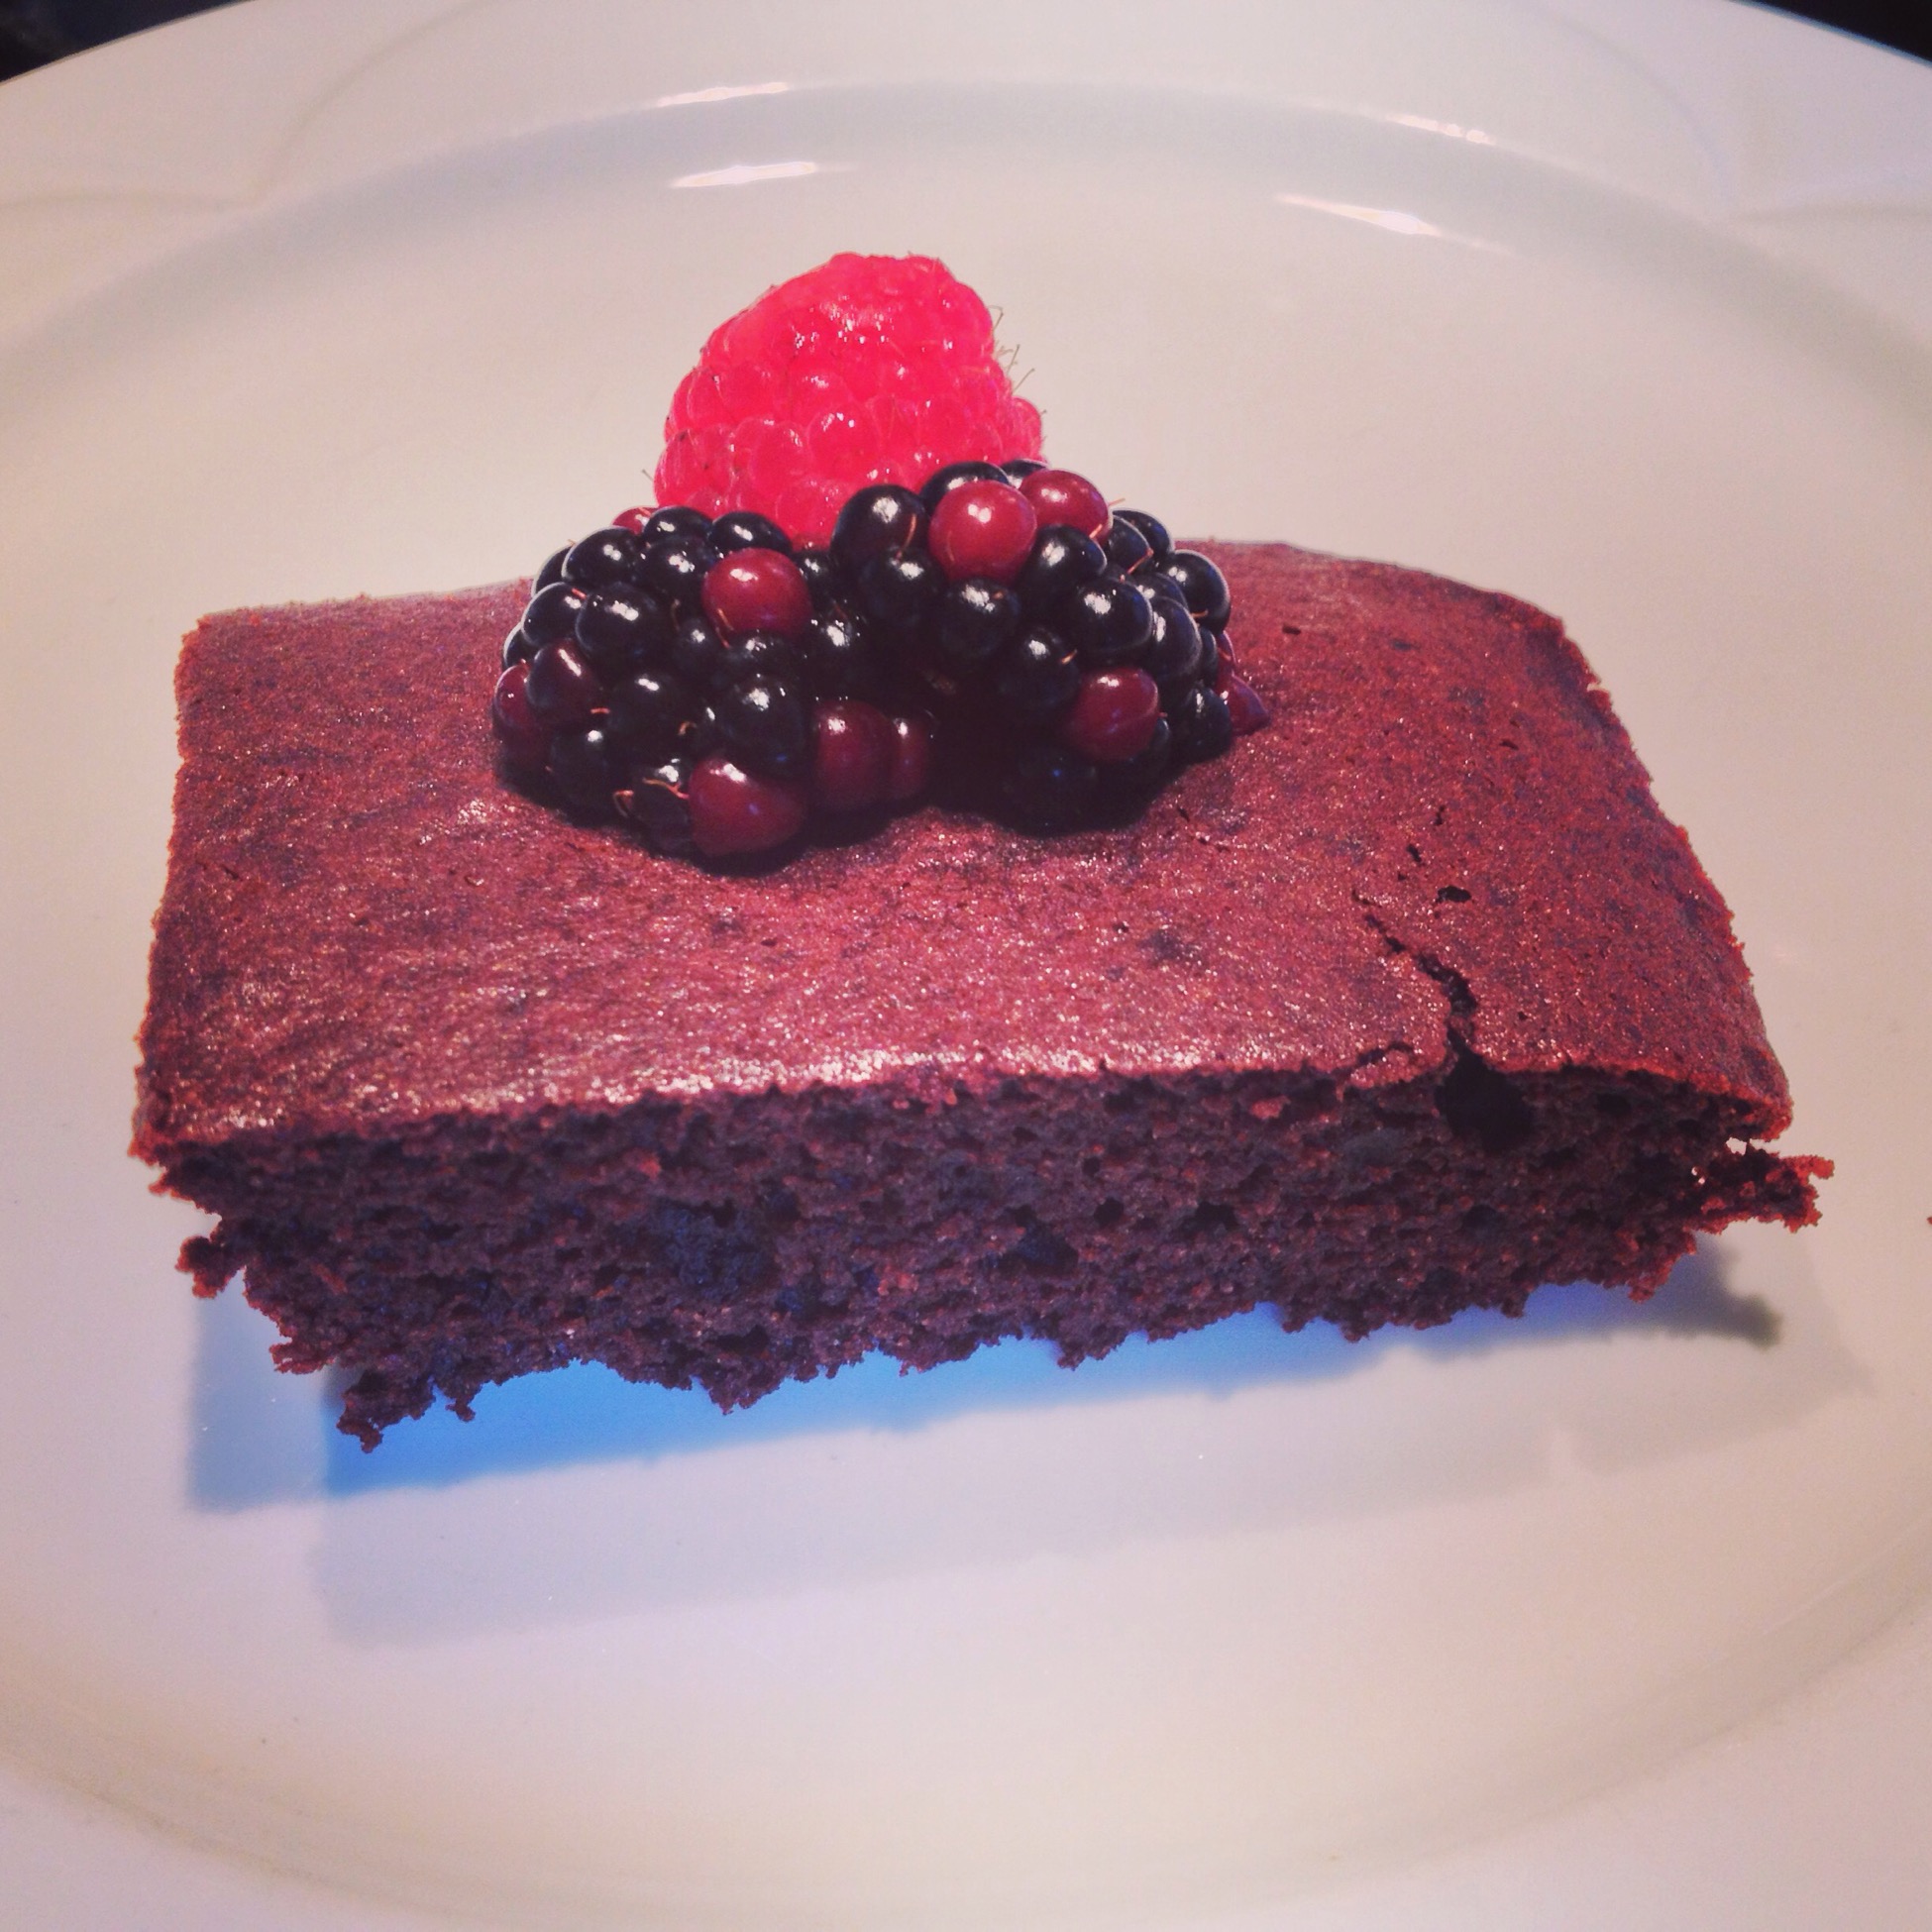
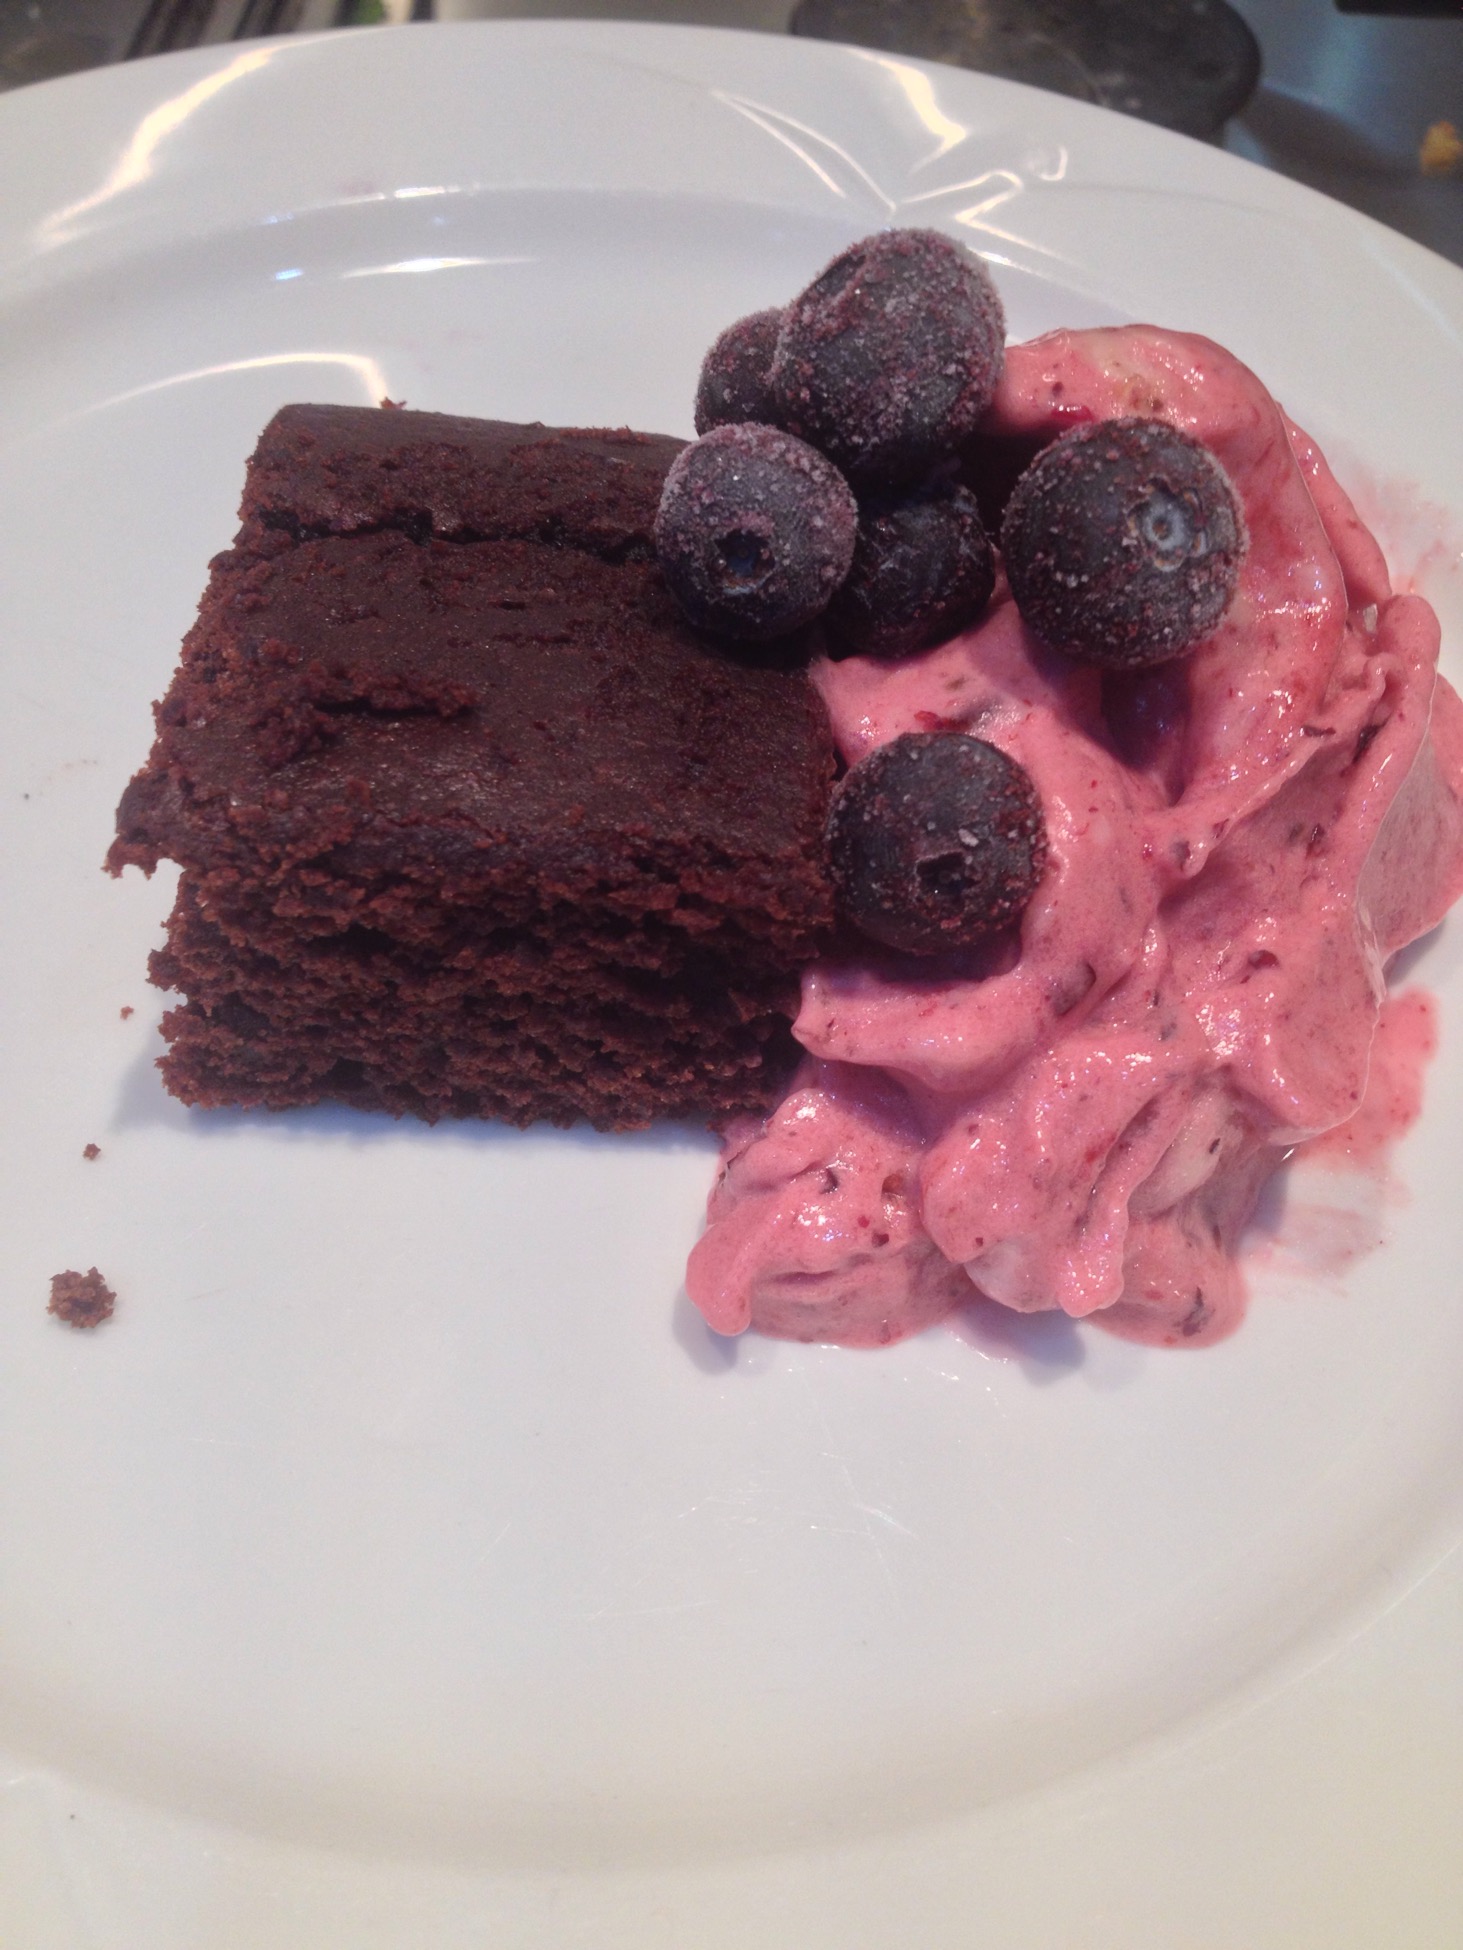
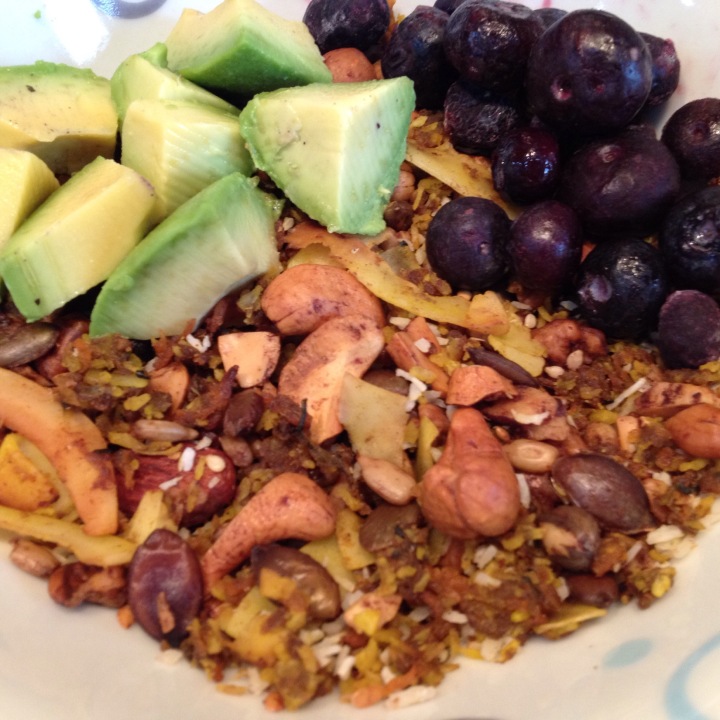
I usually eat it with some berries and avo. My kids put Greek yogurt with theirs.


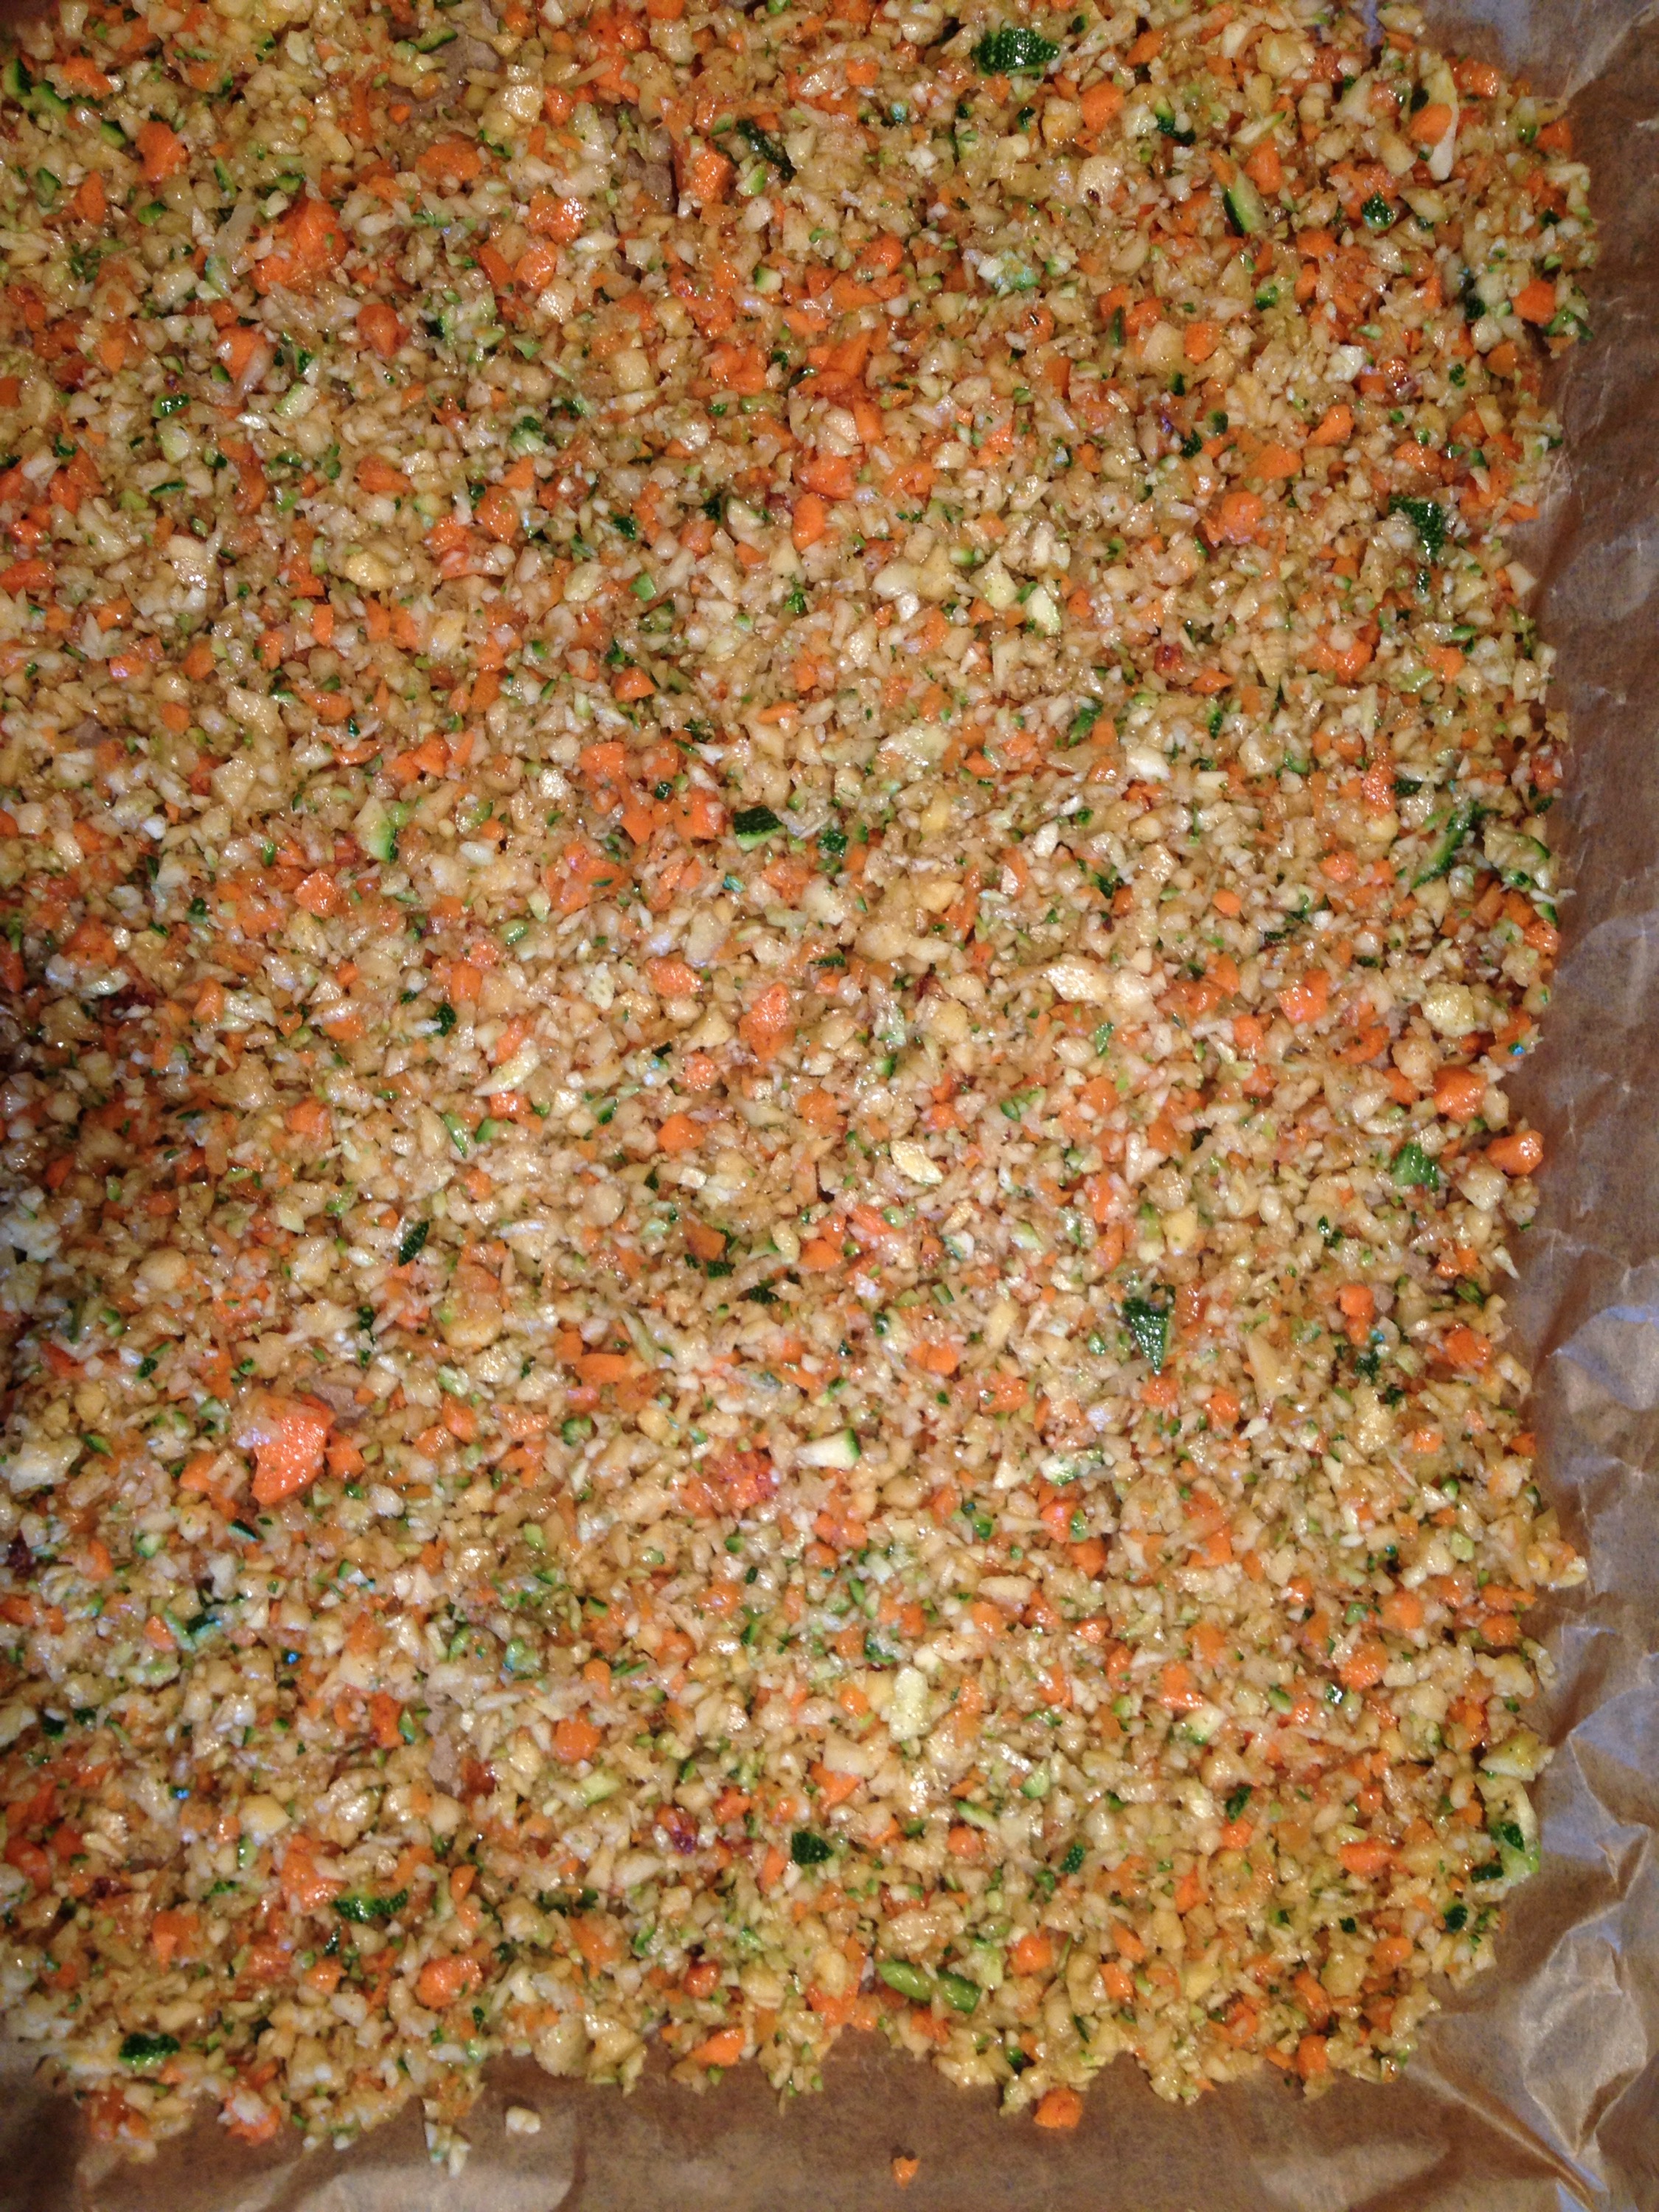
Use your food processor to grate the veg or to chop it up finely. If you don’t have one, I’d consider getting one, I use mine everyday, it saves so much time. This needs a lot of attentive observation so cook it while you have another kitchen job. It’ll need at least an hour to cook, maybe longer if you include the mashed ingredients, and you’ll need to watch and turn it regularly.


UPDATE: I wanted to make a lower carb version, so I left out the fruit and sweet potato. I just has carrots, courgette and celeriac (first time using it in the brekkie), along with the usual nuts, seeds, coconut, oil and spices. I left out the avo because I wanted to cook it a little quicker and easier. It tastes so good, you wouldn’t recognise the difference. Not even my biggest critics (kids) could taste the difference.

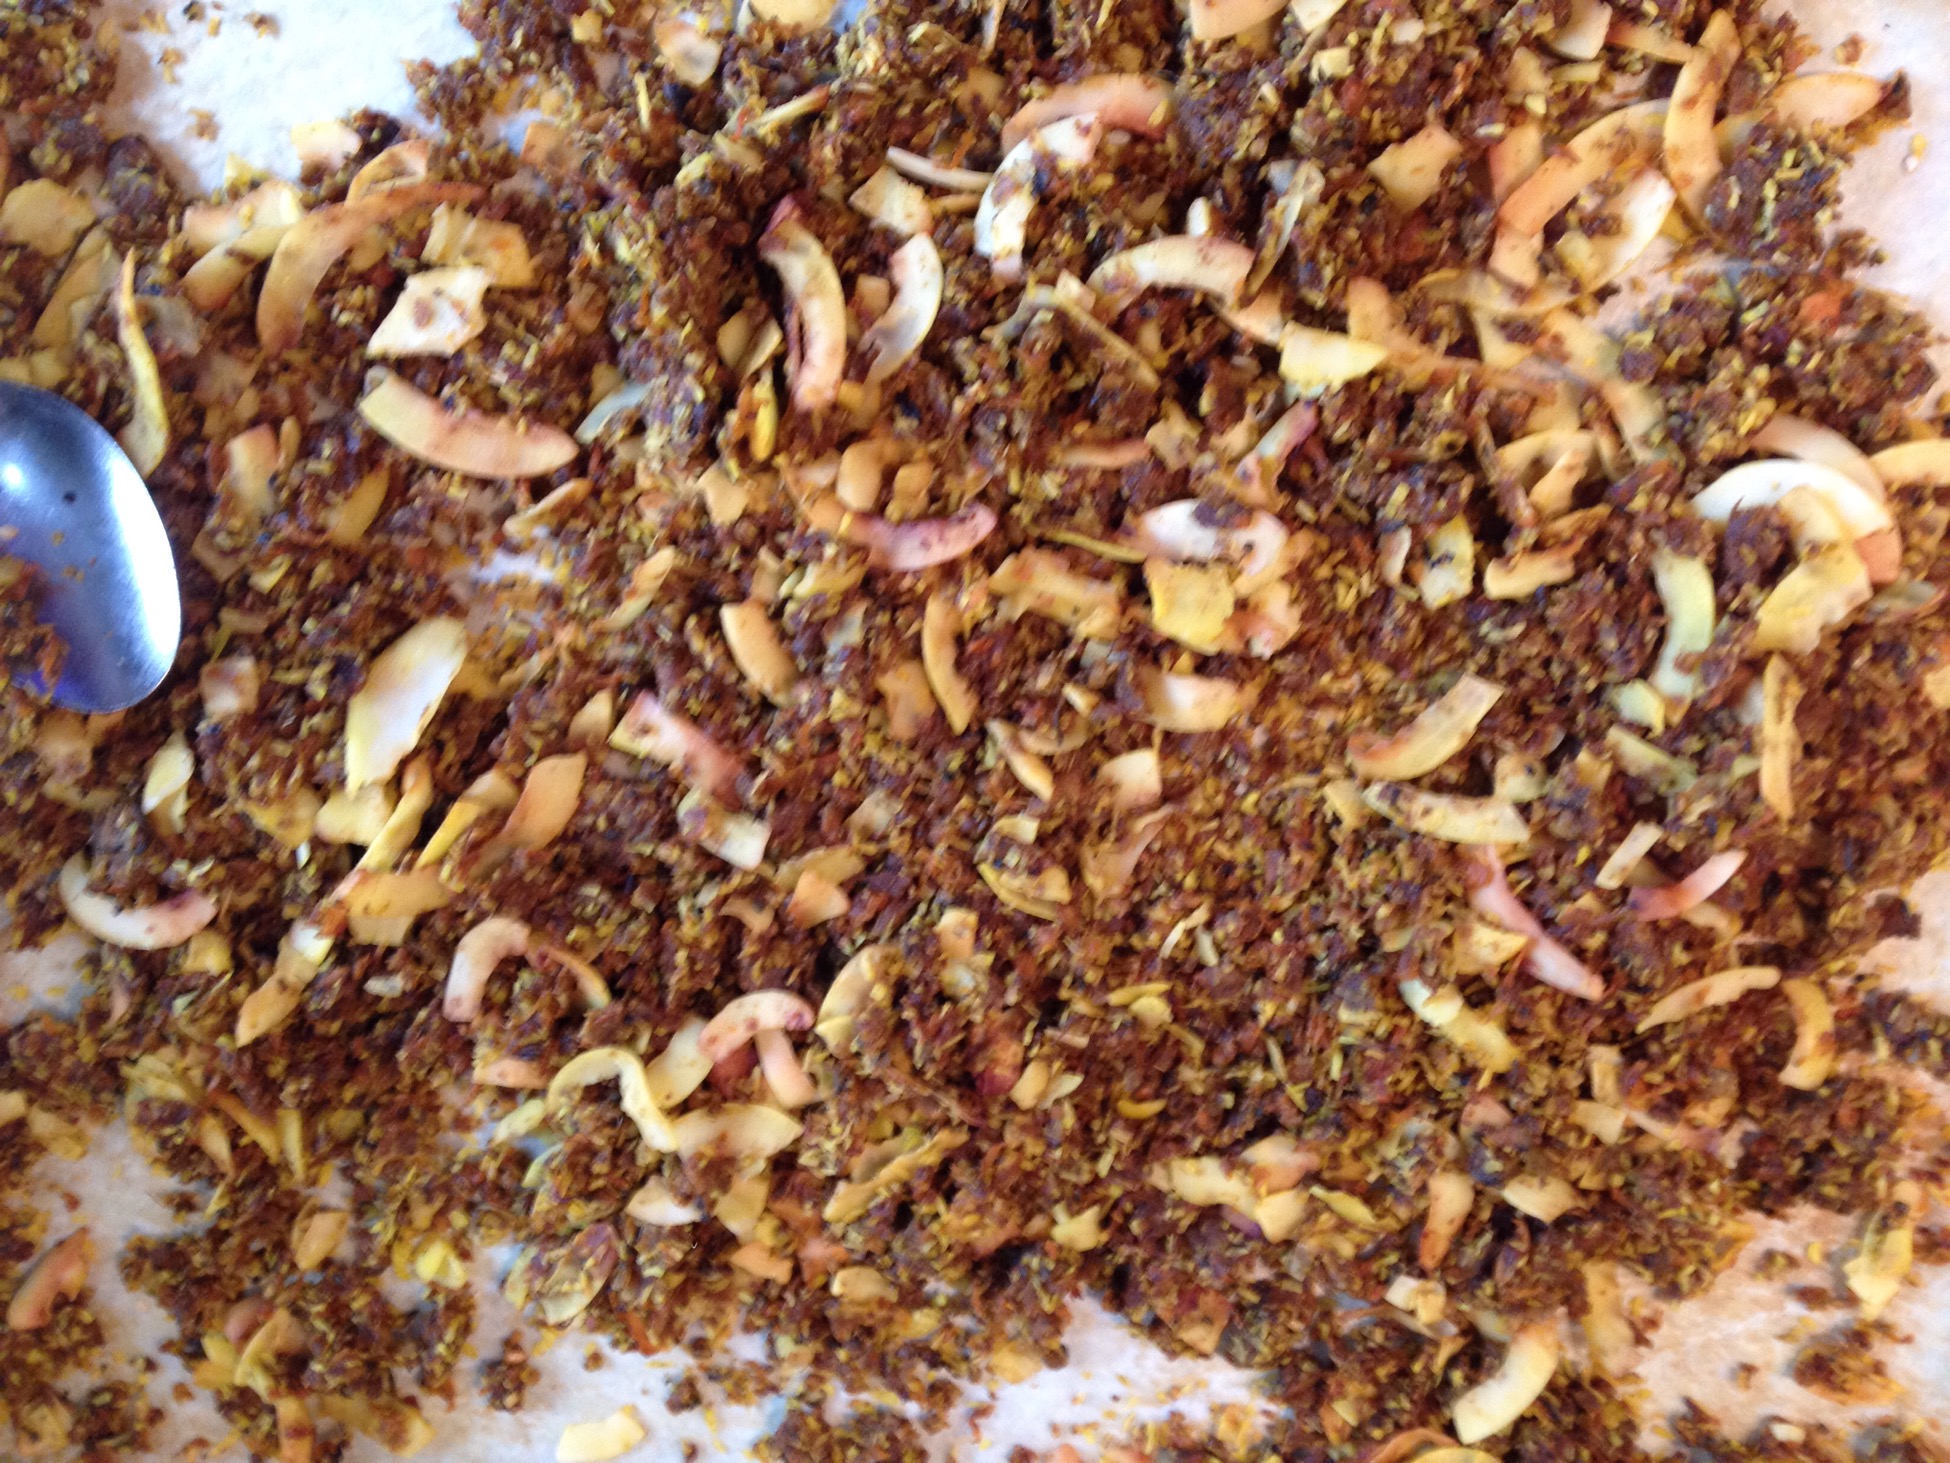
Another cheap low carb ingredient which worked well is suede. This time suede, carrots and courgette. Try to really brown your coconut flakes, they add a wonderful crunch.


Ingredients (this is what I used for this large batch. All ingredients and quantities are optional):

1 large courgette (zucchini) – grated

4 carrots – grated

1 sweet potato – grated

1 apple – grated (Granny Smith give flavour great)

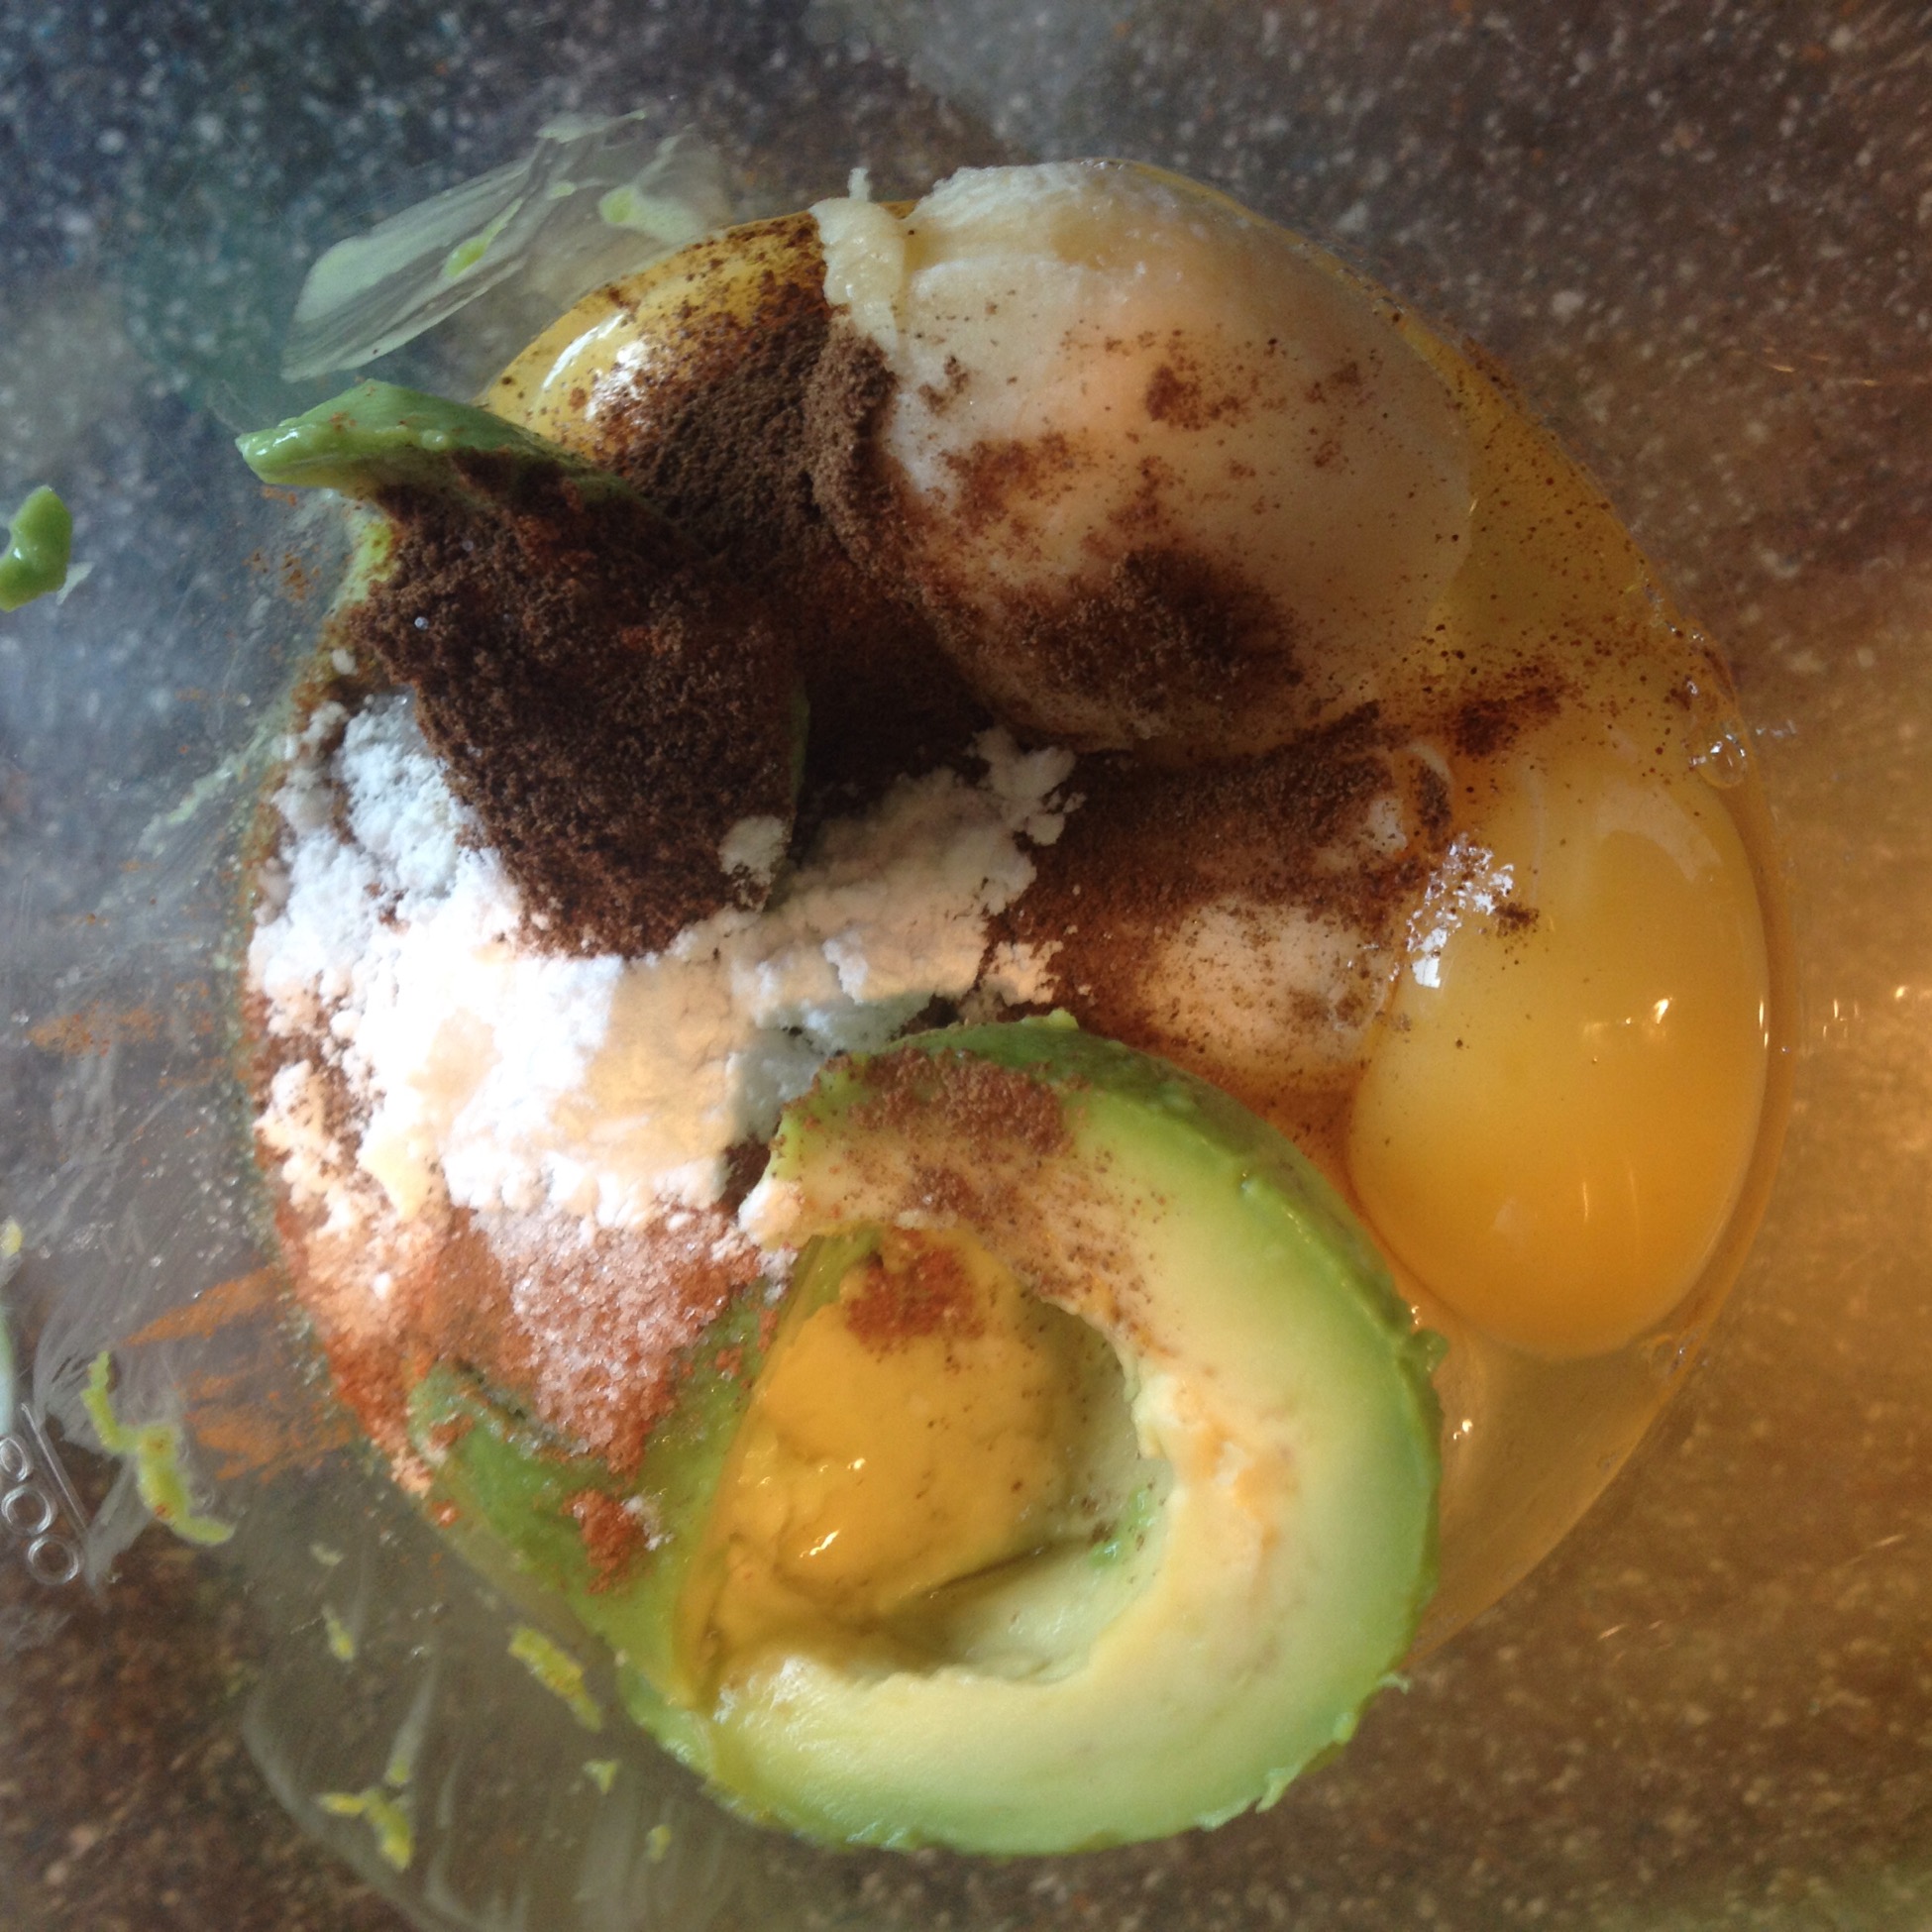
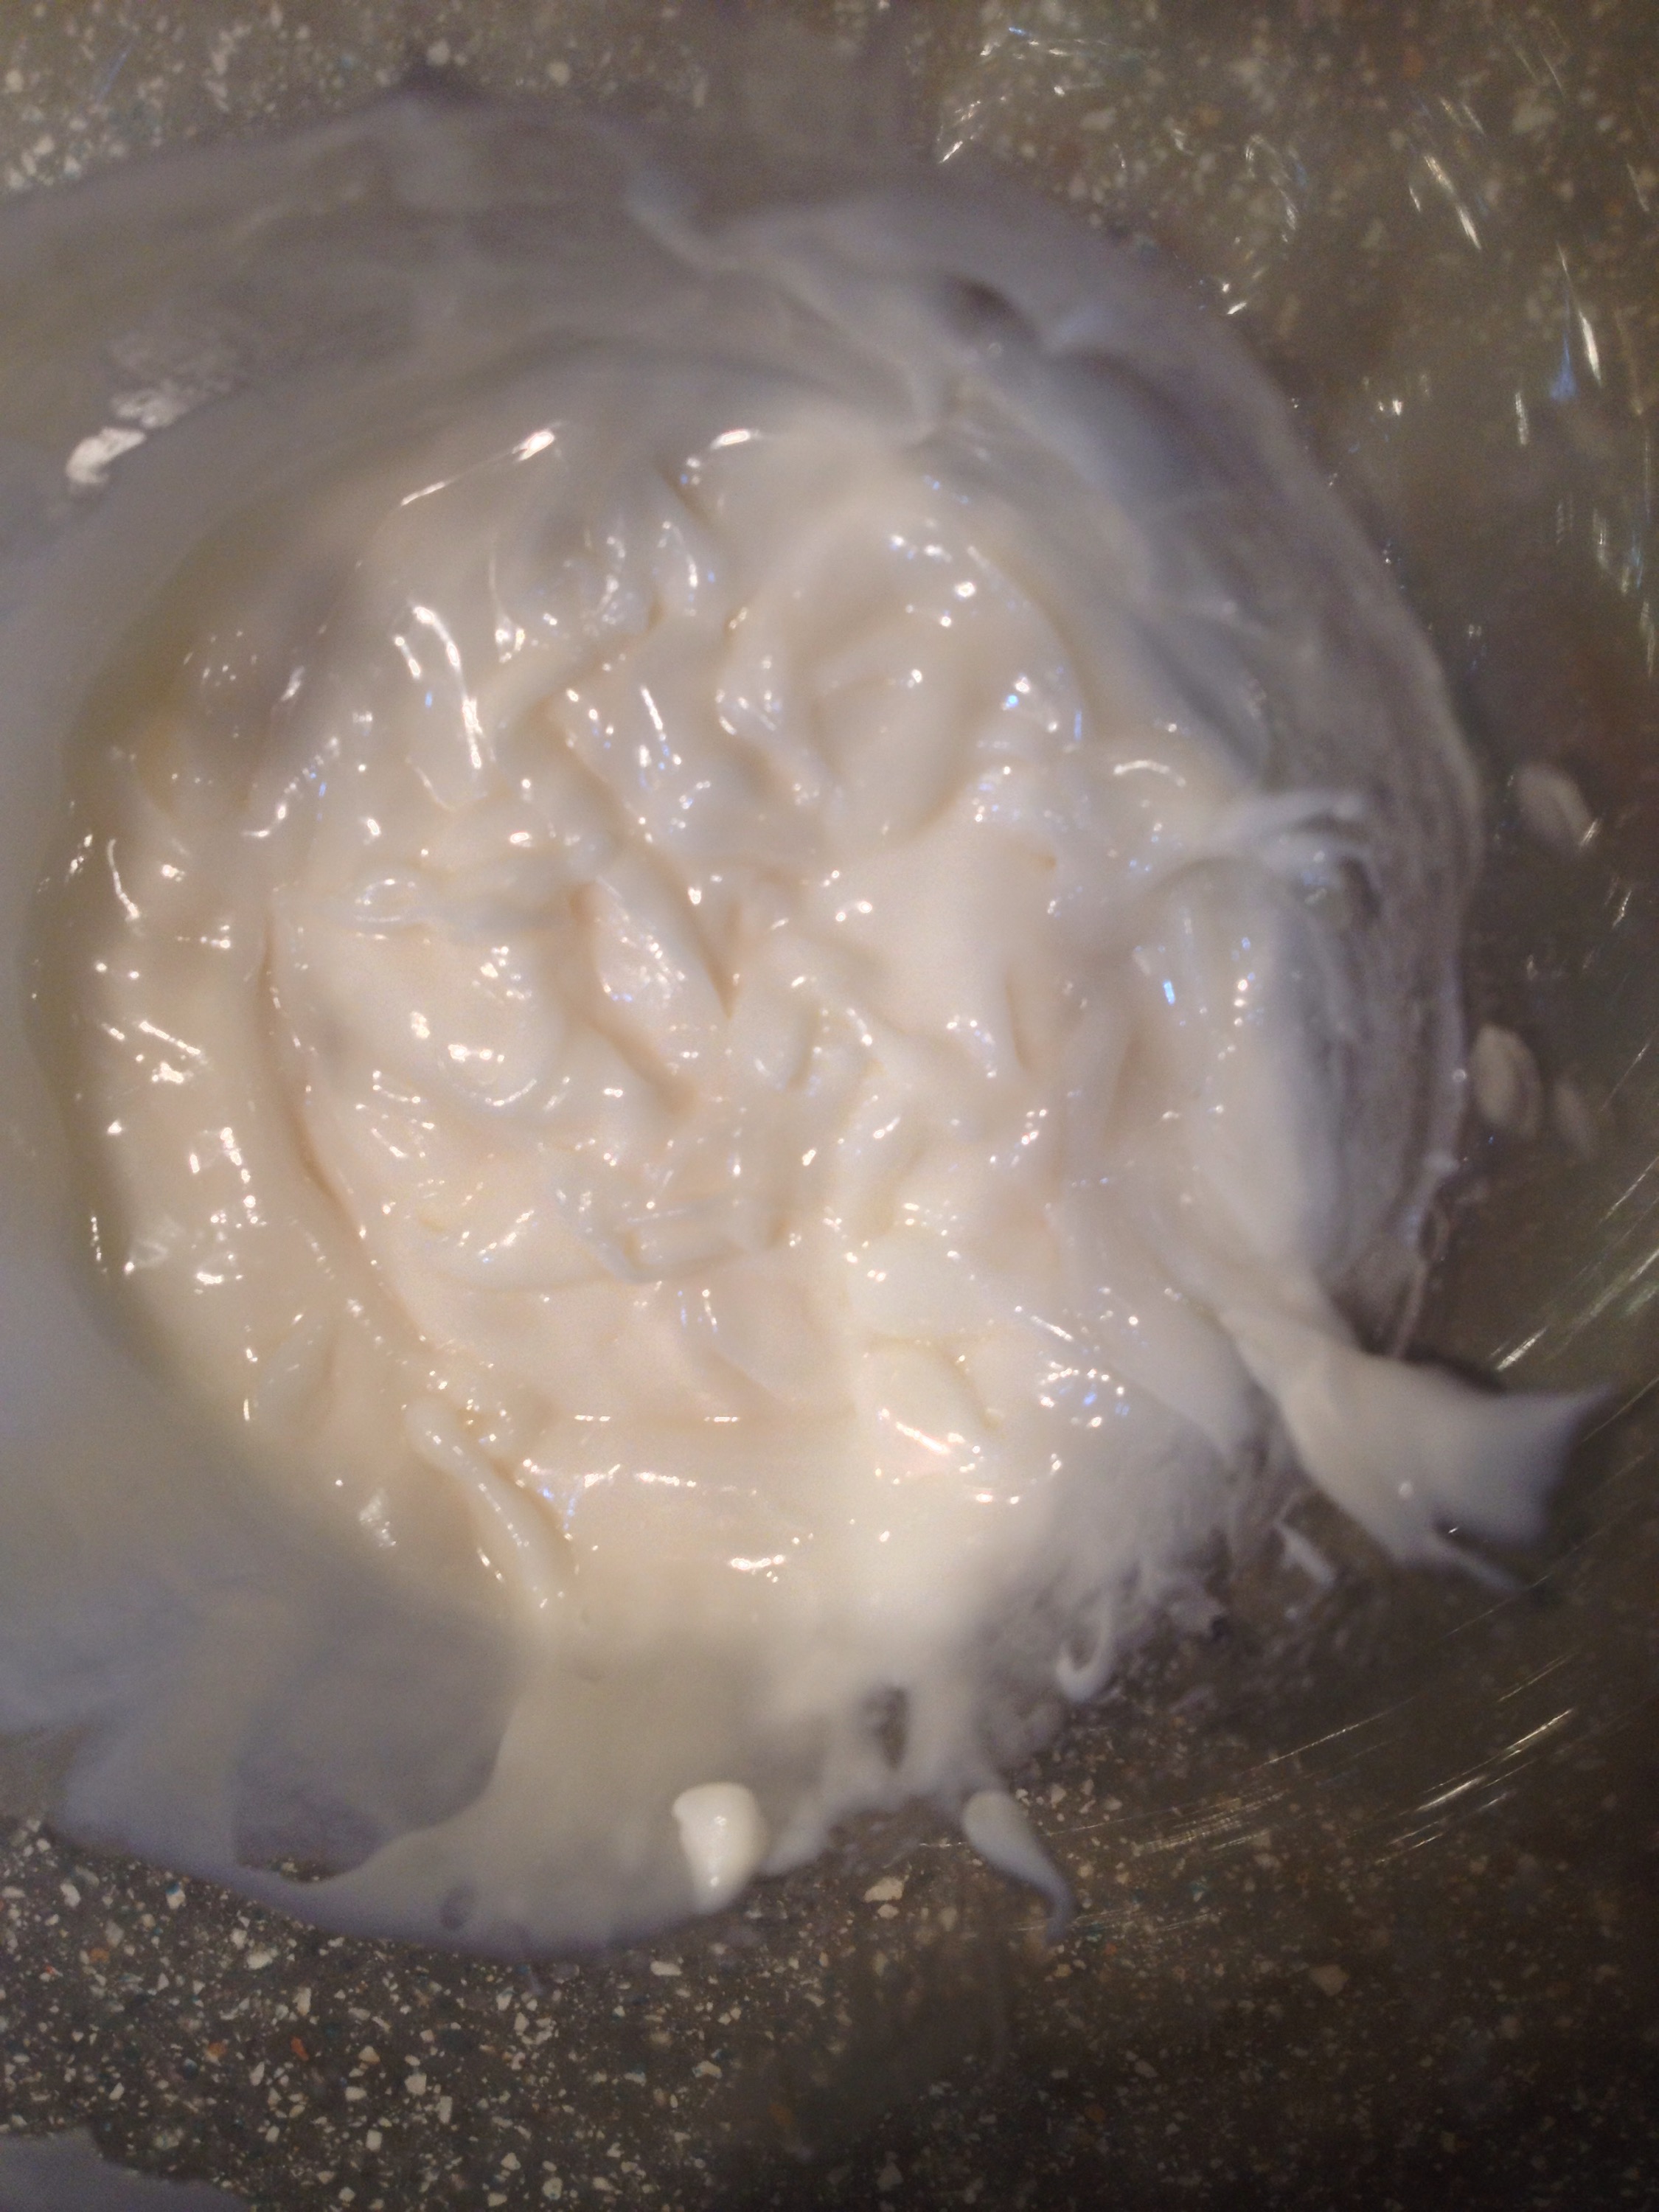
1 avo – mashed (don’t include if it’s your first attempt, scroll down to the bottom for explanation)

1 banana – mashed (again not for your first one)

500g nuts – lightly chopped

100g mixed seeds (no dried fruit, it will burn).

1-2 tbsp cinnamon

1-2 tbsp allspice or mixed spice

1 tsp ground ginger

1 tsp salt

Sprinkle nutmeg

1 tsp 100% cocoa powder

About 4 heaped tbsp coconut oil (or olive oil, you need some kind of oil, don’t leave this out).

100g desiccated coconut

100g coconut flakes

Method:

The vegetables take longer than the nuts so I do them on 2 trays.

Preheat the oven to 220 degrees.

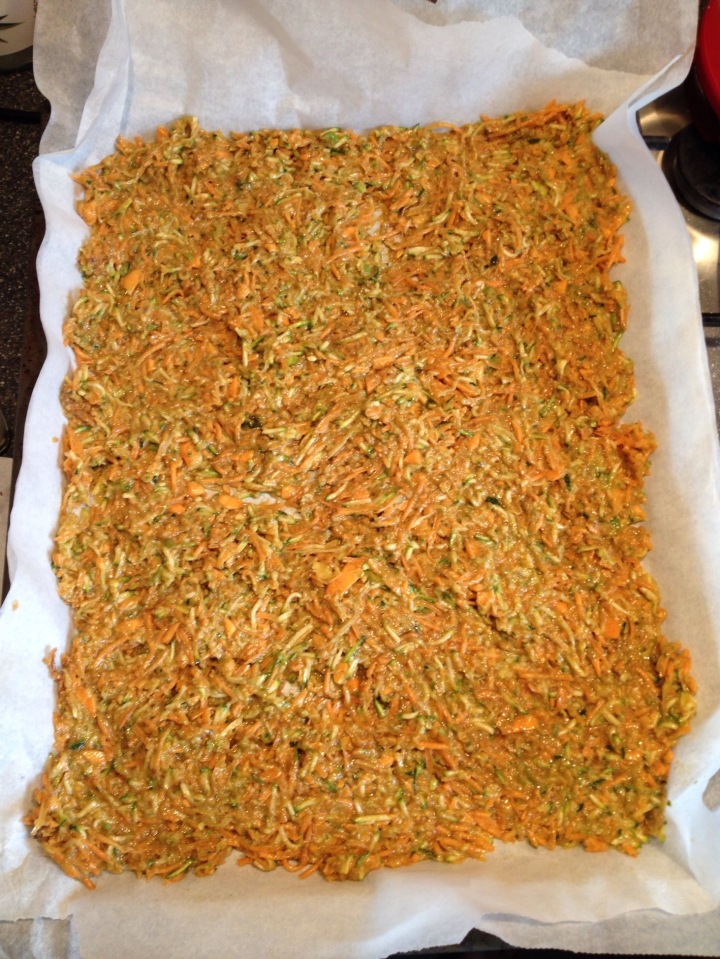
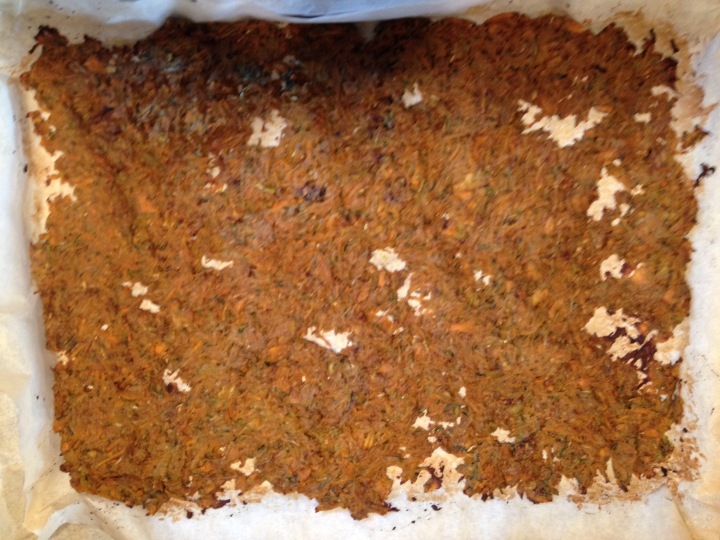
Line your largest tray with 2 layers of grease proof paper, all the moisture will come out of the vegetables.

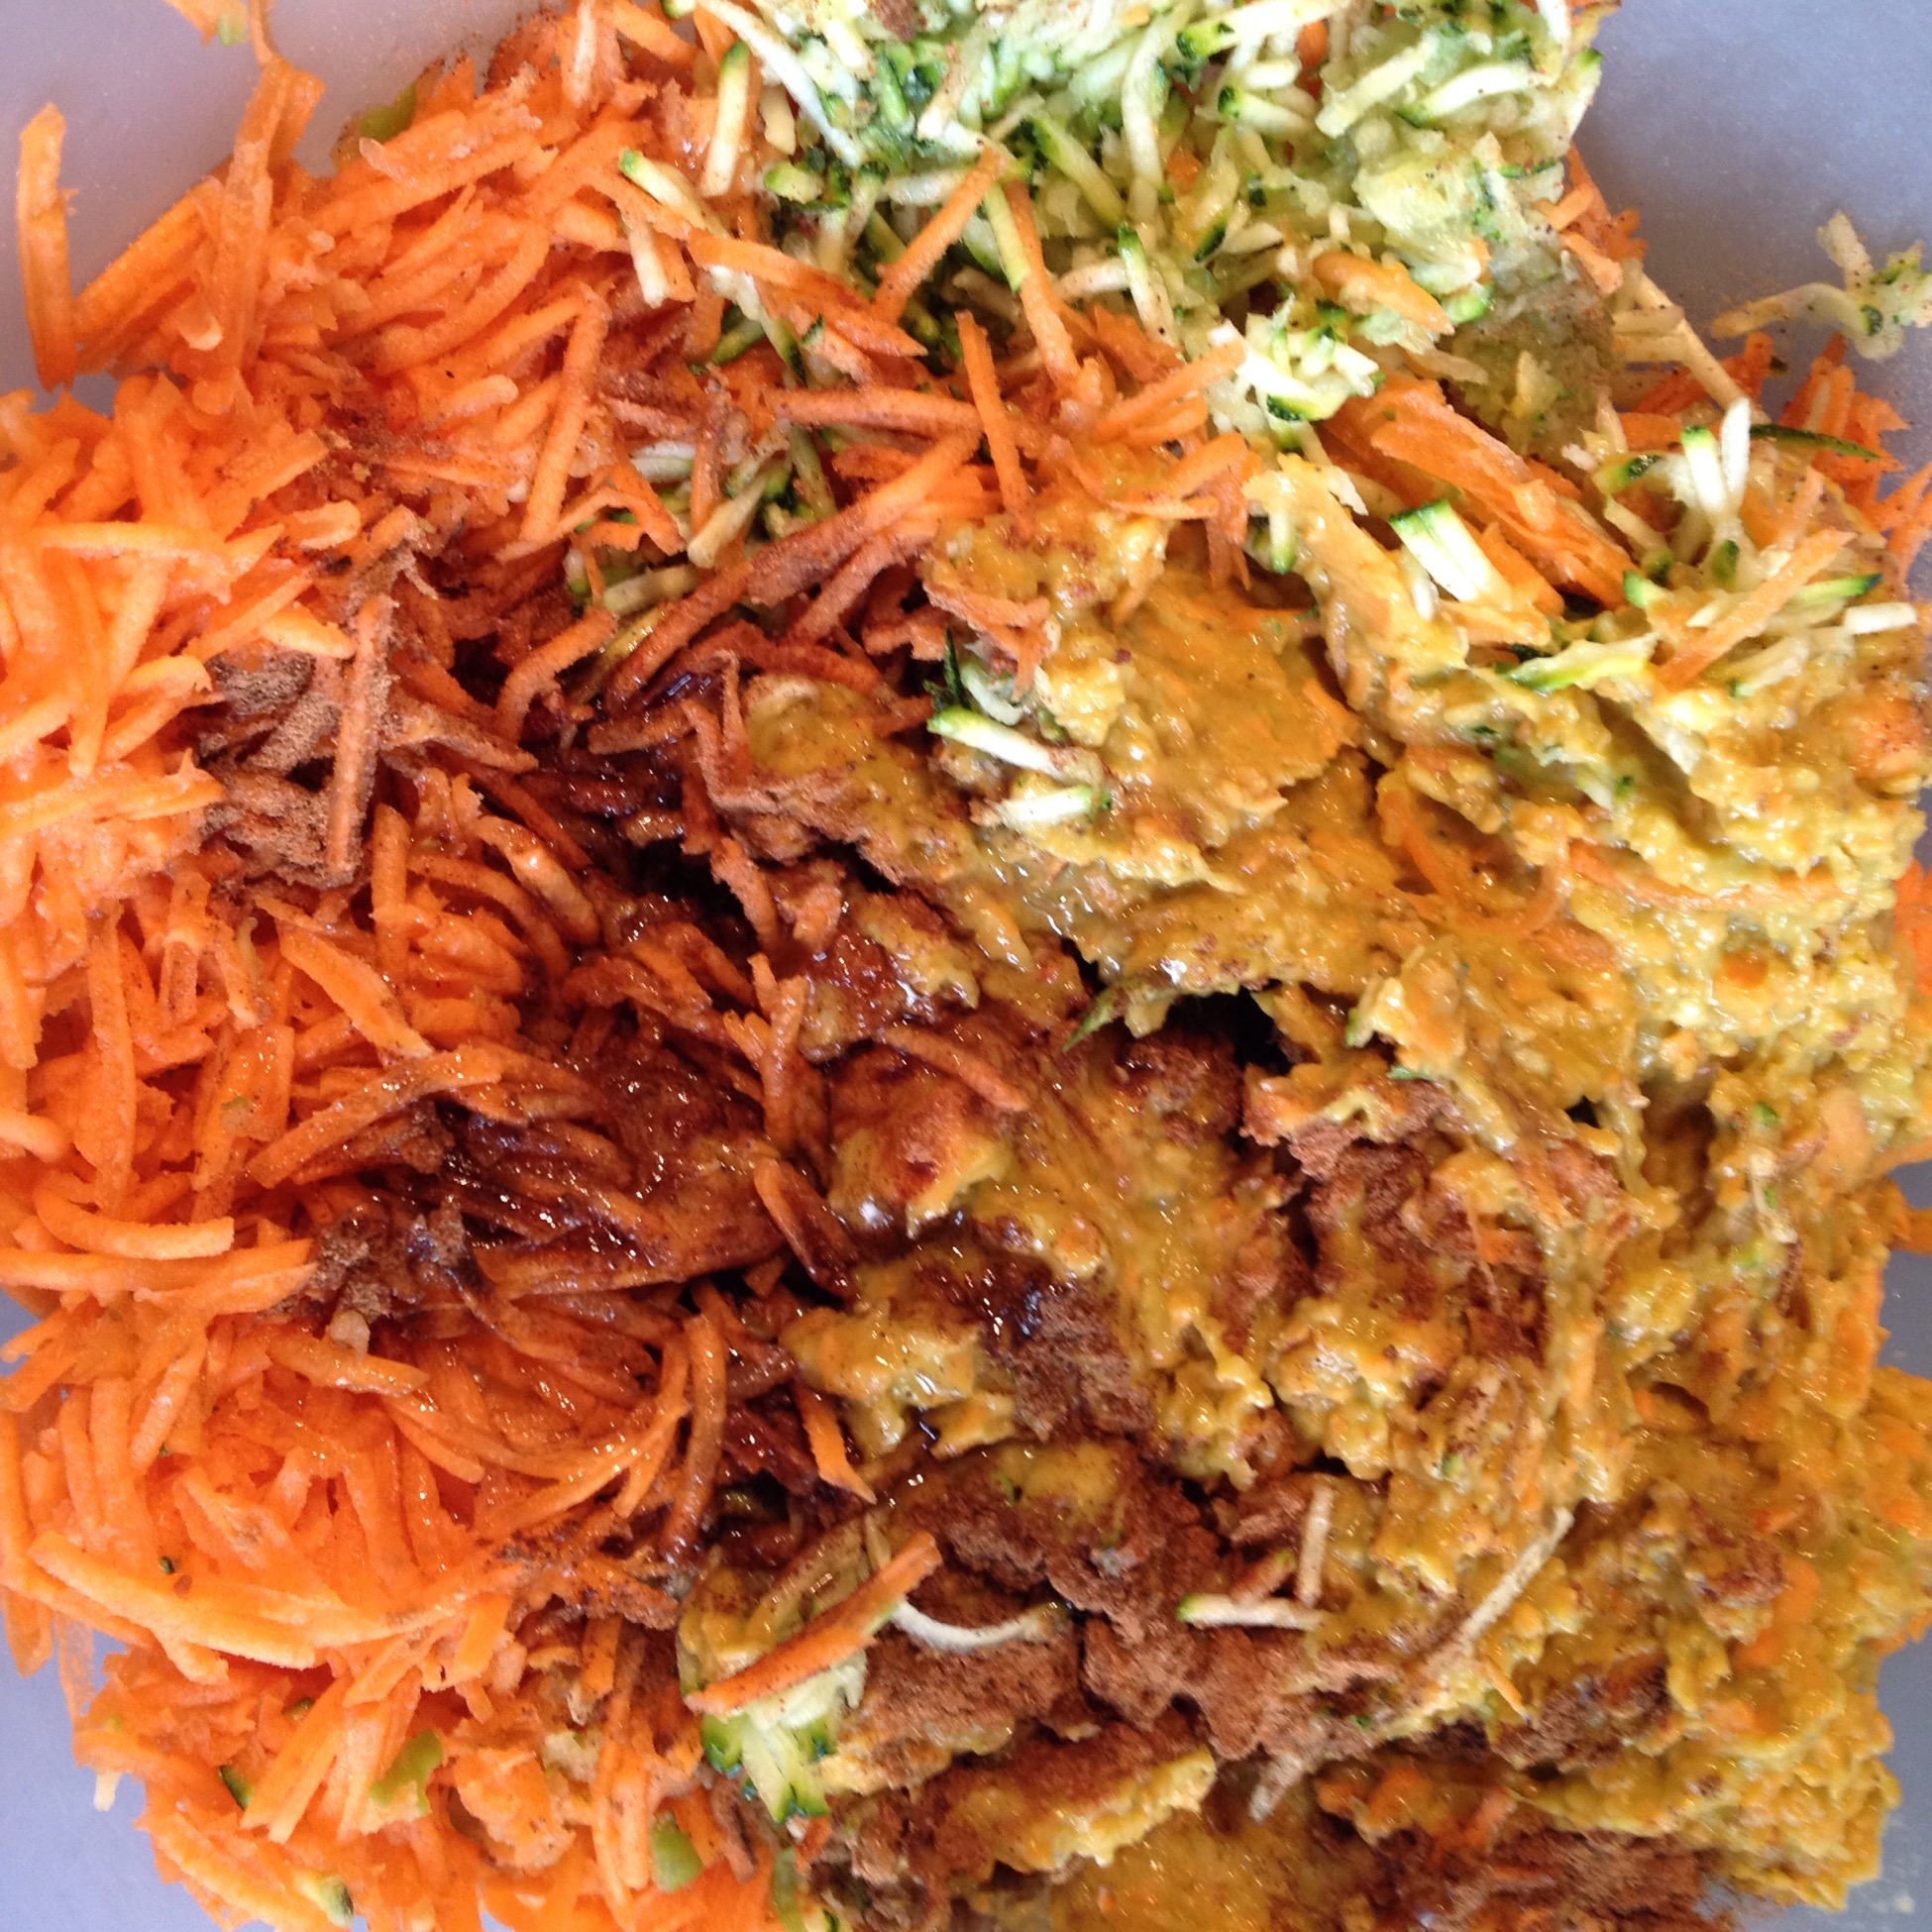
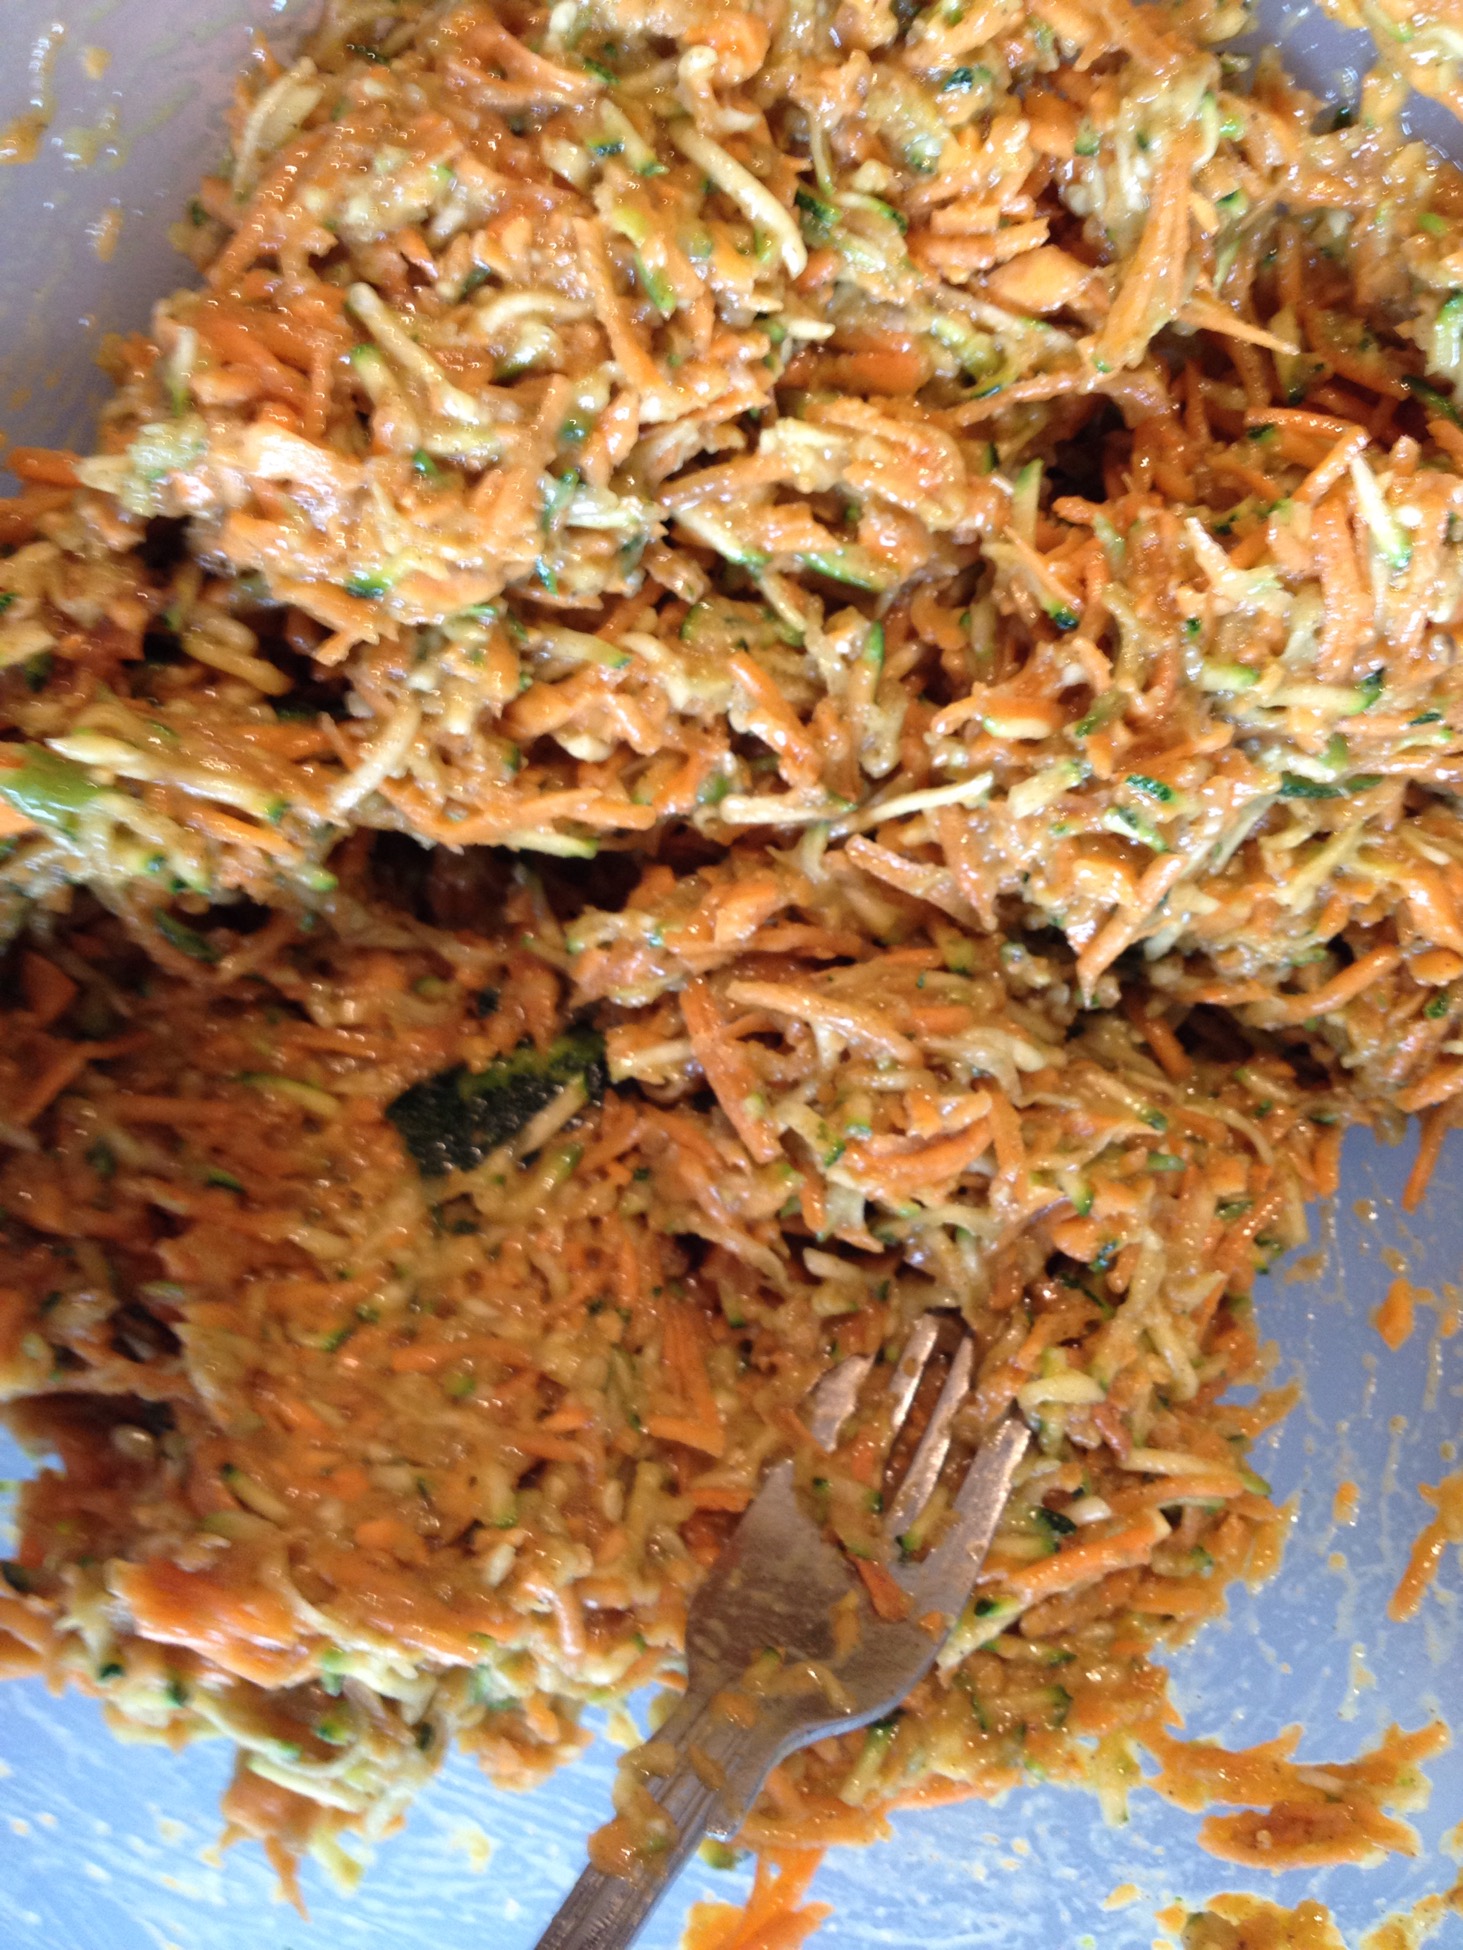
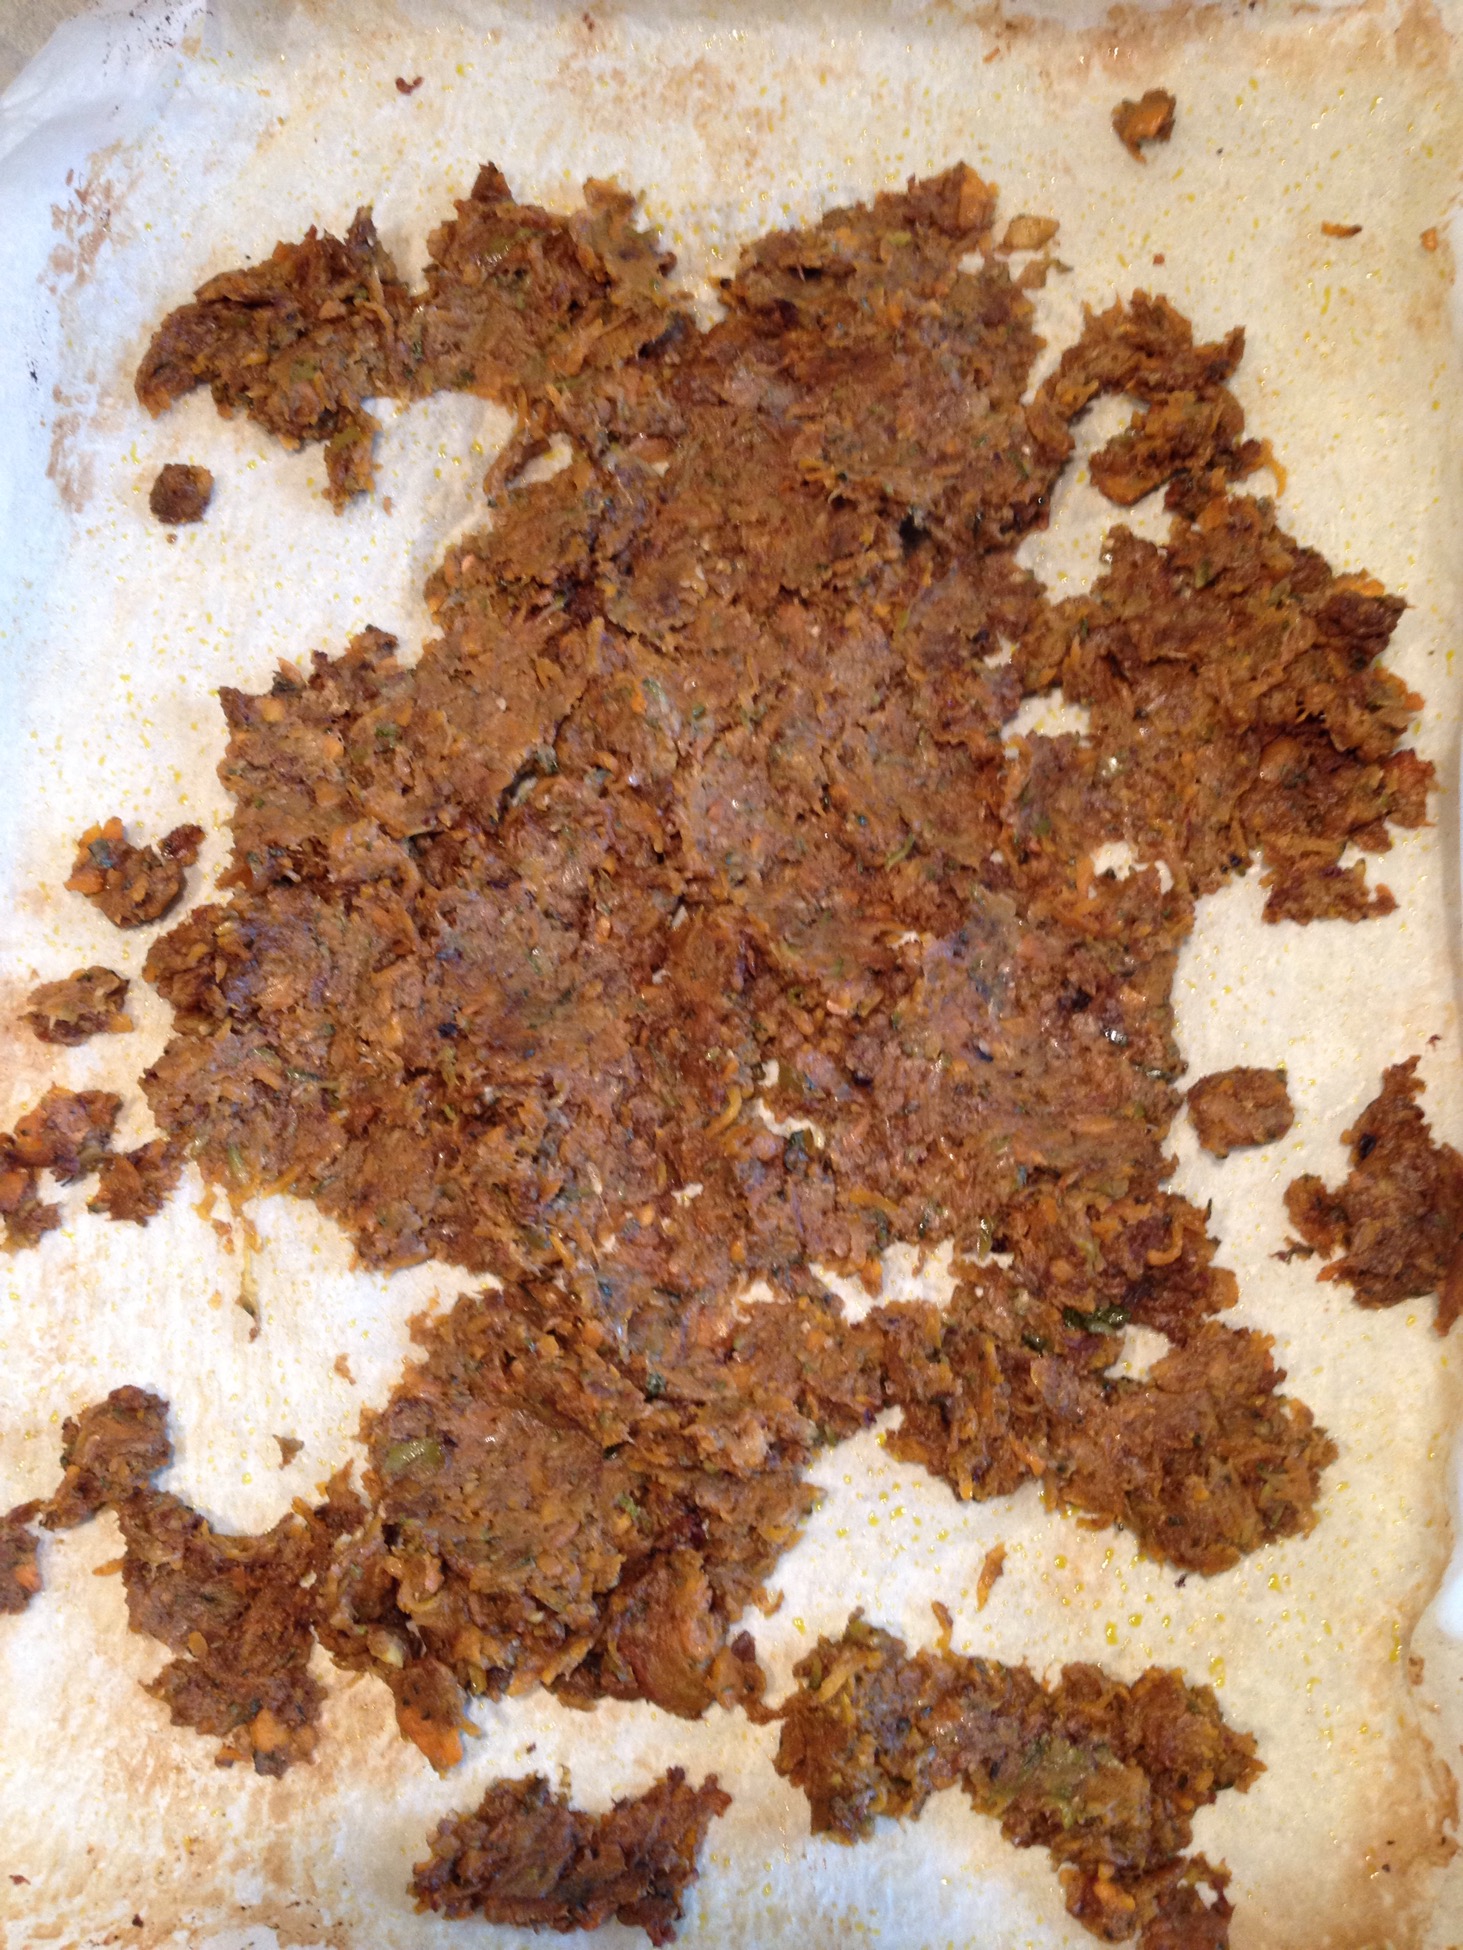
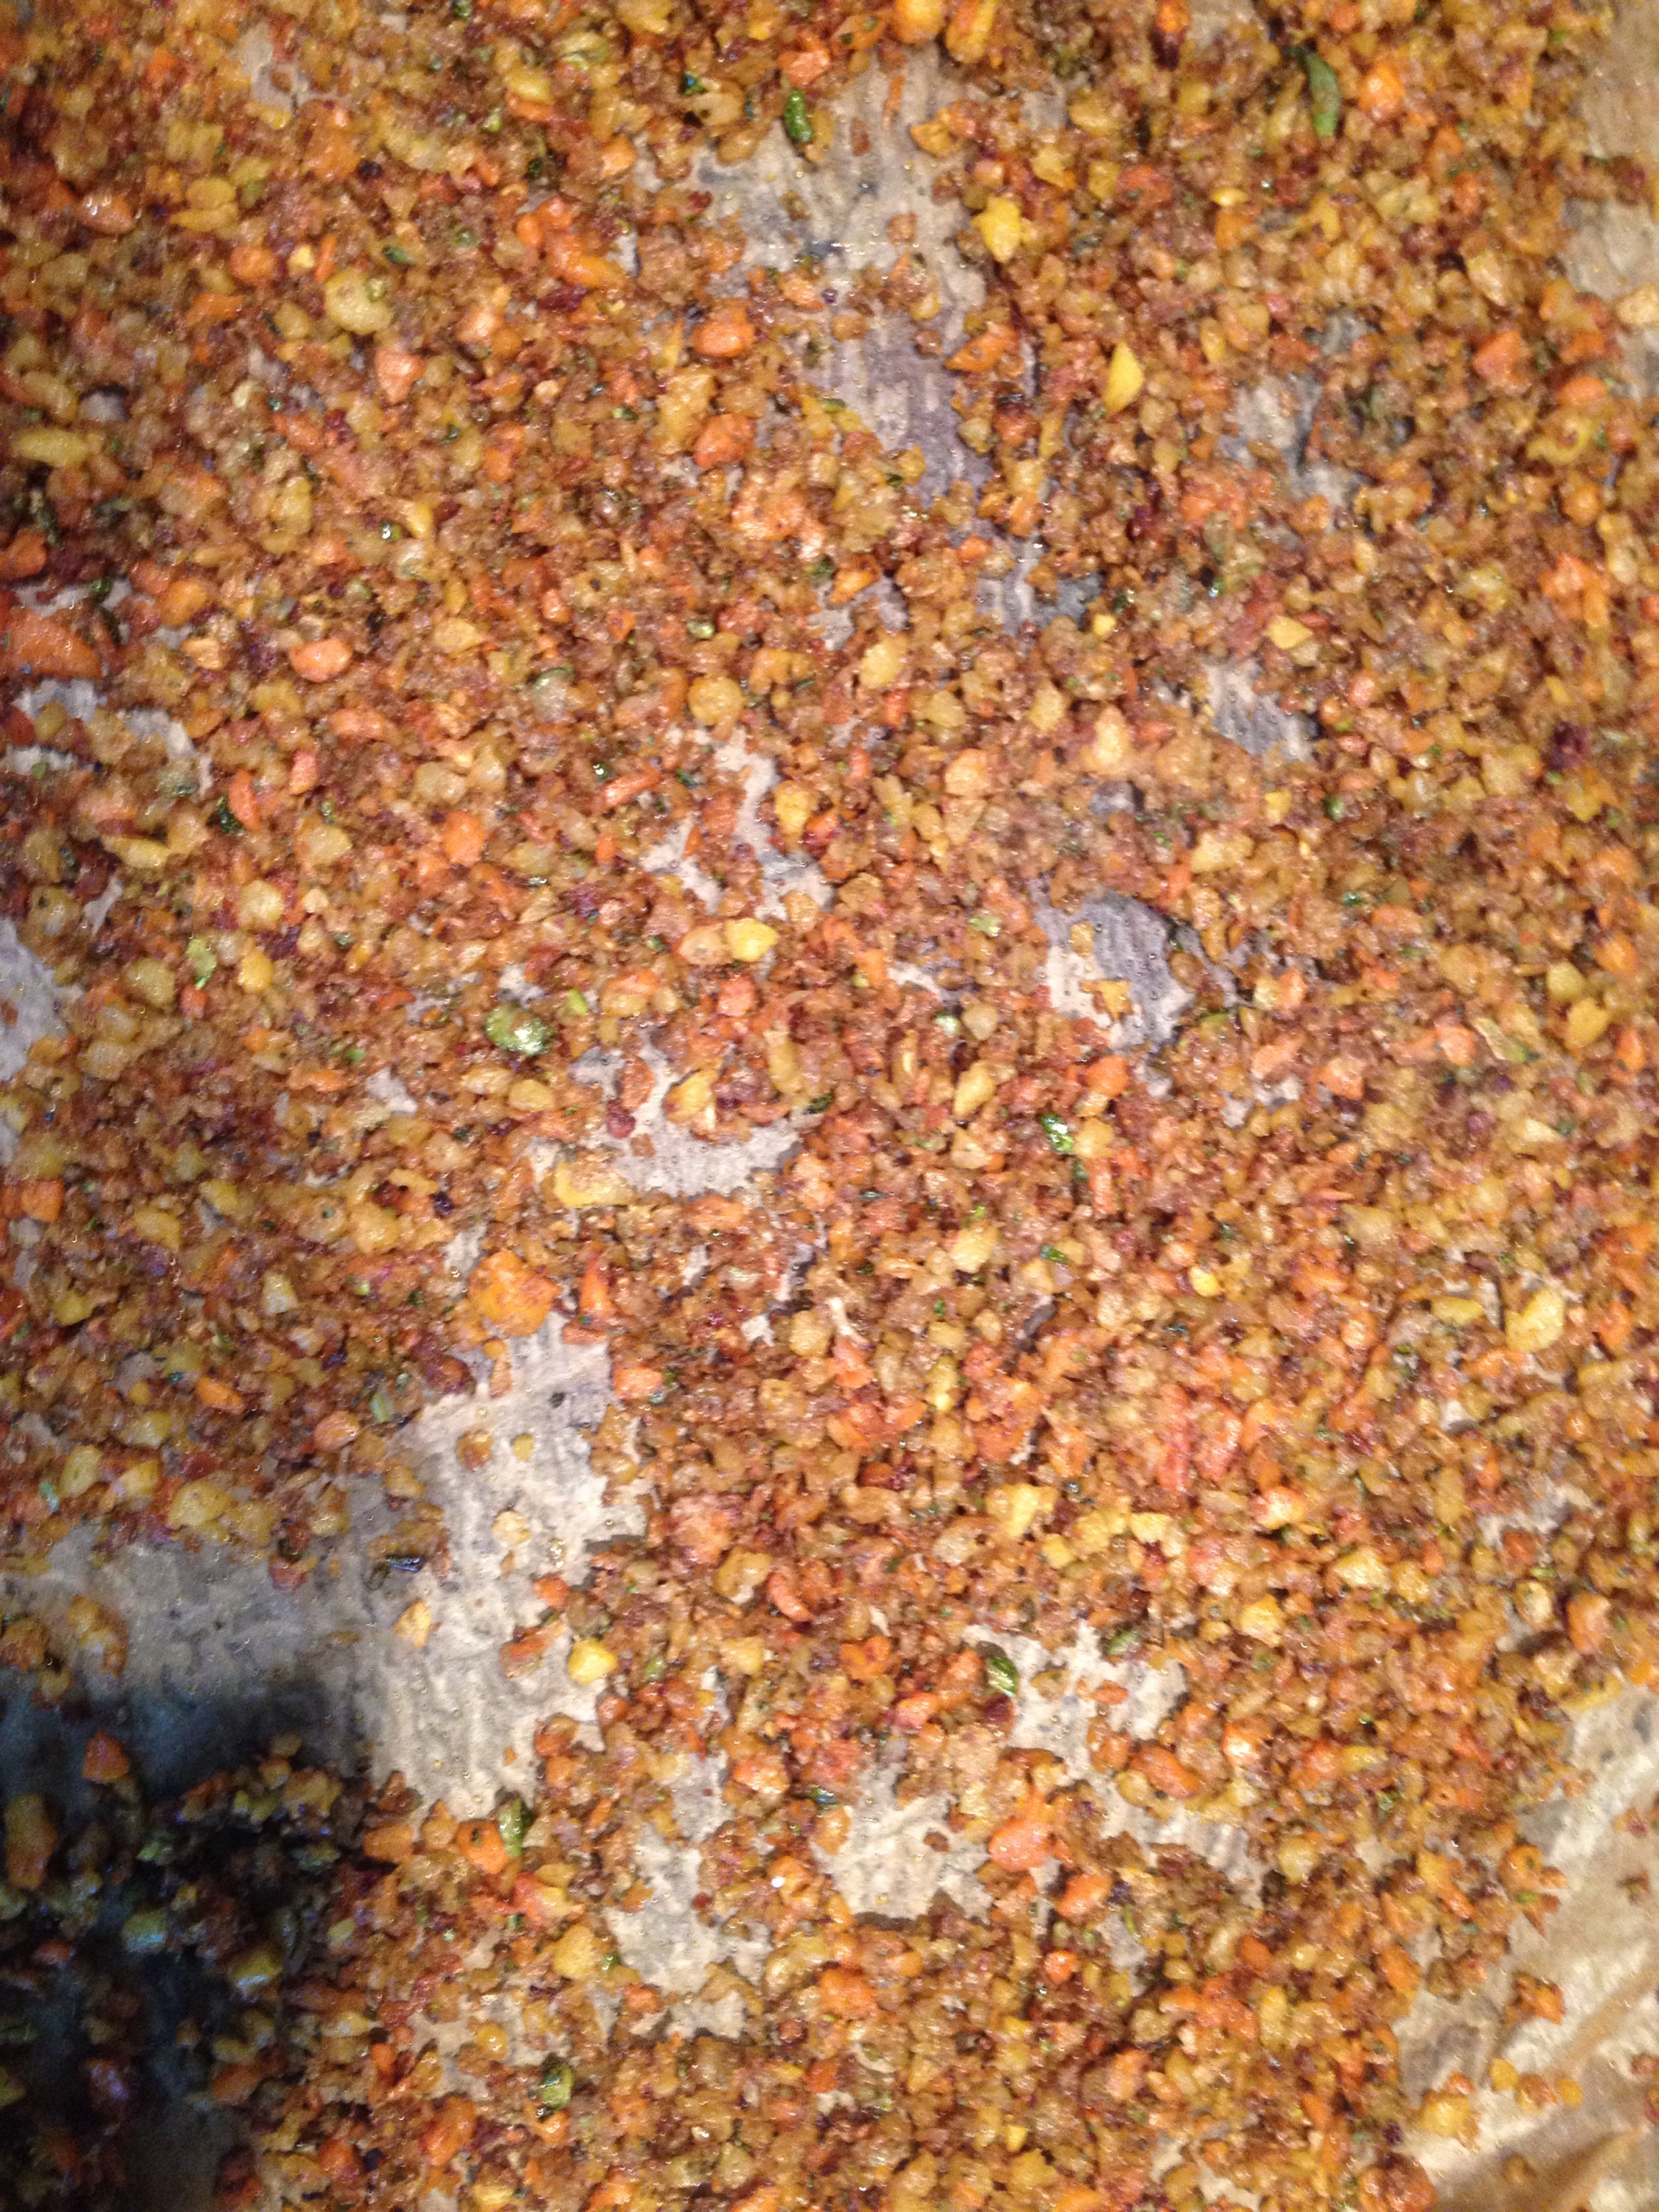
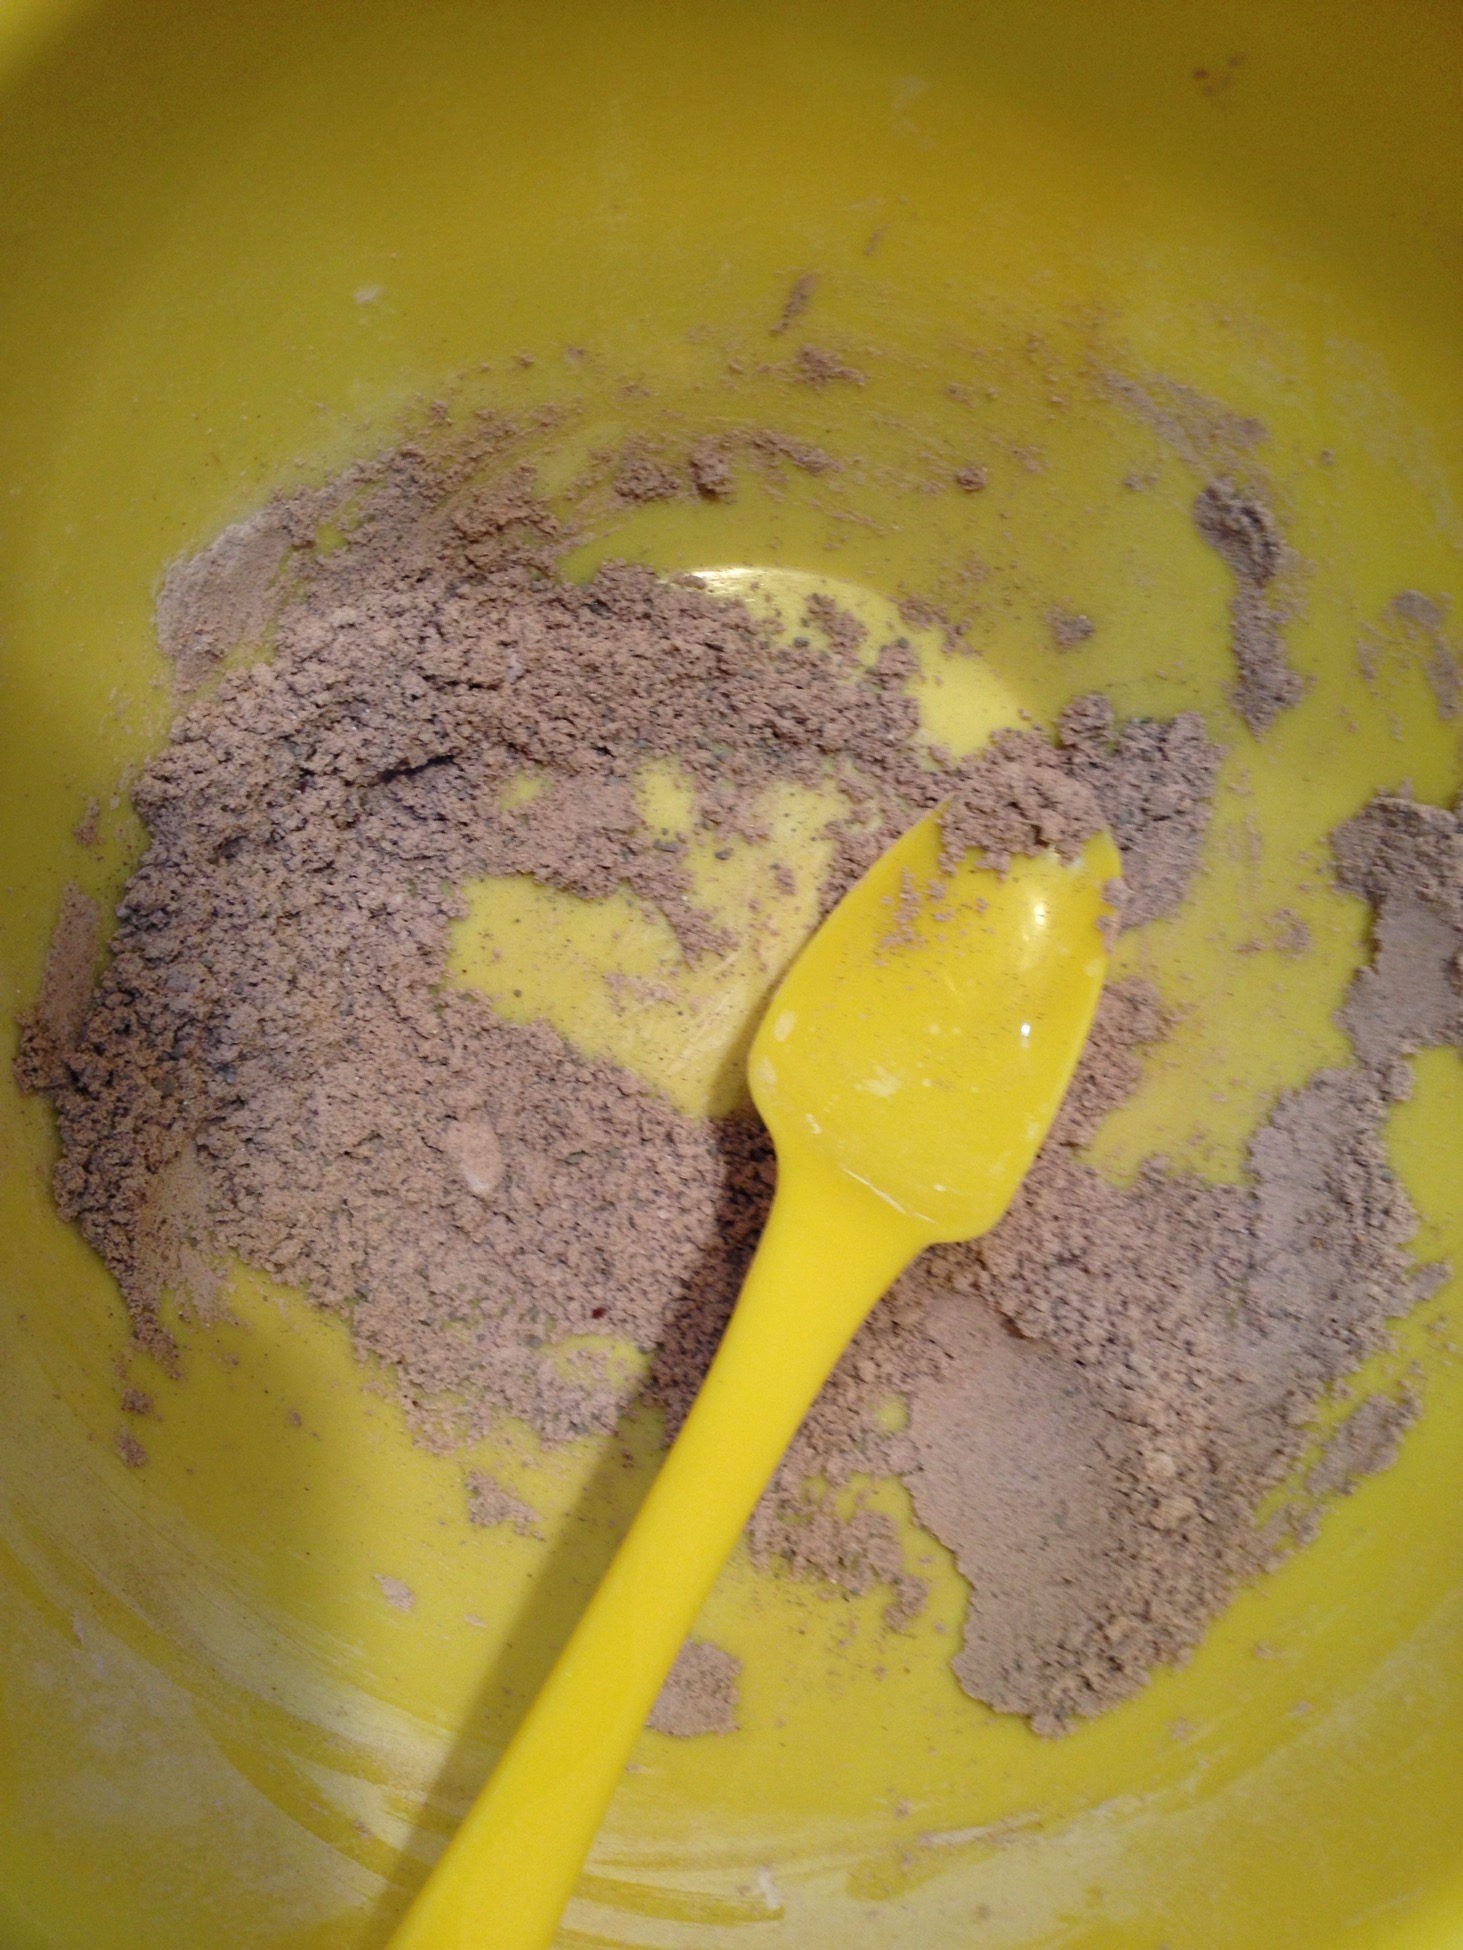
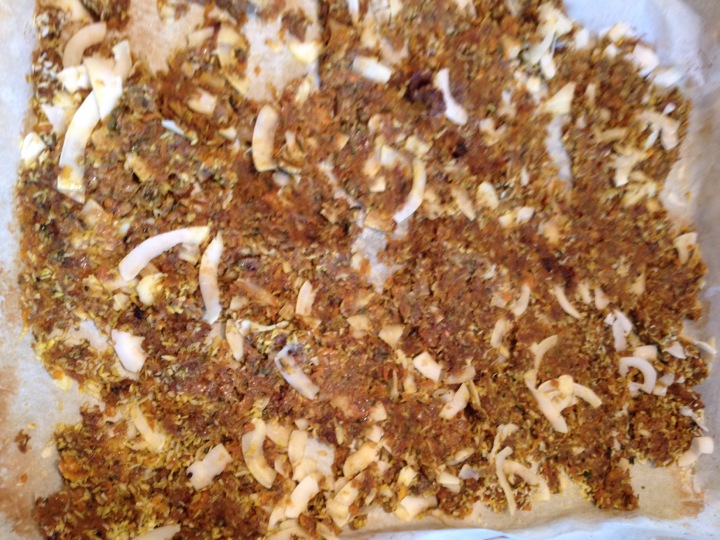
In a large mixing bowl, mix the fruit, veg, salt and spices (I added the cocoa to the nuts but you add it where you like). Melt about 2 heaped tbsp coconut oil and pour it on, mix it well. All your veg needs to have a fine coat of oil.


 Spread it out on your tray evenly and cook for 15 min, turn/mix and spread it out and cook for another 15 min. The smell is unusual but this is normal.


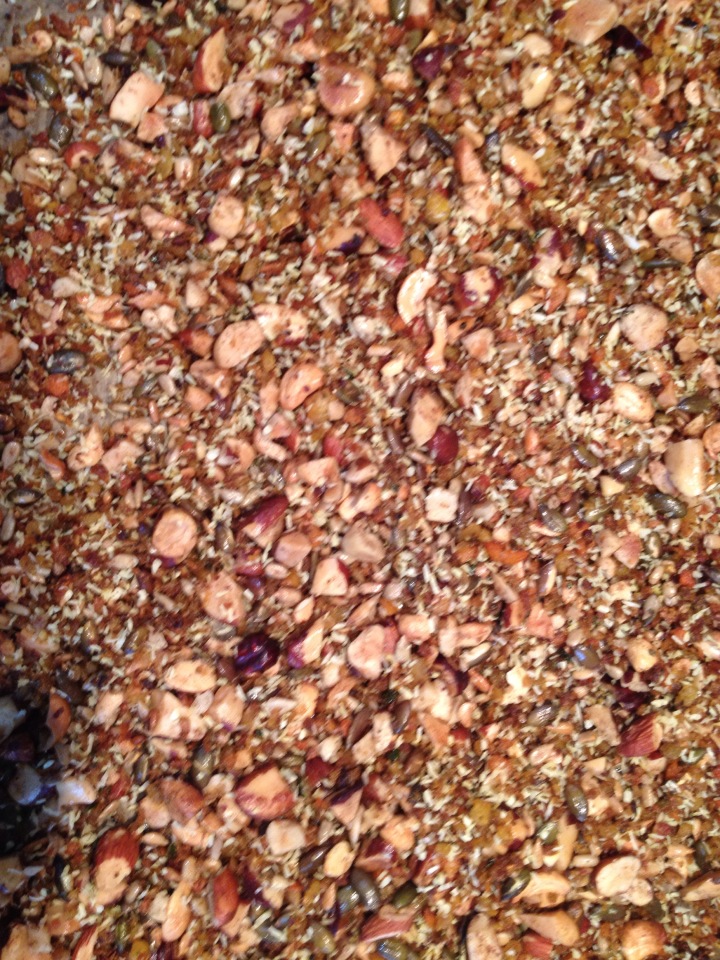
In the meantime mix your nuts and seeds. One of my little bags of seeds had goji berries with them. These burnt and I had to pick them out, so avoid any dried fruit.


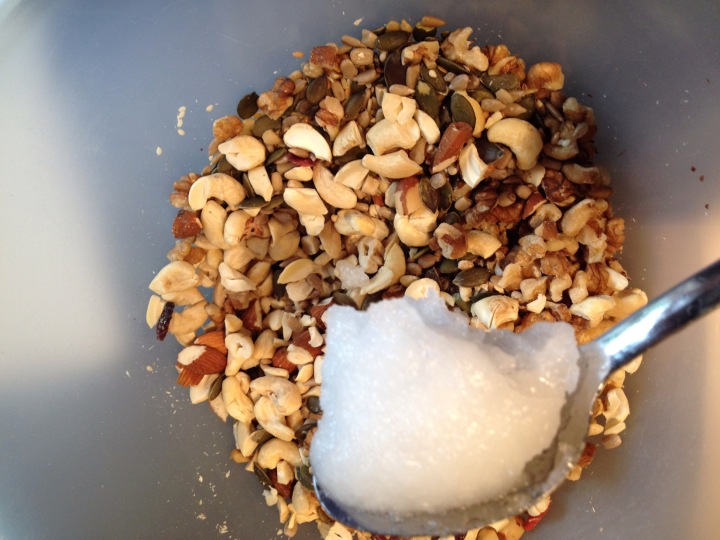
Melt the rest of the oil and add any spices and salt and spread on second lined tray (1 layer of grease proof is fine).

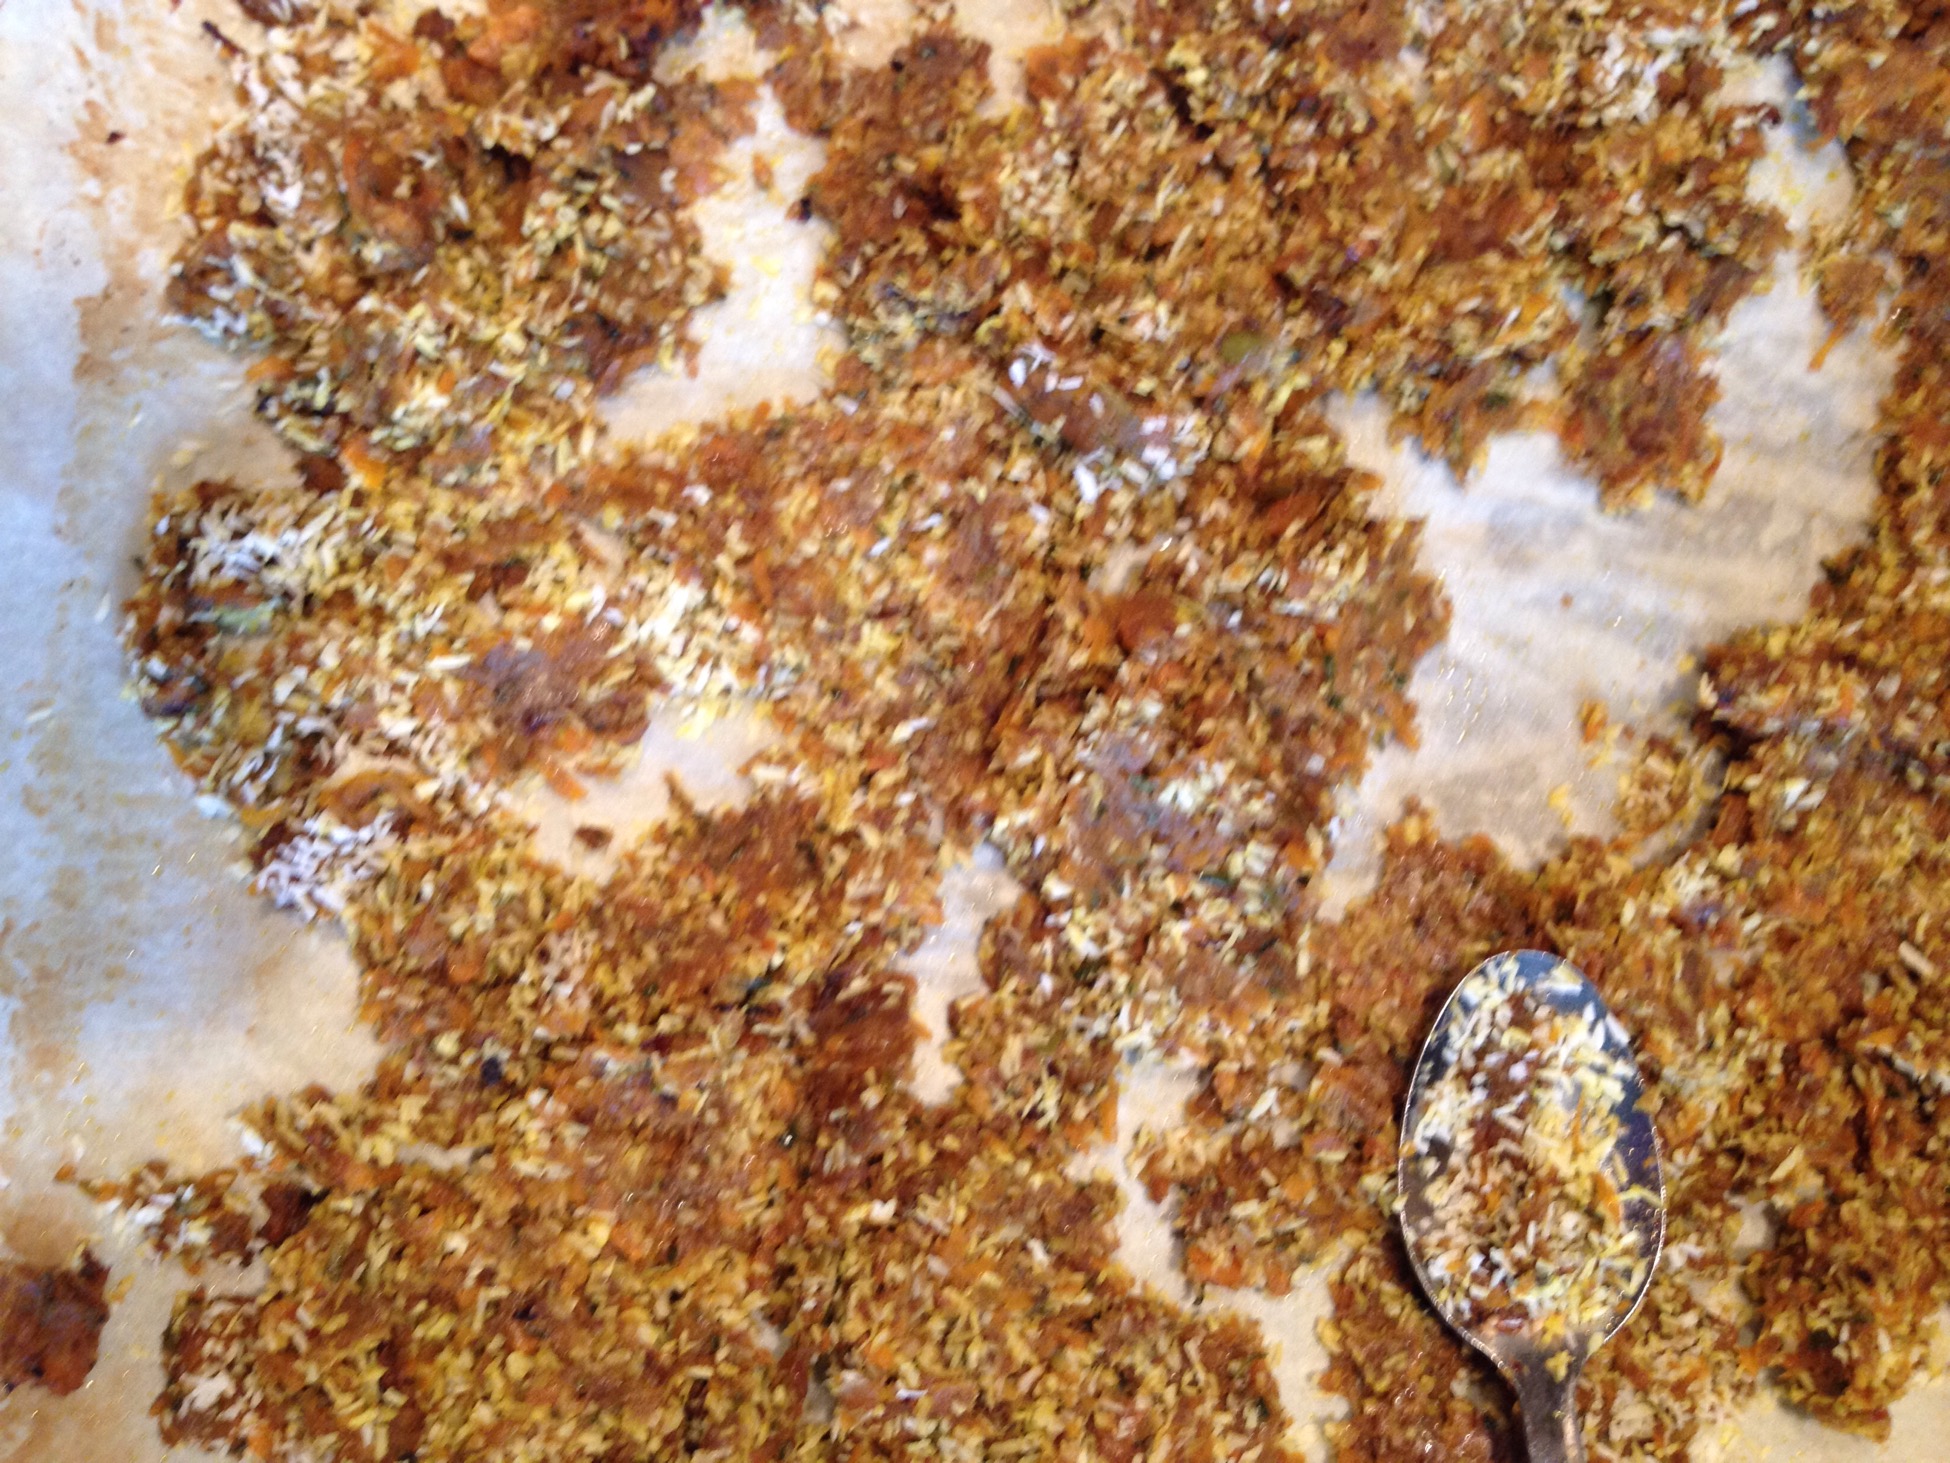
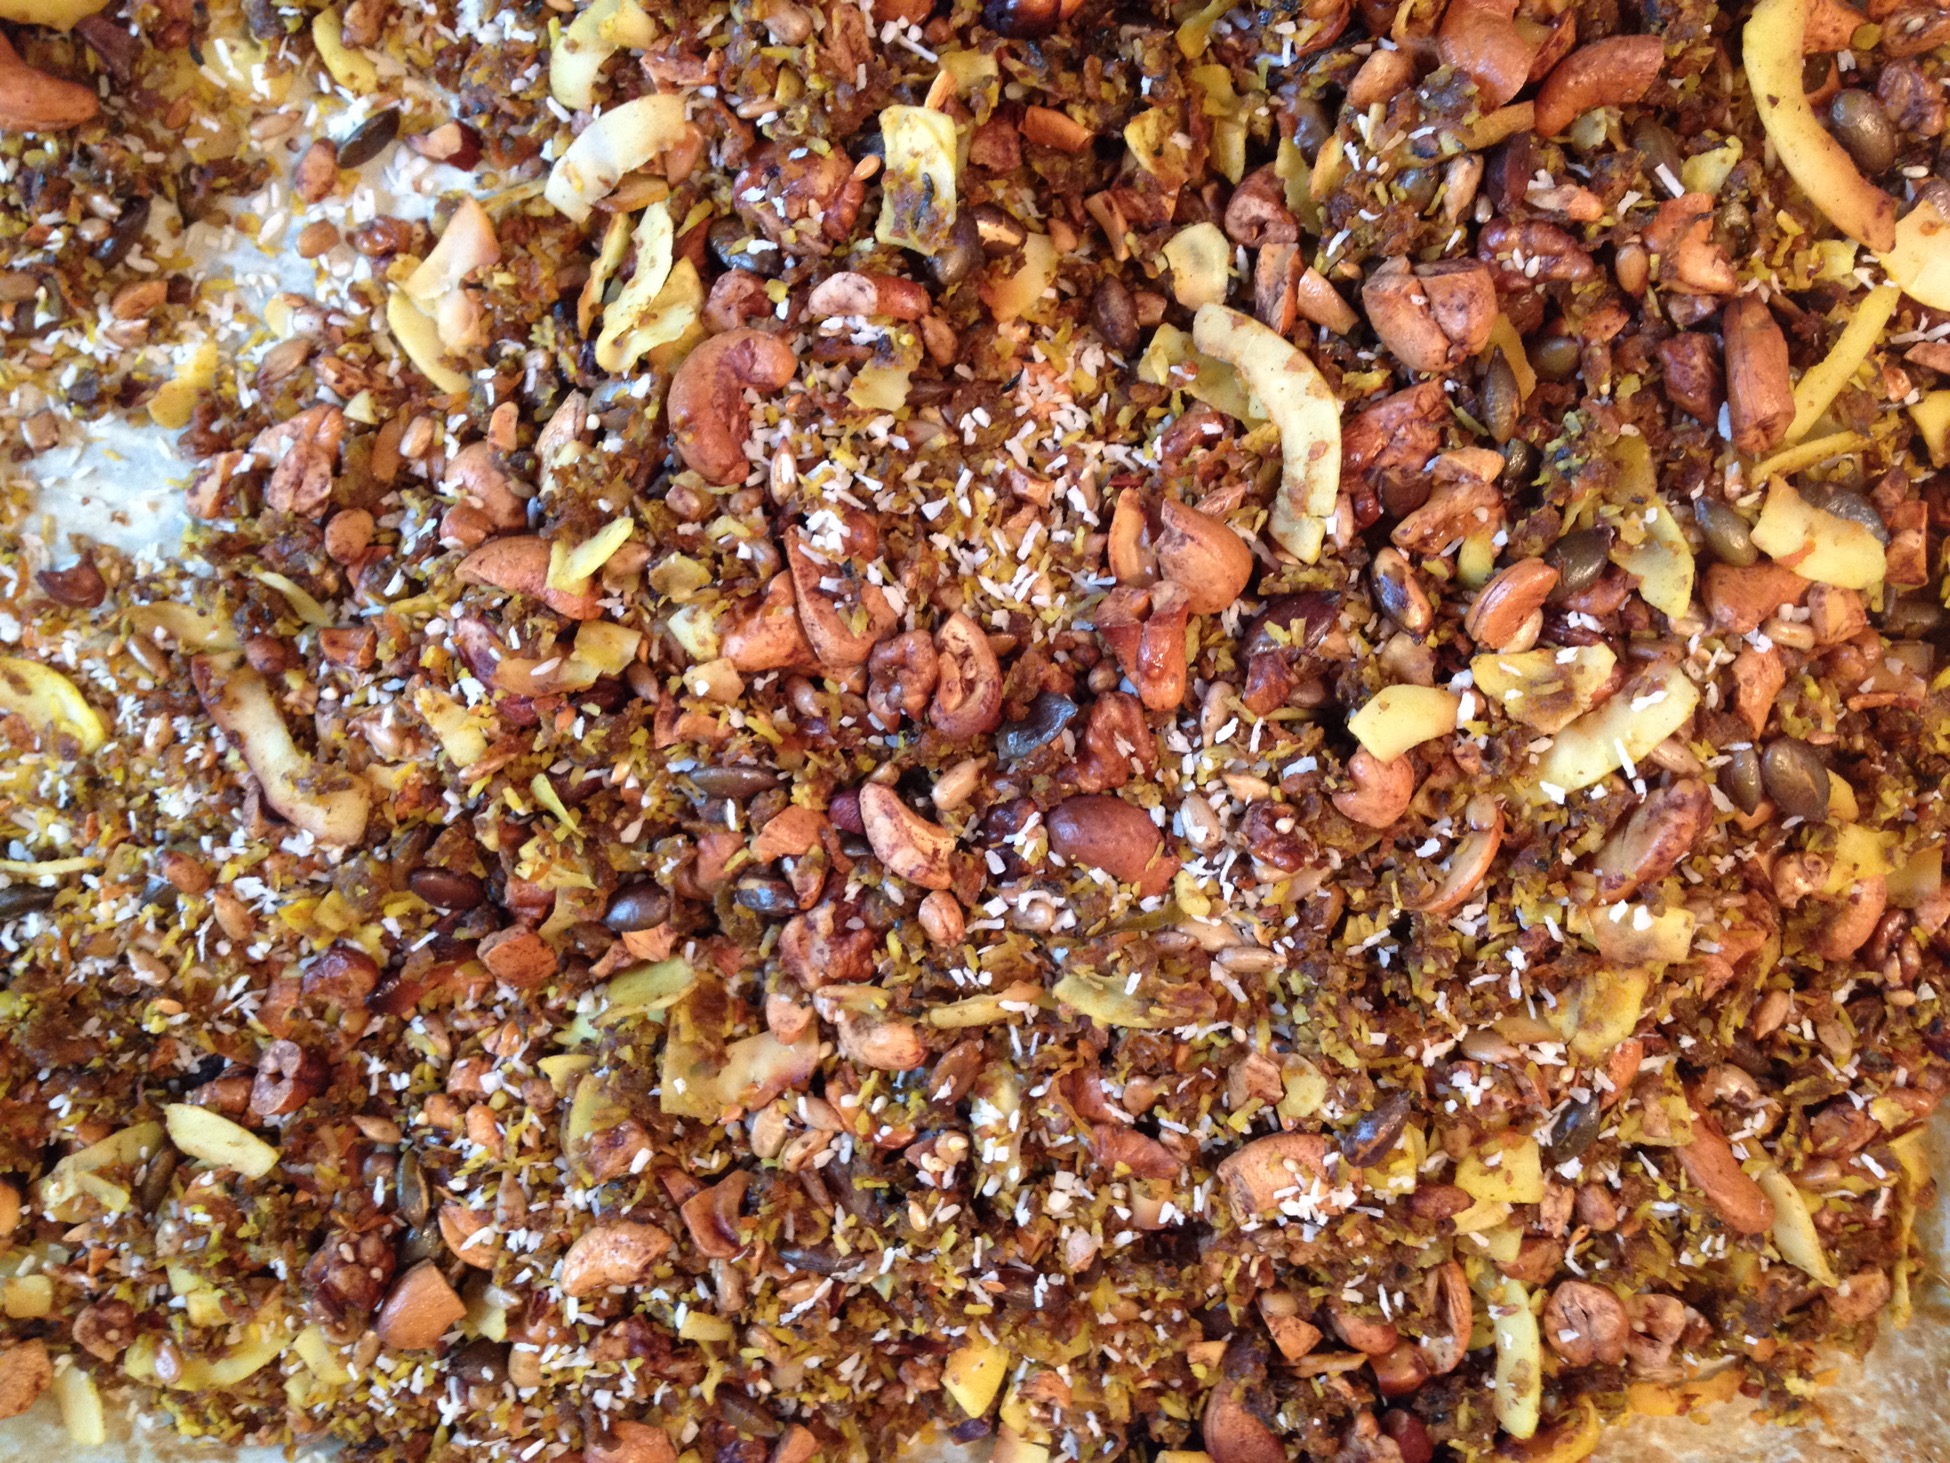
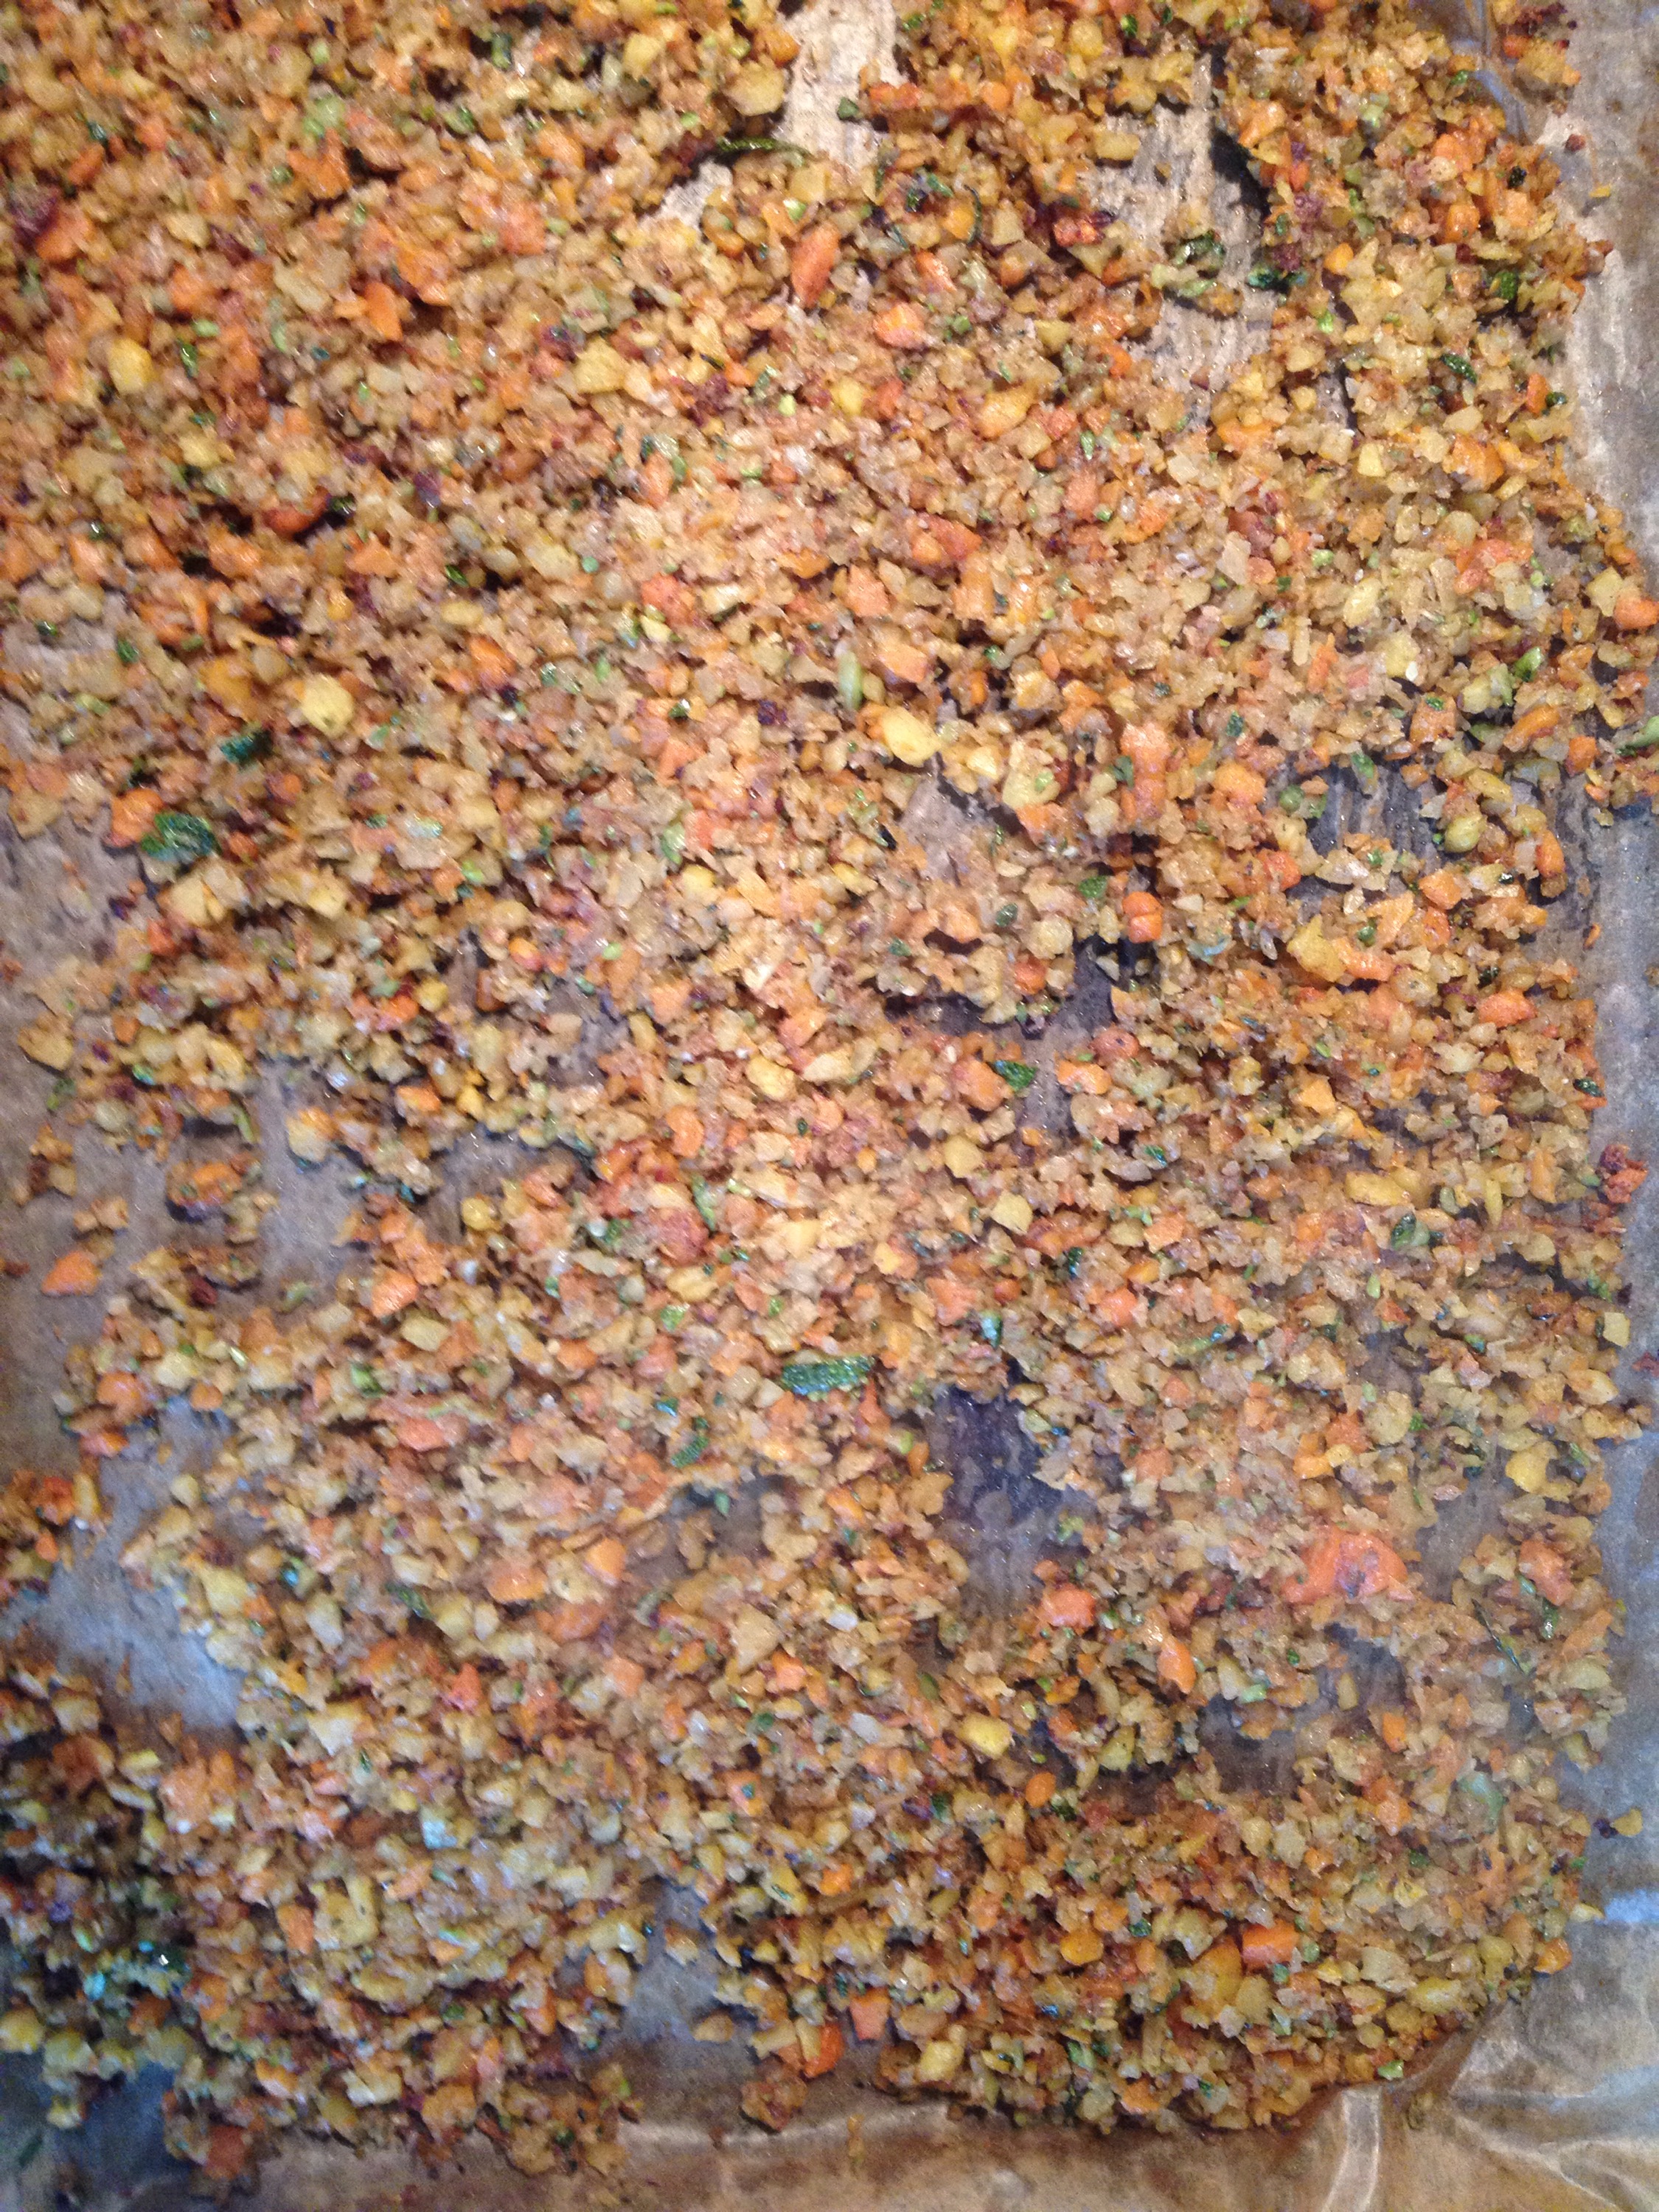
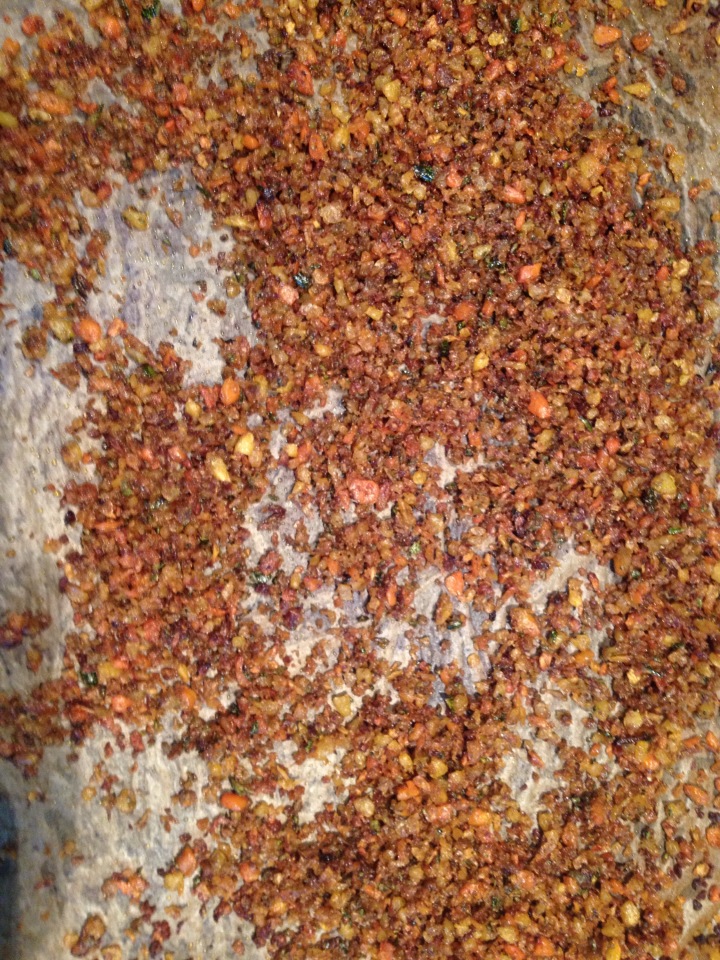
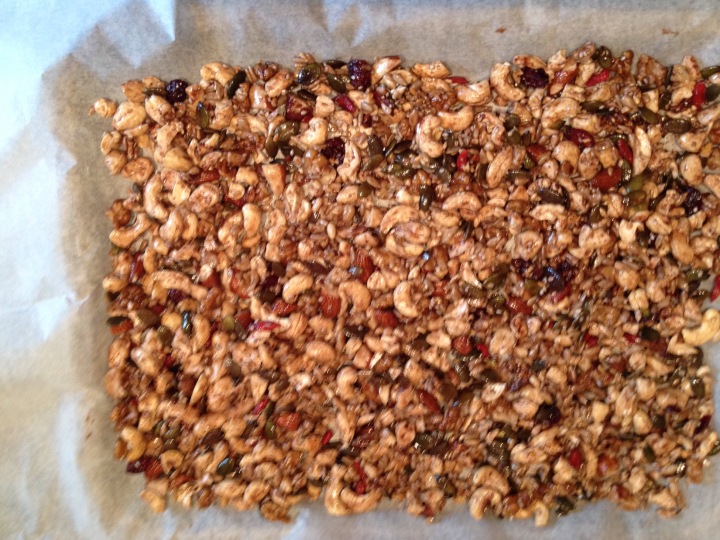
 The first tray has now cooked for 30 min on high and should have reduced to half. Now turn the oven down to 180 and cook for 10 min. Put the nuts in on the shelf below the veg. Watch them both, turning after 10 min and cooking for another 8-10 min and repeat. Turn it sooner if you think its going to burn. As soon as the nuts are browned and the pumpkin seeds start to split, take them out. Keep cooking the veg until it has shrunk to about a third.


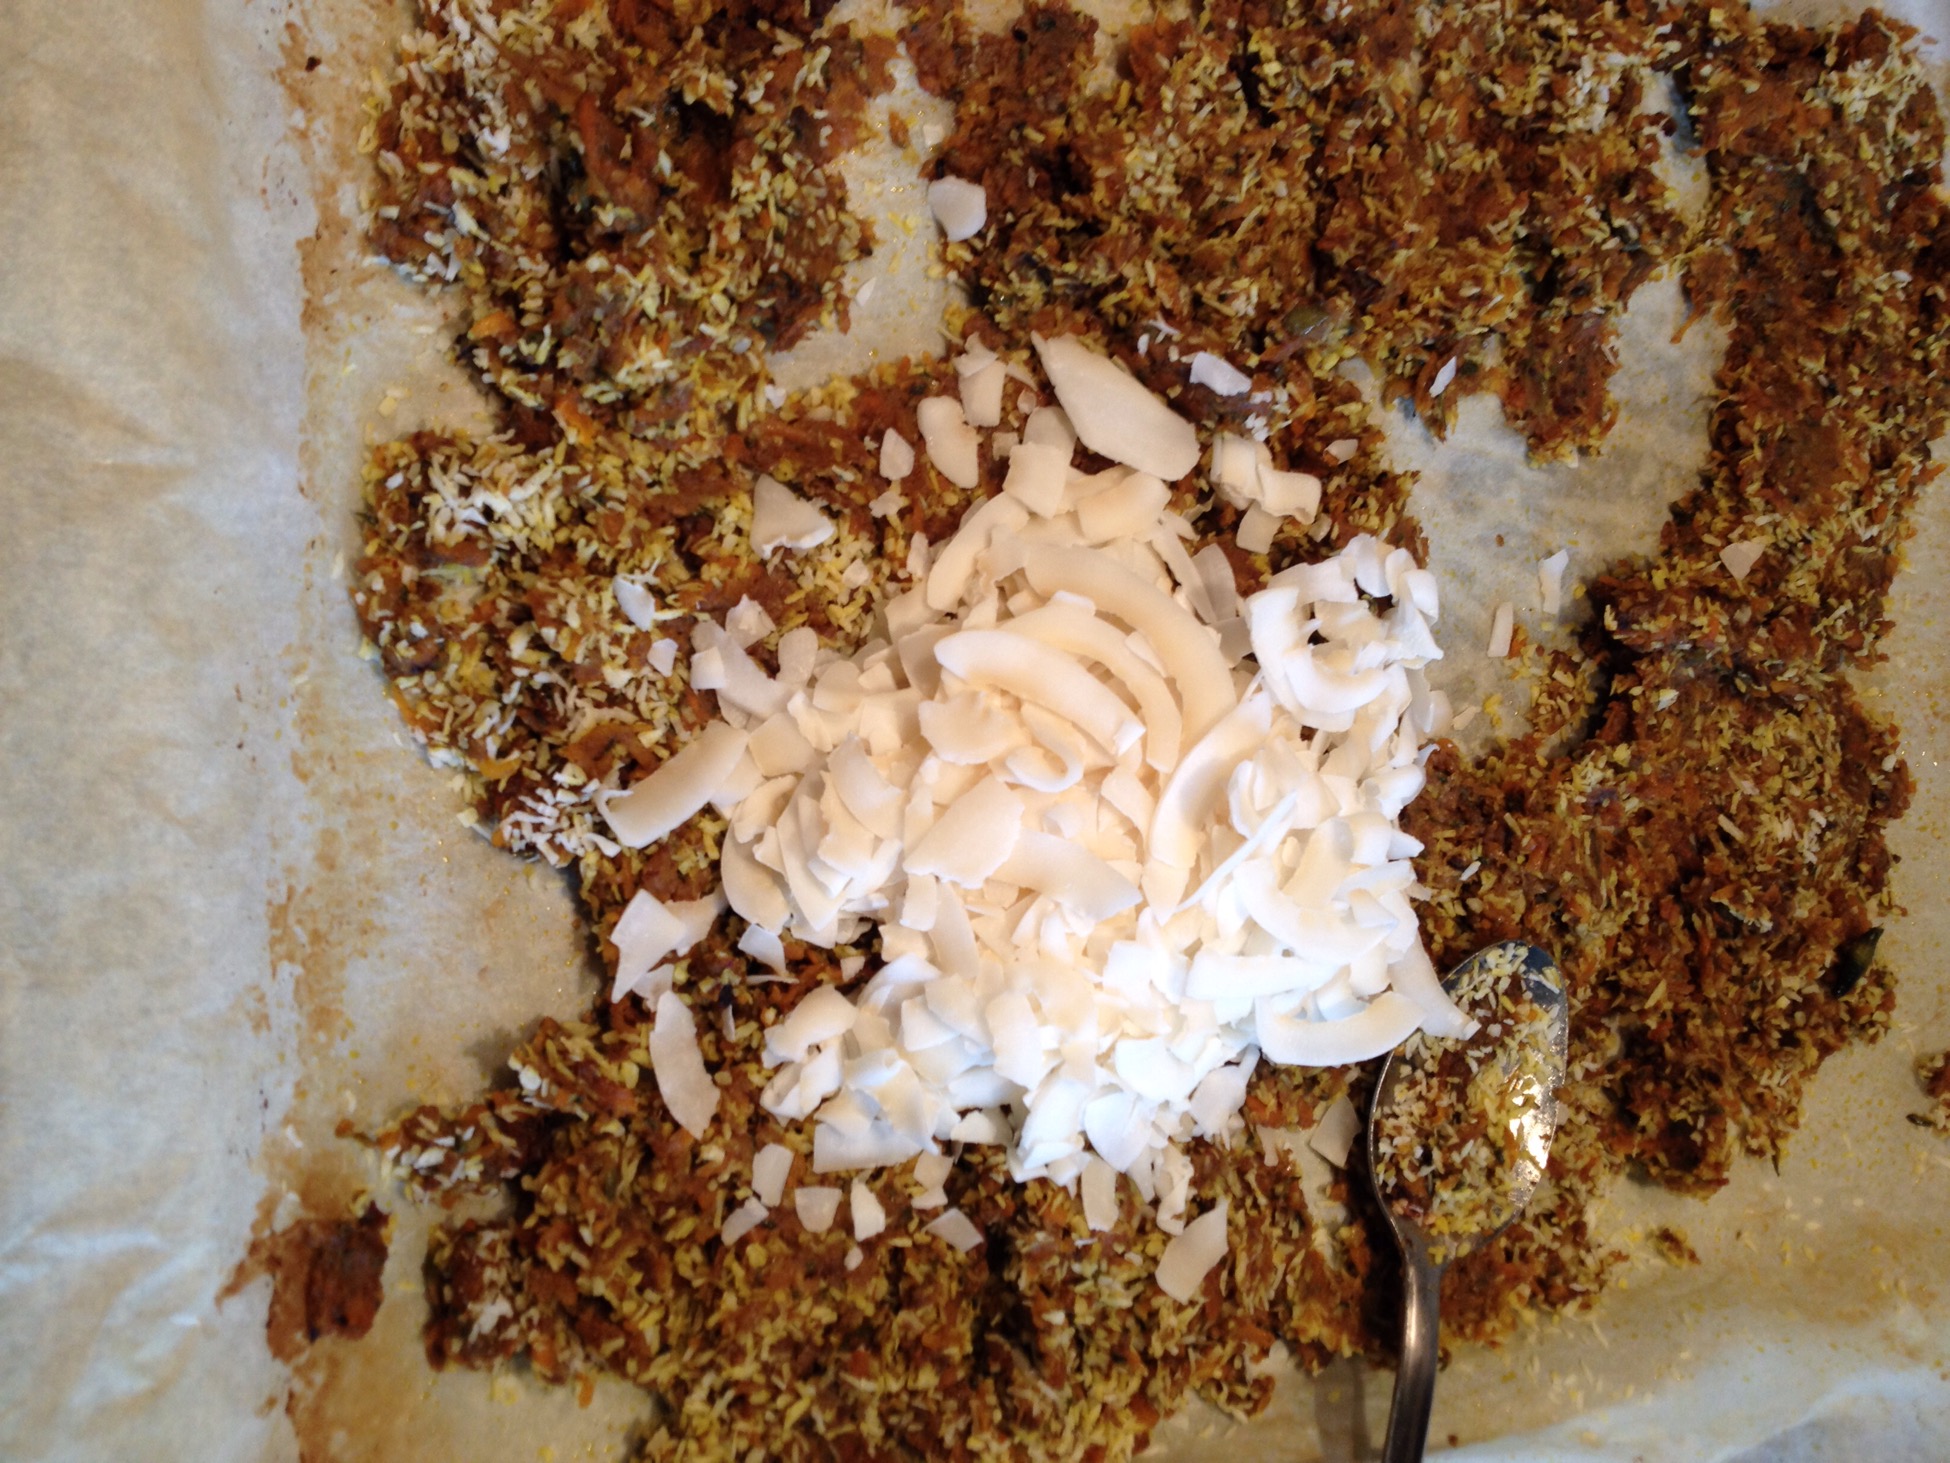
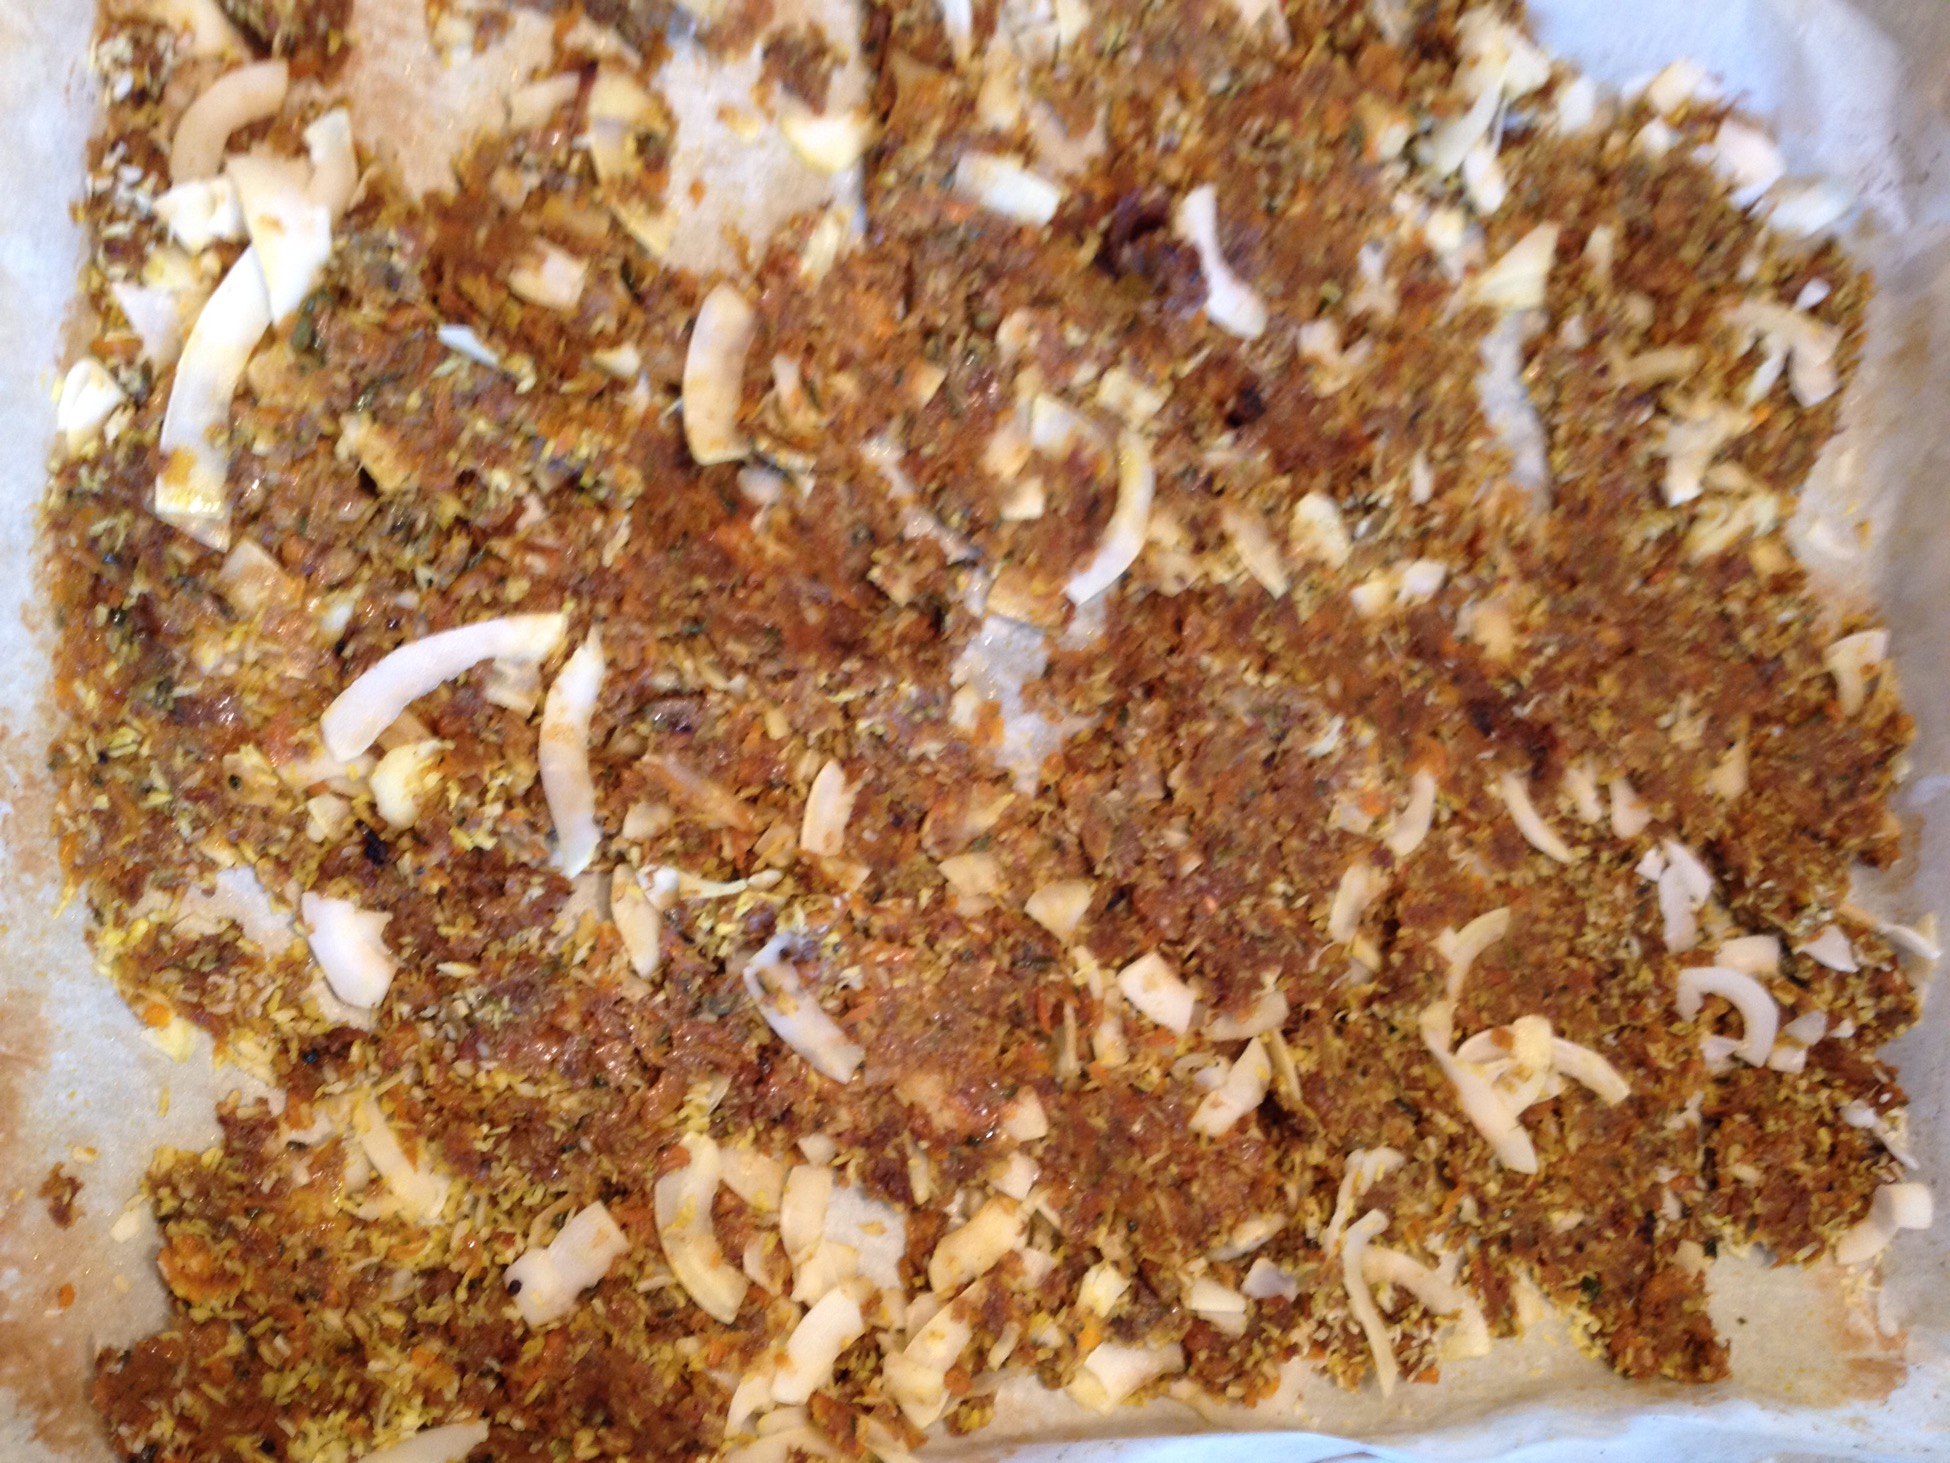
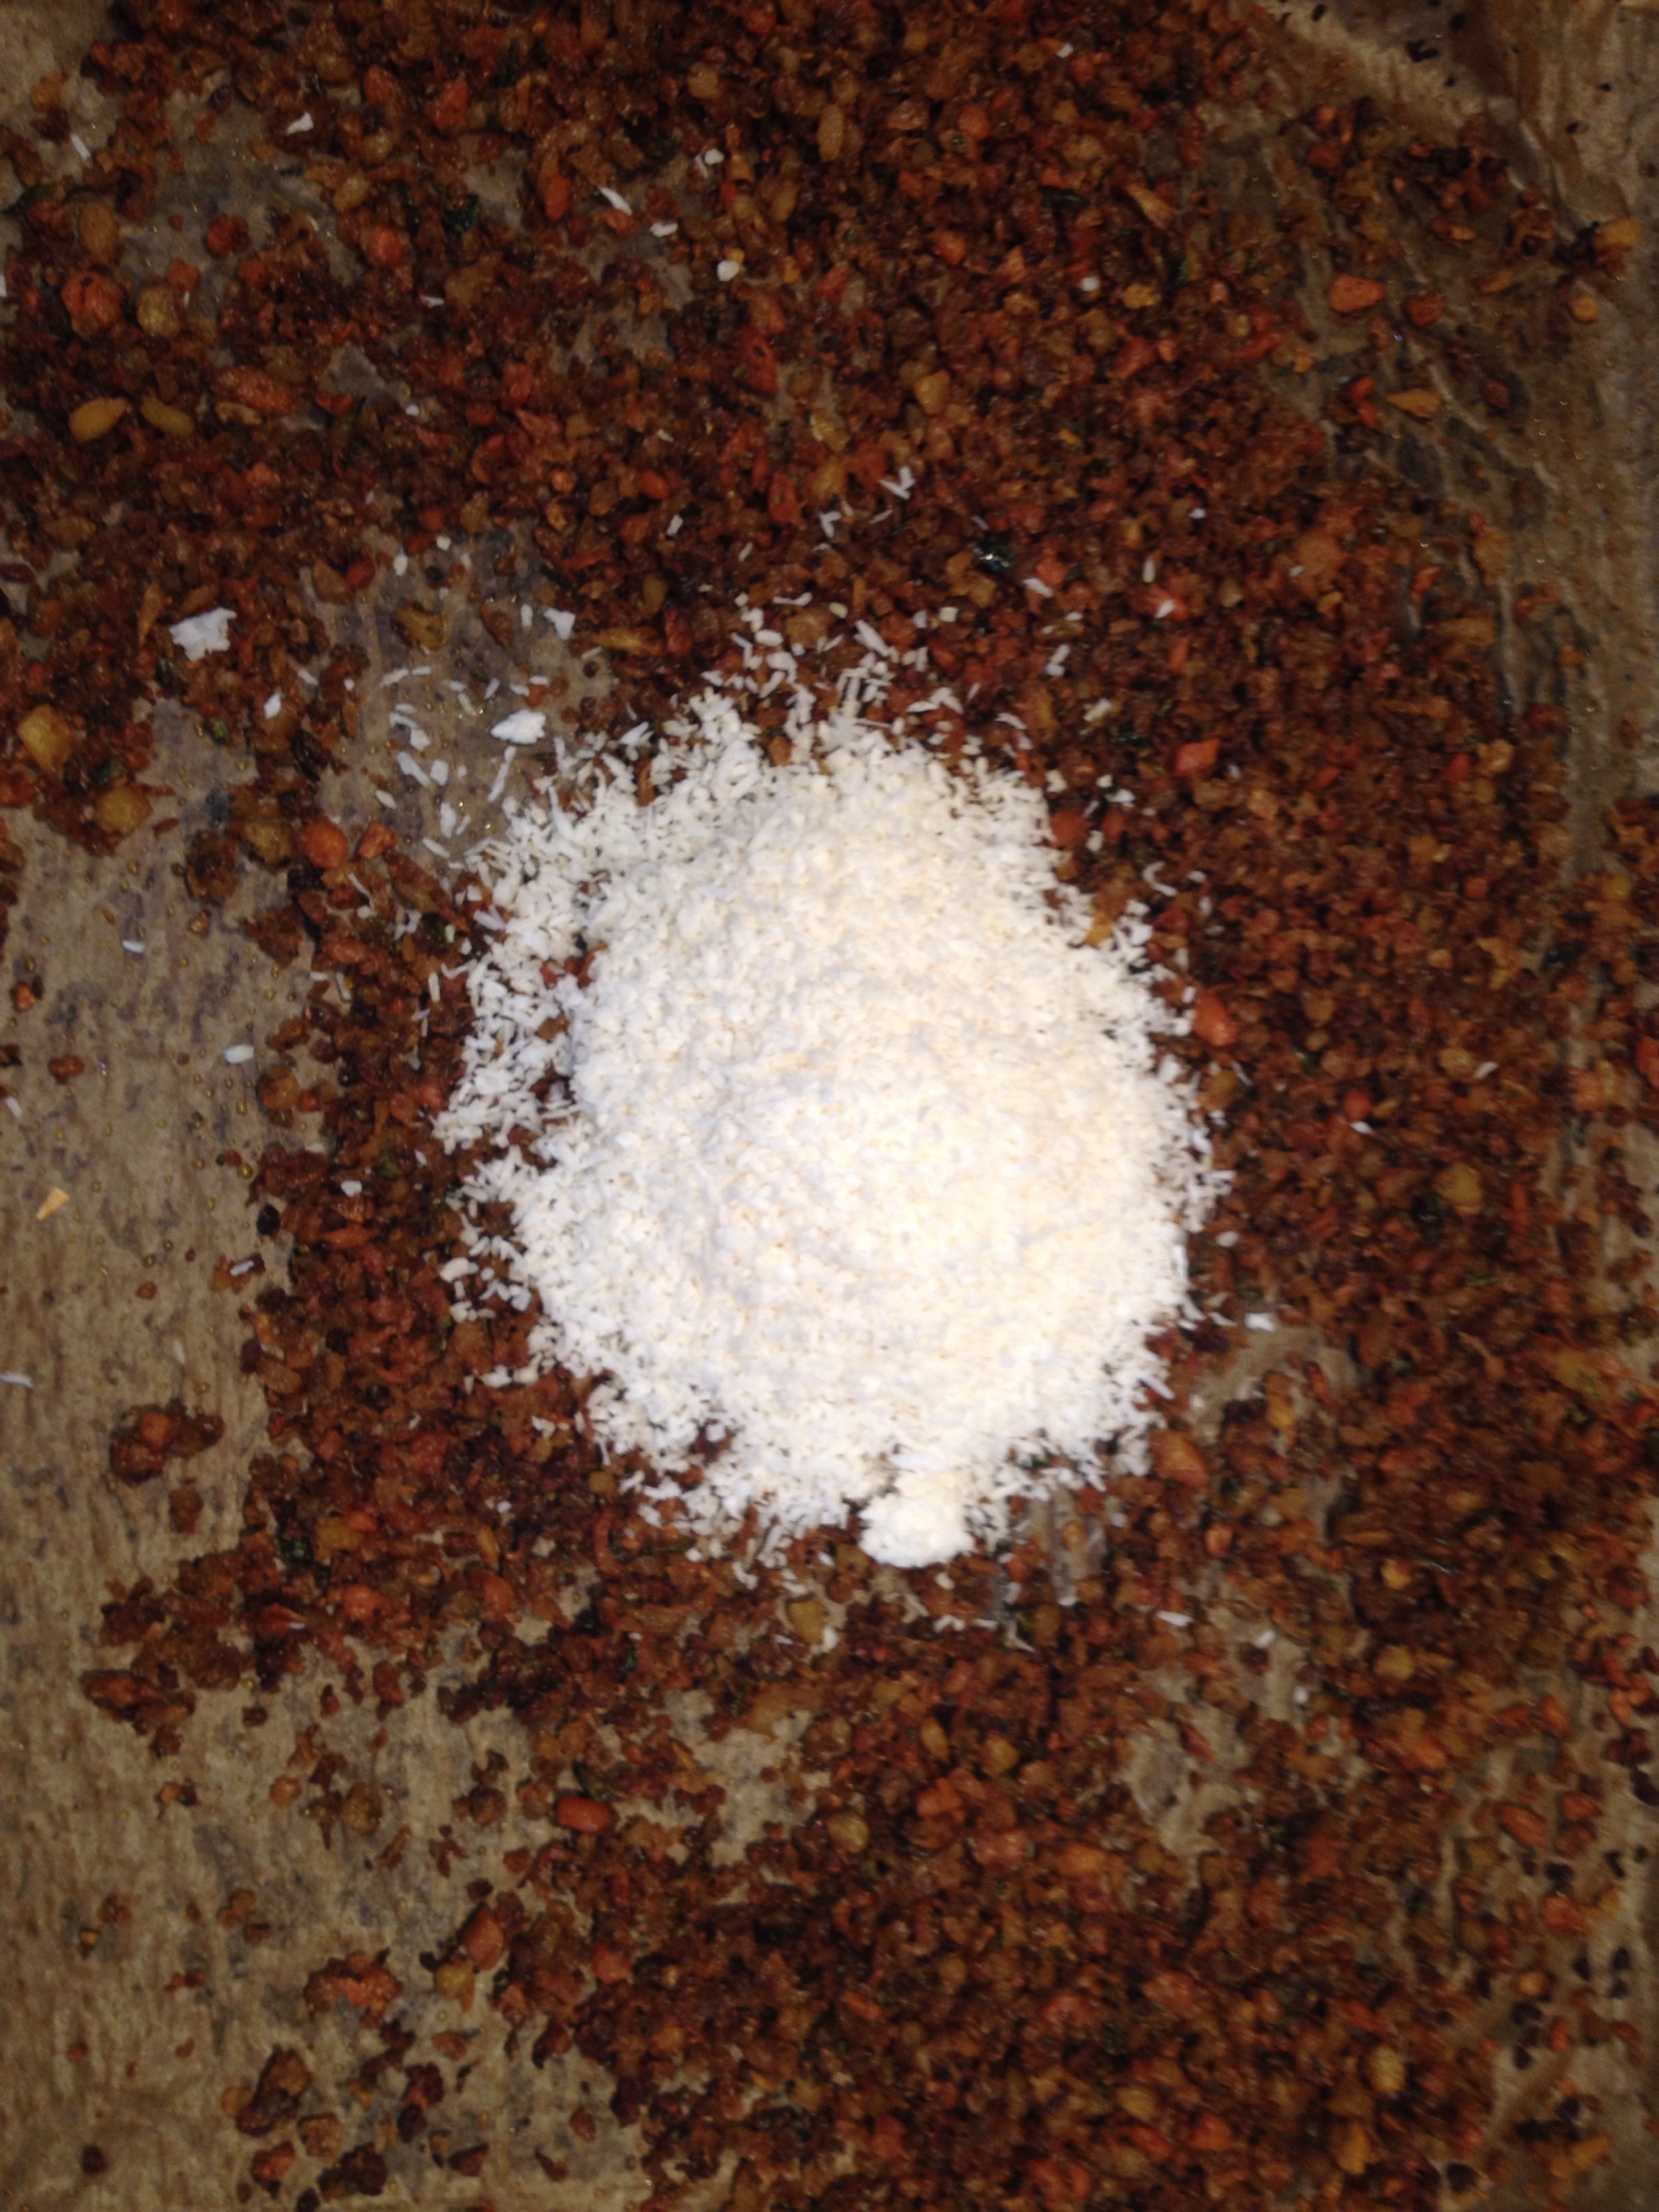
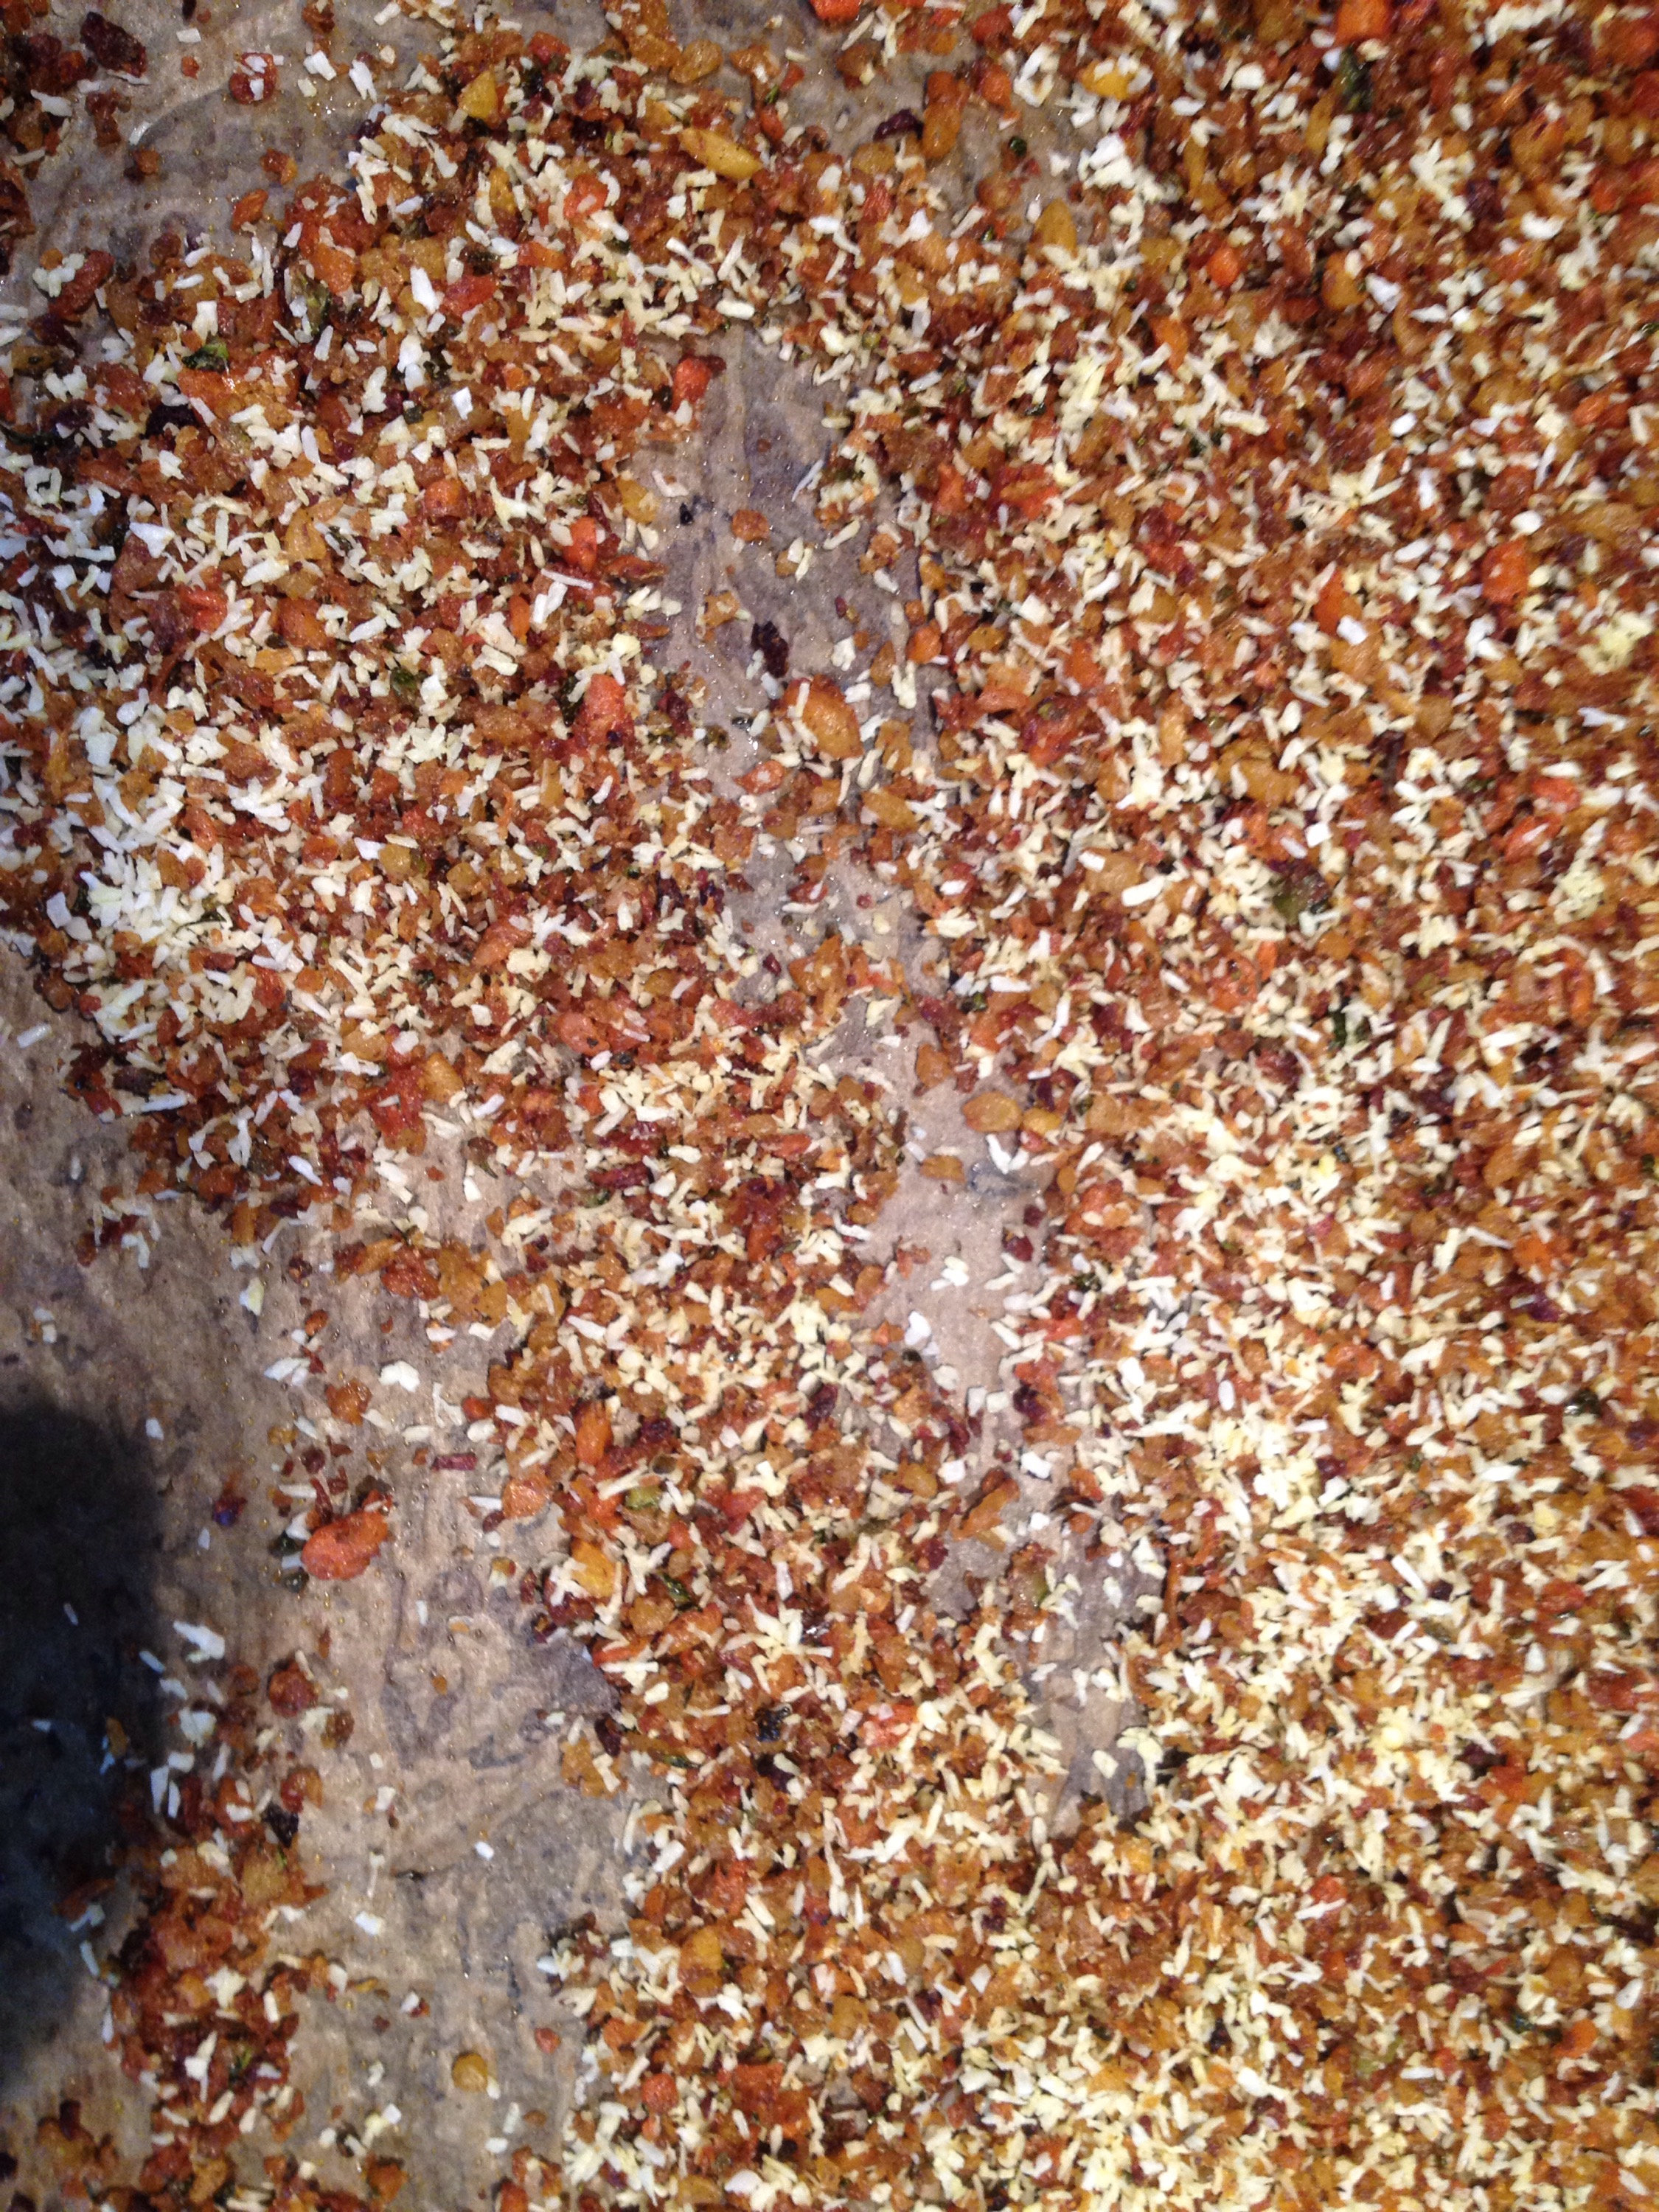
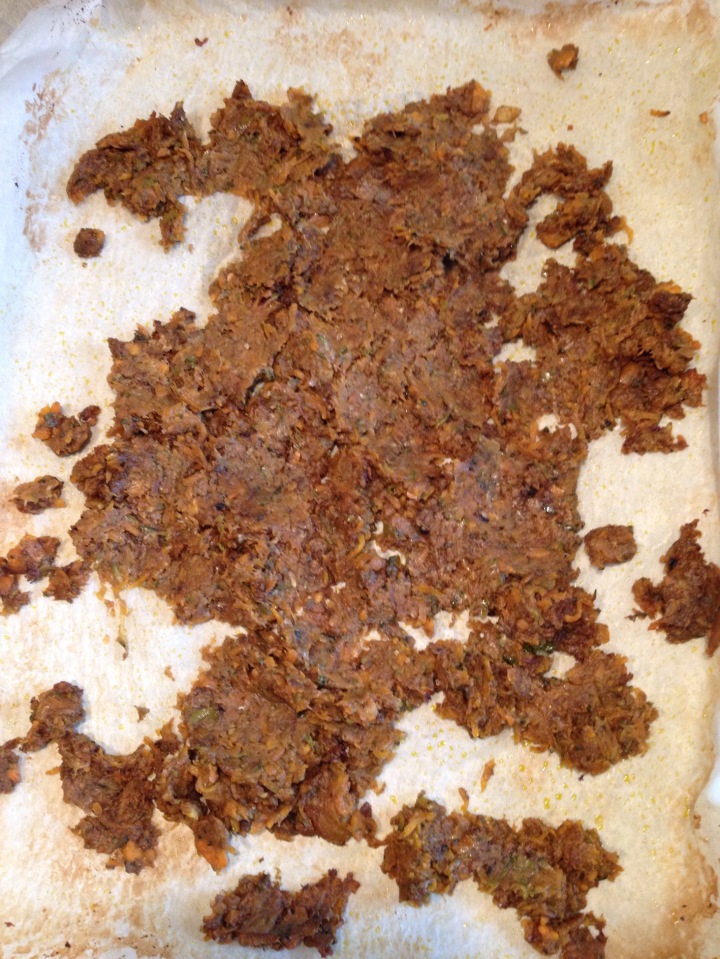
  Now add your desiccated coconut and flakes, it helps to break it up. Cook and turn for 3-5 min intervals until it becomes dry and crumbly – if you used mashed ingredients, it seems to take forever, be persistent.
  
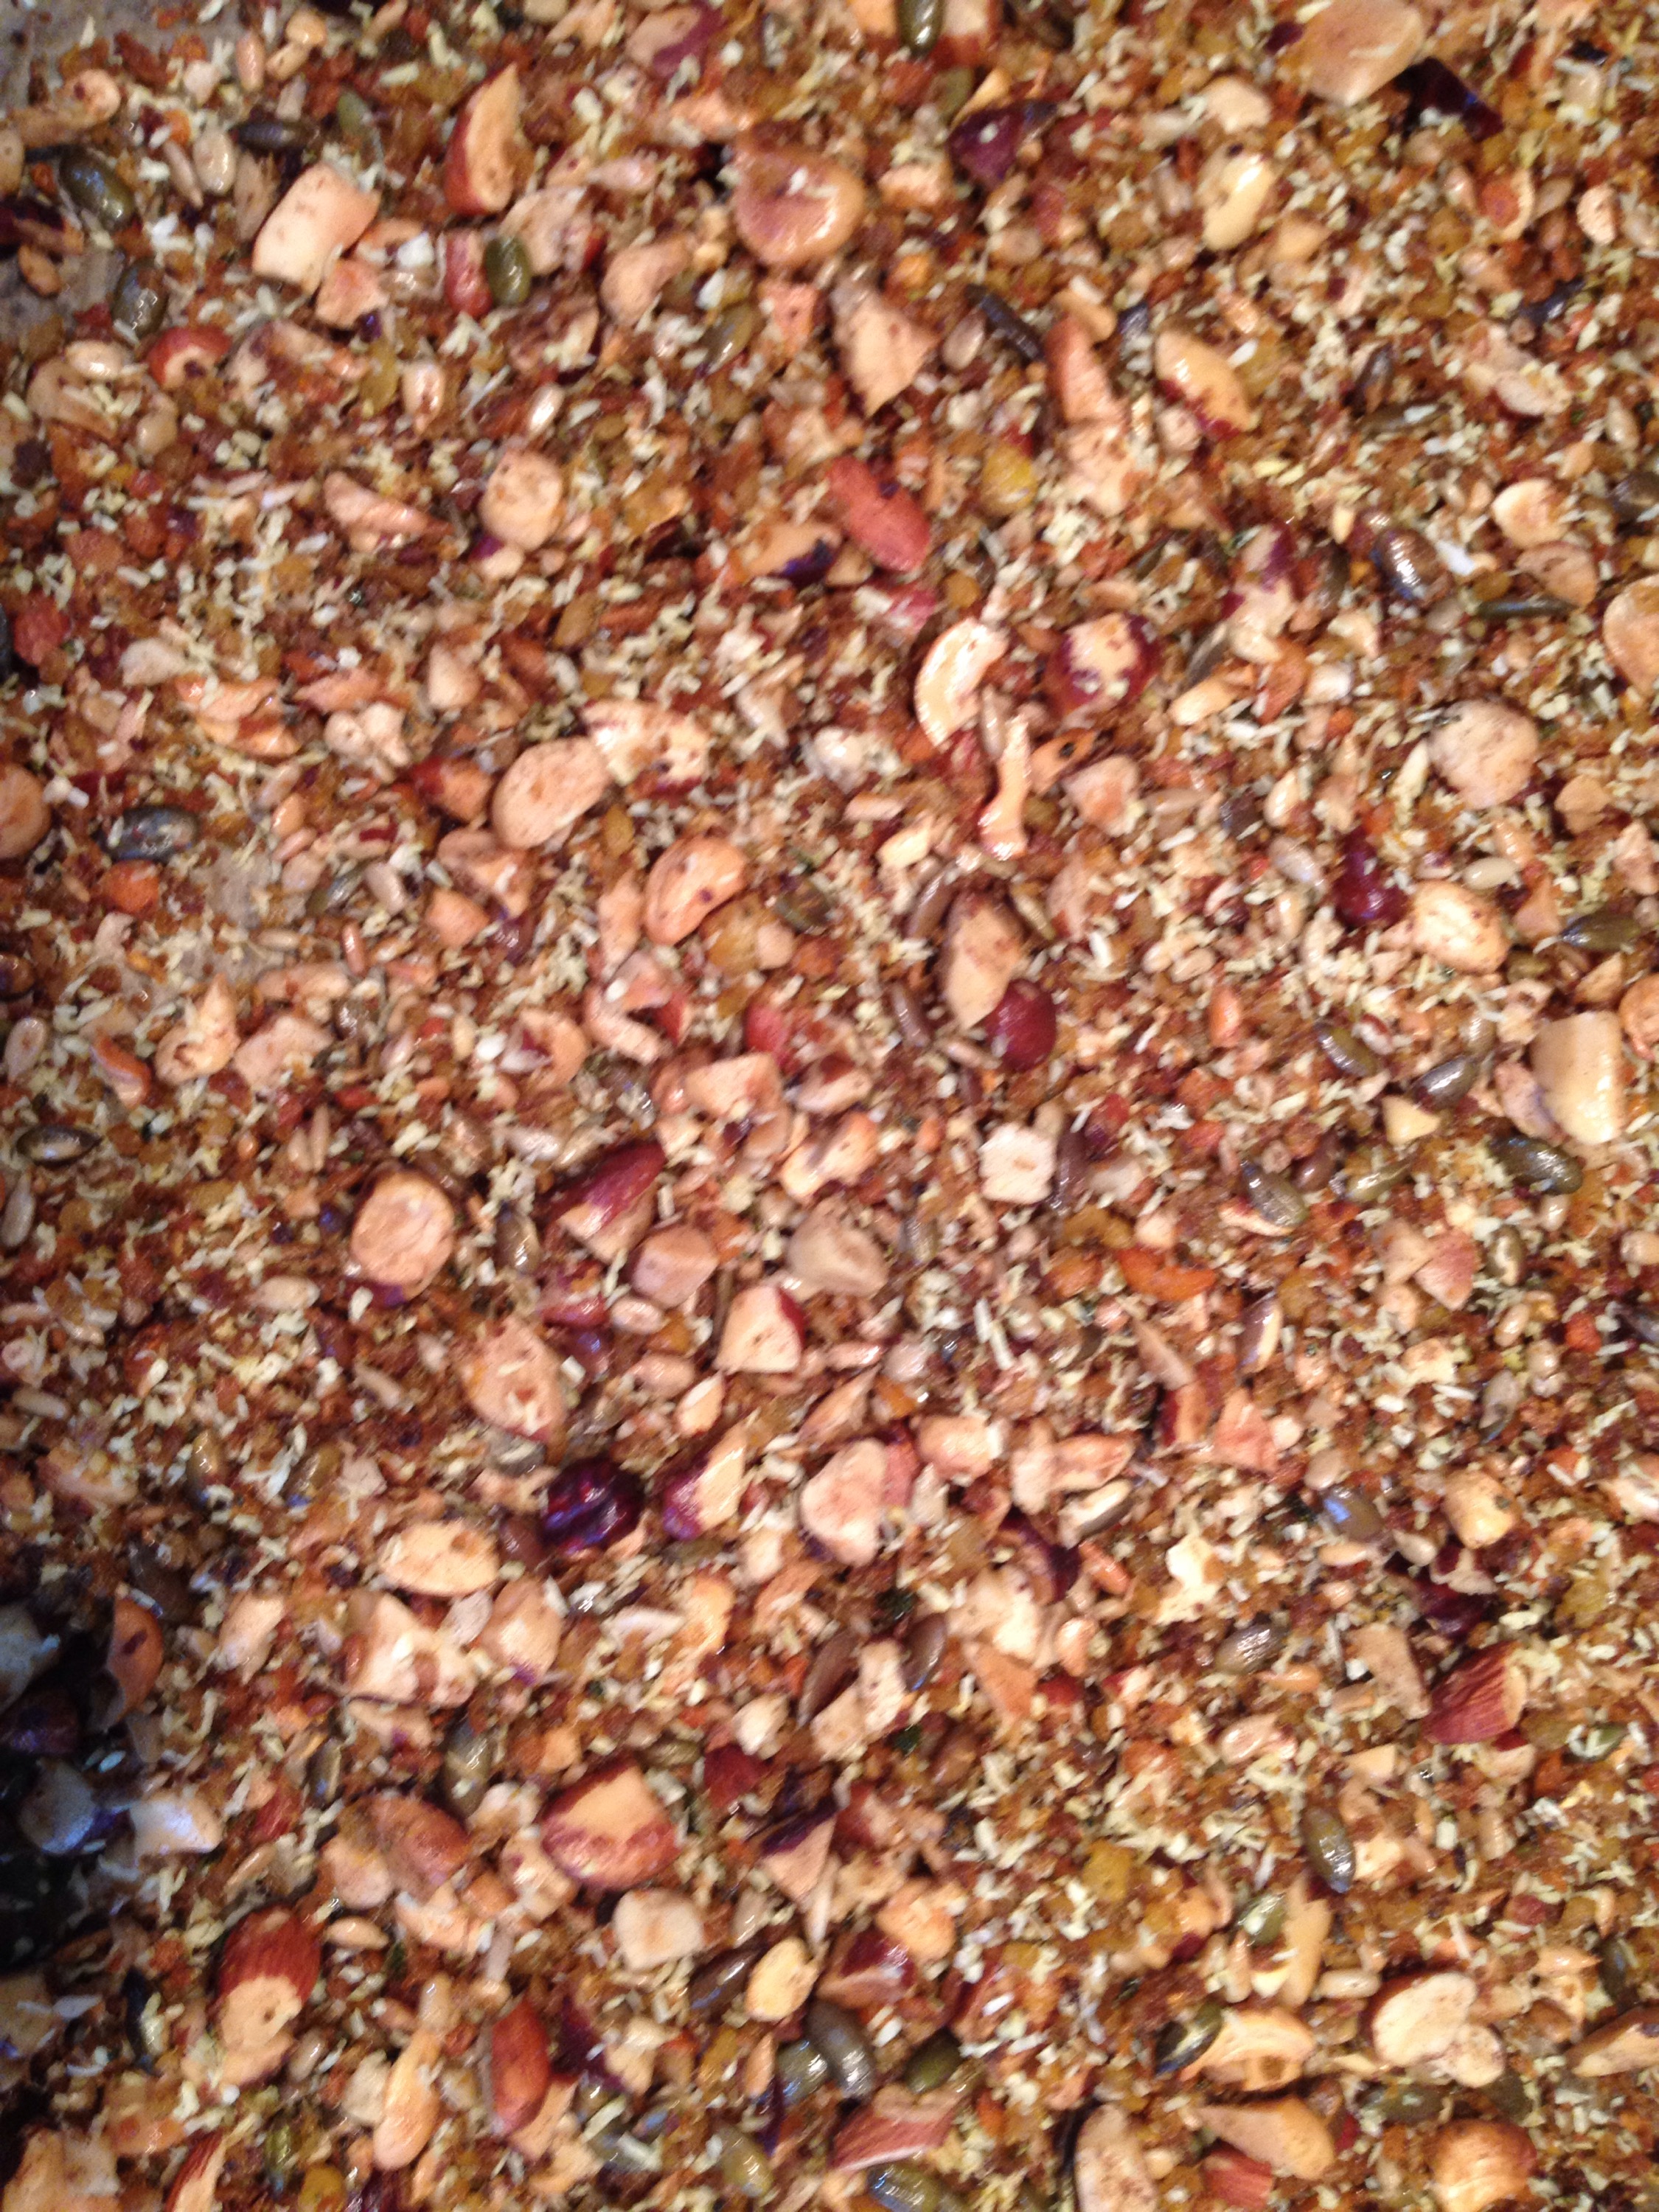
 Allow to cool and mix in the nuts. Add some more desiccated coconut if you’re like me and love it. Enjoy! Let me know how you like to eat yours and if any other veggies work well with it.
** Why no mashed ingredients in your first one? Preparing it without mashed ingredients is quicker and easier. It doesn’t form a clump and spreads much easier. There’s also less chance of it burning. 


 You can add your coconut flakes to your nuts when they have started to brown. Toast the flakes until they are brown and crunchy. Add your desiccated coconut at the end.


Sadly I had no coconut flakes for this batch. It was  half a suede, 1.5 courgette and four carrots. I mixed in mixed spice, cinnamon, salt and oil. I added all spice to the nuts. It turned out great.

Good luck x

Natural foundation powder.

DIY makeup is not an area I’ve had a lot of success with, however I love this foundation and wear it daily. It only provides a light coverage and gives a Matt appearance. I sometimes add some concealer under it if I’m going to work.

First time I made it I followed the recipe on the Live Simply site. I ended up with a lot because making your own foundation requires a lot of tweaking at the start to match your skin tone.

Since then I’ve made some changes. I would start with a small amount and then when you know what works for you, increase your quantities. Always keep some from your previous batch and then just match your new shade to it. It’s easier than rushing to a mirror on each adjustment.

Good quality Ingredients: (for my medium skin):

2-3 tbs Non GMO Arrowroot (I have read that you can use cornflour, haven’t tried it) this is your base, gives that flawless look, more can be added for lighter skin.

1 tsp Cocoa – this adds richness and darkens it.

1 tsp Cinnamon

1/2 tsp Ginger (if you have yellow tones)

1/2 tsp French green clay (if you have red pigments you don’t want)

1 tsp Bentonite clay (healing clay which is great for your skin, but optional). Note: benefits are reduced if it comes in contact with metal.

5 Drops non GMO Vitamin E oil (great for your skin)

5 Drops Lavender EO (great for skin and smells good too)

Some like to add nutmeg.

Method: 

Using a non metallic bowl and whisk or spoon, start with the arrowroot and add your ingredients. Perhaps halve your quantities at the start and test the colour on your face or arm. It may take a fair amount of tweaking the first time, to get the right shade for your complexion.

Below you can see I’ve saved some from by previous batch, now I know what shade I need to achieve

 Good luck, let me know if it works for you x

Here I am, just moisturised in the top photo, you can see the red pigment in my skin. Below is with the foundation, as you can see it’s a light coverage.

Blueberry Paleo pancakes… with hidden avo sshhhh

Wherever I can, I sneak extra veggies into my kids meals and get great satisfaction when they don’t detect them. My kids are super suspicious and are not fooled easily. A small avo went into this batch undetected. I would rather thay got their energy from healthy fats than sugars. Replacing the sugar in the banana, with the fat from the avo, will keep us all fuller for longer.

The batter is a little green but when cooked they are their usual golden colour, without a single shade of green.

*UPDATE: I now add a tsp of coconut flour to the mix to help bind it. I also add my blueberries at the end instead of cooking them, they hold together better and sometimes the blueberries stick to the pan. *

Ingredients:

4 eggs

1 1\2 over bananas

1\2 OR 1 small Avocado

1\2 tsp baking soda (bicarb)

1 tsp cinnamon

1 tsp allspice

1\2 tsp salt

Fresh/frozen blueberries.

Coconut\olive oil to fry

Method

Combine all the ingredients, except blueberries and oil, in your blender/stick blender jug. Blend until smooth and check that it has a batter consistency. If its too runny, add some more avo\banana (almond flour would also work), if its too thick, add an egg or a little water.


Pour about 1-2 tbs of batter for each pancake, add a few blueberries to each one. Cook them over a medium heat and keep them small otherwise they are difficult to flip. Don’t try to cook too many at once, you need room around them when flipping.


 When they start bubbling, its time to carefully flip them.


 Once cooked serve immediately. We eat ours with some berry coulis (I simply heat some mixed frozen berries and blend), coconut, sometimes nut butters or butter, sliced banana, Greek yoghurt (kids only)… My kids love them, hope you and yours  do too.