DIY Night Cream

I absolutely love this night cream, it’s packed with amazing ingredients and makes my skin look and feel great. I smile when I apply it because it smells so good, a bit like lemon curd.

This is why it’s so good, make sure you opt for quality ingredients:

  • Raw Shea butter & extra virgin coconut oil are both amazing moisturisers, skin protectors and can help heal the skin.
  • Almond oil has been shown to reduce puffy eyes and dark circles, it also has anti-ageing properties
  • Lemon essential oil is an astringent, detoxifier, brightened and can help lighten skin spots.
  • Aloe Vera gel is a skin brightened, neutralises free radicals, repairs damaged skin, can help aid skin issues like eczema and slow down the appearance of wrinkles.
  • Honey protects, heals, revitalises and moisturises. It’s antibacterial and inflammatory properties can even help remove scars.
  • Bentonite clay helps absorb and remove toxins and impurities.
  • Vitamine E oil can help block free radicals, slow down the skins process and help heal scar tissues.

I pinched it from A Blossoming Life she has a great website, you should check it out for other great DIY ideas.

Ingredients:

1/2 tsp beeswax

1 tsp coconut oil

2 tbls almond oil

1/2 tsp Shea butter (or more coconut oil)

1 tsp Vit E oil (non GMO)

1/4 cup aloe Vera gel

1 tsp raw honey

1/2 tsp bentonite clay

5-10 drops lemon essential oil

Method:

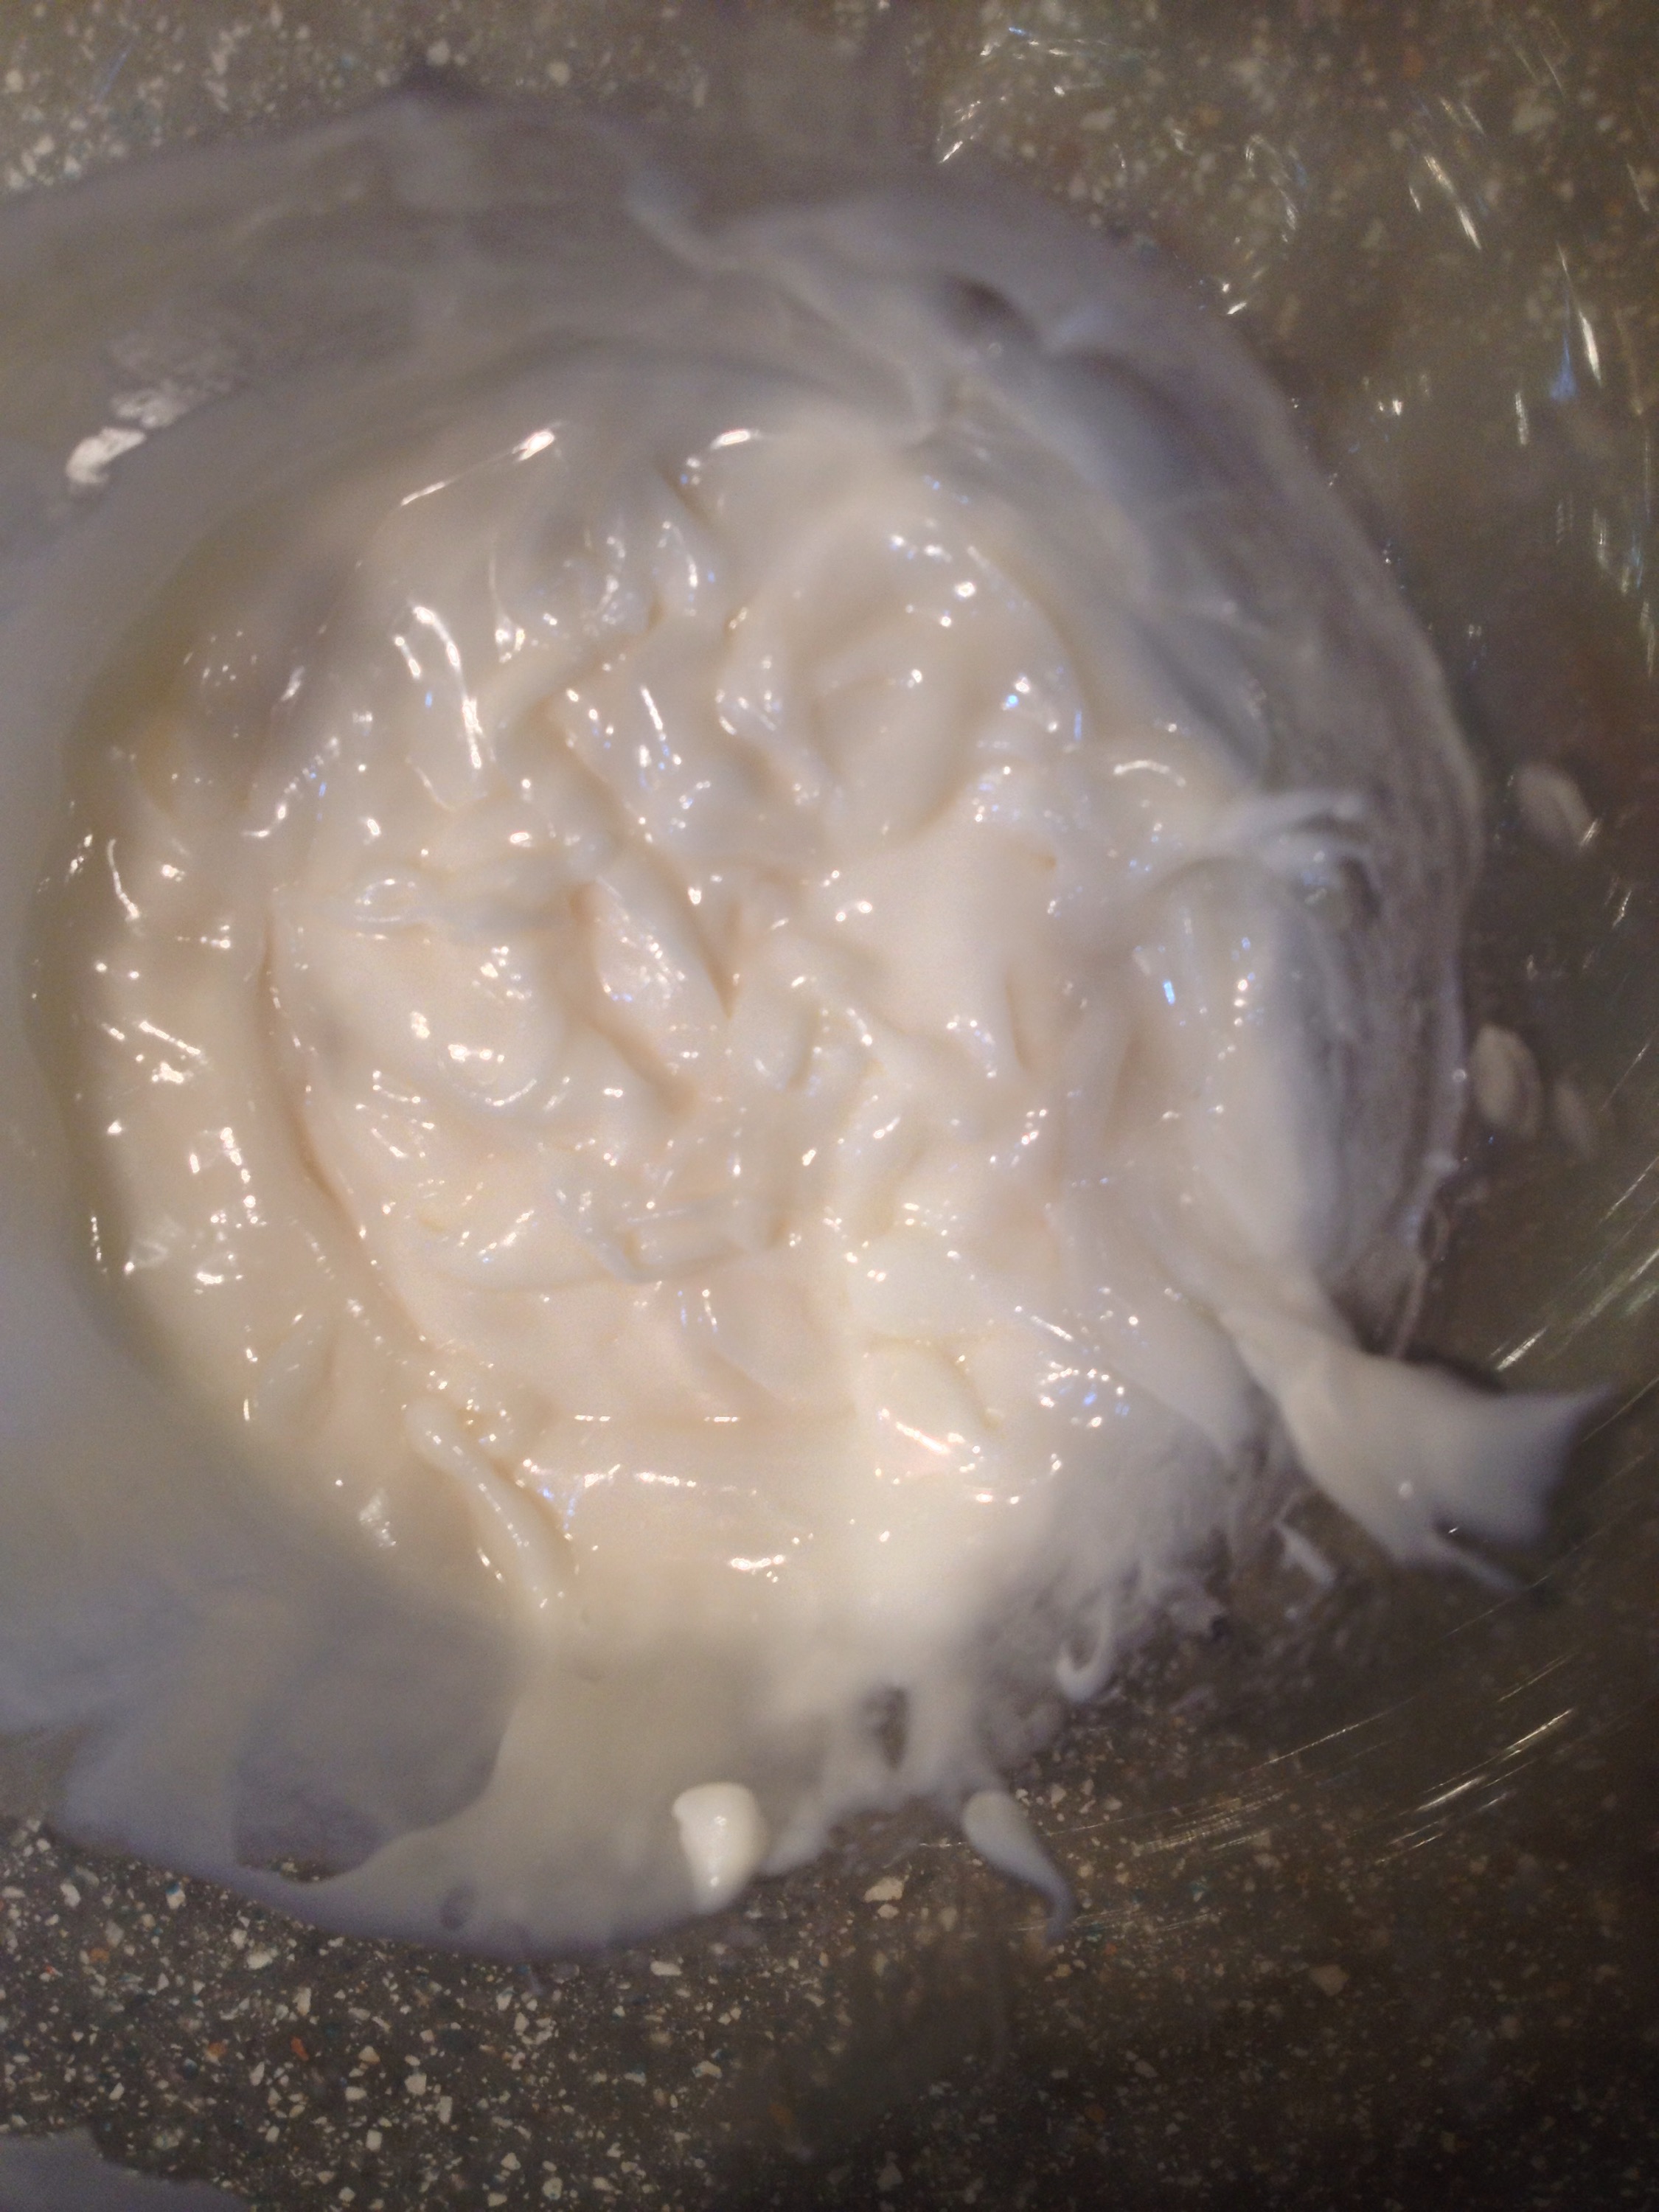
Gently heat the first 4 ingredients in a double boiler or bowl over saucepan of boiling water. Pour into your blender / stick blender jug and allow to cool. In a separate bowl mix together aloe Vera gel, vit E, lemon EO and honey. Once the beeswax oil mixture has completely cooled and become the texture of lip balm, add the aloe Vera mixture and blend until well combined.

  
In a non-metal bowl add bentonite clay and stir with a non-metal utensil (metal will reduce its effectiveness, so no more metal in this process). Place in a glass jar or plastic container and store in a cool dry place. I separate mine into 2.5 small jars and store the extra ones in the fridge until I need them.

 The jars are little jam jars recycled from the hotel I waitress at.
It smells so good putting it on, a bit like lemon curd. Wear it at night only as the lemon EO can cause photo sensitivity in the sun.

Enjoy x

DIY Healing Lip Balm

Lip balm is the easiest skincare/beauty product to make. If you’re just starting out your DIY skincare journey, this is the place to start. All you need is some beeswax (preferably the pellets, they simplify the process) and some oil. You can play around the the quantities depending on whether you prefer it firm or soft. Start with extra virgin olive oil, it’s an excellent moisturiser and has healing properties. Use a 1:1 ratio of olive oil and beeswax, melt the beeswax down in a double boiler or microwave, mix in EVOO, pour into a small container and allow to cool.

You can then try adding different ingredients and playing around with the quantities. The firmer your oil (eg coconut oil/ shea butter) the less beeswax you’ll use. Jojoba and coconut oil are another two ingredients I love to use.

I’ve made many lip balms and love this one. The great thing about making your own products is that you can decide what goes into it, you can tweak it to suit you and you can make sure there are no nasties in it.

Ingredients:

1 teaspoon Beeswax pellets (or grated) – This creates a later of protection on your lips to seal in moisture.

1 tbls Shea butter – very moisturising, great for healing sore lips.

1 tsp almond oil – revitalises, soothes, moisturised, evens lip colour and the vit B2 treats cracked corners.

1 tsp raw honey – amazing ingredient which protects, heals, revitalises and moisturises. It’s anibacterial and inflammatory properties even help remove scars.

1 tsp extra virgin olive oil – Extra virgin has a high concentration of antioxidants which is good for healing, it’s also an excellent moisturiser.

10 drops vit E – protects lips and skin from sun damage and has anti ageing properties

3 drops peppermint essential oil – adds a great flavour and has healing properties.

Method:

Gently heat the beeswax and Shea butter in a double boiler or use a bowl over saucepan with boiling water in it. Remove from heat and wipe the outside of the bowl, you don’t want to get any water in your lip balm as it can go mouldy. Add the rest of your ingredients, mix and quickly transfer to your clean and dry lip balm container. Allow to cool.
I use the little breakfast glass jam jars from the hotel I work at. They would otherwise go in the bin, you could probably enquire at your local hotel.

Enjoy X

Natural DIY Olive Oil and Milk Soap 

My journey of making natural skincare, hair and beauty products all started with soap. I have made many variations and love this one (recipe from my mom – thanks Mom), it is great for eczema, sensitive skin, your face or your babies skin. It doesn’t created much lather, but it’s gentle and mild and leaves your skin feeling lovely.

I used to be addicted to hand and body cream because commercial soap would leave me feeling dry. Now my skin only feels dry after swimming in a chlorinated pool, but soon returns to normal without moisturising. I don’t moisturise my hands Or body anymore, it’s great! Commercial soap contains a long list of ingredients, including harsh chemicals and synthetic fragrances and dye.

“But what about the caustic soda?” Yes I hear you, you need this to turn the fat into soap, there is no way you can make soap (from scratch) without it. However the caustic soda is neutralised during the soap making process (saponification), so once it’s cured and ready to use, NO caustic soda remains in it, it is completely safe at this point.

❗️We do have to be careful while making it, because the caustic soda (lye) BURNS! Wear gloves and goggles if you are new to this and if you get it on your skin, WASH IT OFF IMMEDIATELY. Same goes for your work surfaces, floor and clothes. Keep the room well ventilated and do it when there are no kids or pets around. DON’T use any aluminium pots or spoons. Use stainless steel, cast iron pot and steel, wood or plastic utensils. Line your work surfaces with newspaper if you think they might stain.❗️

Ingredients and equipment:


Ingredients:

165g Full cream milk

63g lye/caustic soda/ sodium hydroxide

500g Olive oil

Essential oils of your choice (optional). I put Ylang Ylang in this one, it smells nice and has great properties, however I’m not convinced they hold their properties after the whole process. Most essential oils don’t hold their fragrance. Peppermint is one I sometimes use, it gives a good fragrance, but you need to use quite a bit. I sometimes put lavender or tea tree in as well.

Equipment:

Stainless steel saucepan

Mixing bowl

Whisk

Thermometer (I use a sugar thermometer)

Stick blender (Emerson blender). I have seen recipes where people use their Kenwood mixer on a low setting so it doesn’t splash. Hand beater might splash the mix, so it’s not good as the caustic soda is still present.

Scales

Mould-you can use one plastic container and cut it up the next day, just line it with cling film to assist removal. I use silicone cupcake holders, the soap comes out easily and they look cute.

Blanket or towel.

Method:

Weigh your milk and get it in the freezer, it needs to be slushy. The lye heats up when added, freezing it first prevents the milk proteins from cooking.


Slowly add your lye, whisking well at the same time. It smells gross and goes a yellow green colour. Don’t worry if it starts to cook slightly and it goes slightly lumpy (like scrambled eggs).


Set aside to cool.

Now slightly heat your oil in the saucepan. Take the temperatures for both milk mix and oil. You need them to be the same temperature, around 110-125 F. If one it warmer put a little cold water in the sink and sit the bowl or pot in there to cool, or put an ice pack under the warmer one.

When they are both the same temperature, carefully add them together and mix using your stick blender. Try not to splash it. Mix for a minute or two and then leave it for a few minutes (get your mould ready during this break) and repeat until you reach trace (the mixture gets stable, the ripples formed stay on the surface, it’s thick and pourable).


Once you reach trace you can add any fragrances. If you add herbs they will probably change colour, experiment and have fun, that’s the joy of making your own soap – you decide what goes into it.

Pour your soap into your mould/s and cover with cling film (optional, I cover it to prevent it going onto my blanket).


Wrap it up in a blanket or towel so it can cool down slowly. Leave it for around 15 hours.


The next morning it/they should be firm, remove from the mould and cut into blocks if you used one mould. Place your soaps on a drying rack or somewhere ventilated and allow to cure and harden for a couple of weeks. The colour changes slightly and should go really hard.

This batch makes 10 cupcake size soaps.