This is my ‘Ssh everyone’s asleep’ breakfast, when I’m working at the crack of dawn. This mixture of baked vegetables (and optional fruit), nuts and seed goes down well as breakfast or a snack, my daughter takes some to school for her snack and I sometimes keep some in my bag for emergencies.
I’m starting my whole3040 on Monday so I had better start preparing myself. Its round 2 for me and round 1 for my husband. He’ll be doing whole30 and I’m doing an extra 10 days.
I first made Ditch the Carbs Grain-free Granola and added some grated carrot and apple. Since then I’ve kept on adding more and more veggies, that now it has to be called Veggie Brekkie. You don’t taste the vegetables and the fruit just add a little sweetness. These all reduce down to about a third by the end.
All of the ingredients are completely optional, quantities are also optional. Make it according to what you like or what you have. My family all love it (it has not always been that way, especially for my 3 year old), so I make a large batch. I store it in the fridge however we went camping last month and it was fine left out in the hot tent for almost a week (but I don’t recommend that).
I usually eat it with some berries and avo. My kids put Greek yogurt with theirs.
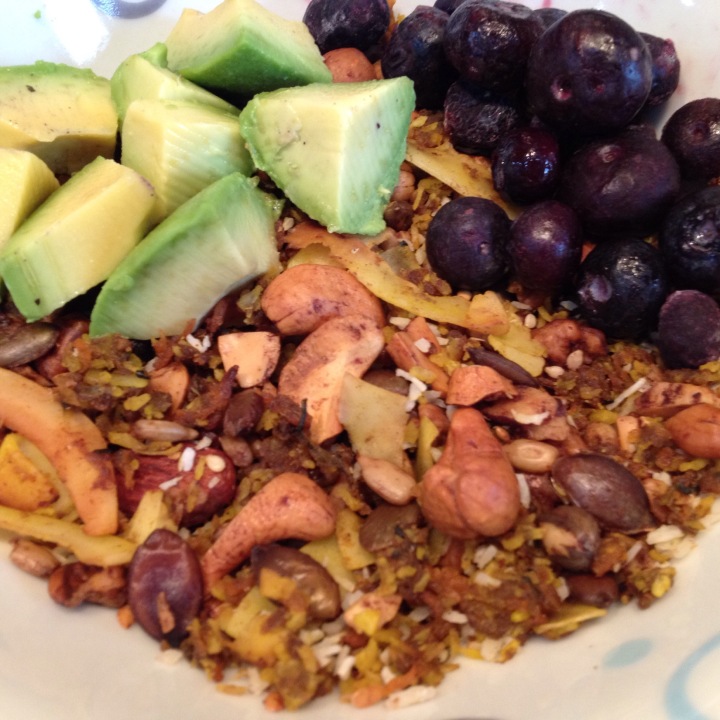
Use your food processor to grate the veg or to chop it up finely. If you don’t have one, I’d consider getting one, I use mine everyday, it saves so much time. This needs a lot of attentive observation so cook it while you have another kitchen job. It’ll need at least an hour to cook, maybe longer if you include the mashed ingredients, and you’ll need to watch and turn it regularly.
UPDATE: I wanted to make a lower carb version, so I left out the fruit and sweet potato. I just has carrots, courgette and celeriac (first time using it in the brekkie), along with the usual nuts, seeds, coconut, oil and spices. I left out the avo because I wanted to cook it a little quicker and easier. It tastes so good, you wouldn’t recognise the difference. Not even my biggest critics (kids) could taste the difference.
Another cheap low carb ingredient which worked well is suede. This time suede, carrots and courgette. Try to really brown your coconut flakes, they add a wonderful crunch.
Ingredients (this is what I used for this large batch. All ingredients and quantities are optional):
1 large courgette (zucchini) – grated
4 carrots – grated
1 sweet potato – grated
1 apple – grated (Granny Smith give flavour great)
1 avo – mashed (don’t include if it’s your first attempt, scroll down to the bottom for explanation)
1 banana – mashed (again not for your first one)
500g nuts – lightly chopped
100g mixed seeds (no dried fruit, it will burn).
1-2 tbsp cinnamon
1-2 tbsp allspice or mixed spice
1 tsp ground ginger
1 tsp salt
Sprinkle nutmeg
1 tsp 100% cocoa powder
About 4 heaped tbsp coconut oil (or olive oil, you need some kind of oil, don’t leave this out).
100g desiccated coconut
100g coconut flakes
Method:
The vegetables take longer than the nuts so I do them on 2 trays.
Preheat the oven to 220 degrees.
Line your largest tray with 2 layers of grease proof paper, all the moisture will come out of the vegetables.
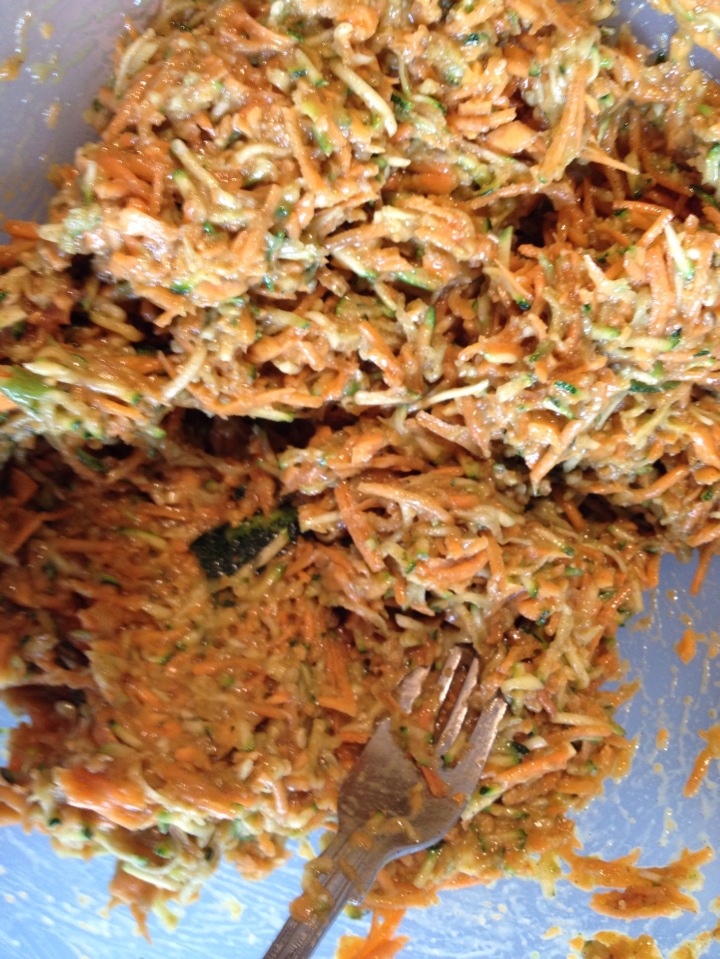
In a large mixing bowl, mix the fruit, veg, salt and spices (I added the cocoa to the nuts but you add it where you like). Melt about 2 heaped tbsp coconut oil and pour it on, mix it well. All your veg needs to have a fine coat of oil.
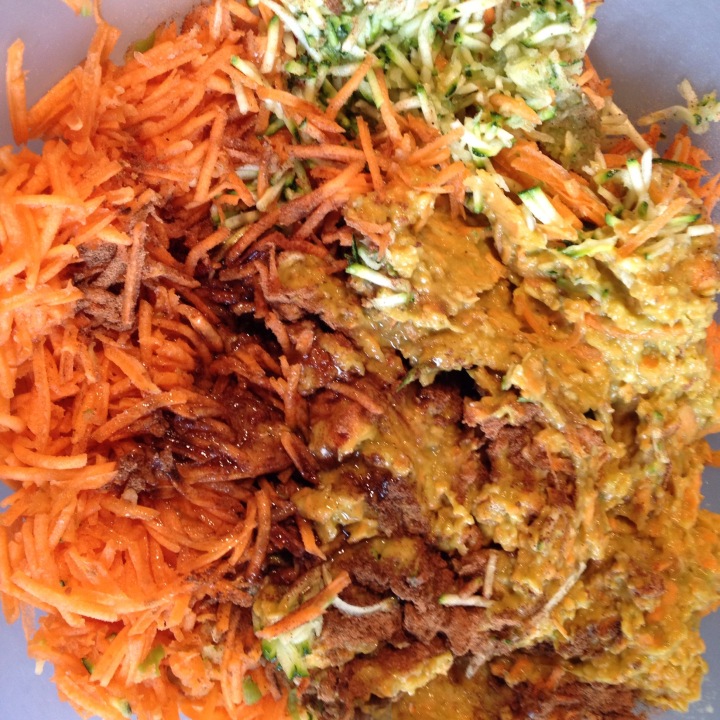
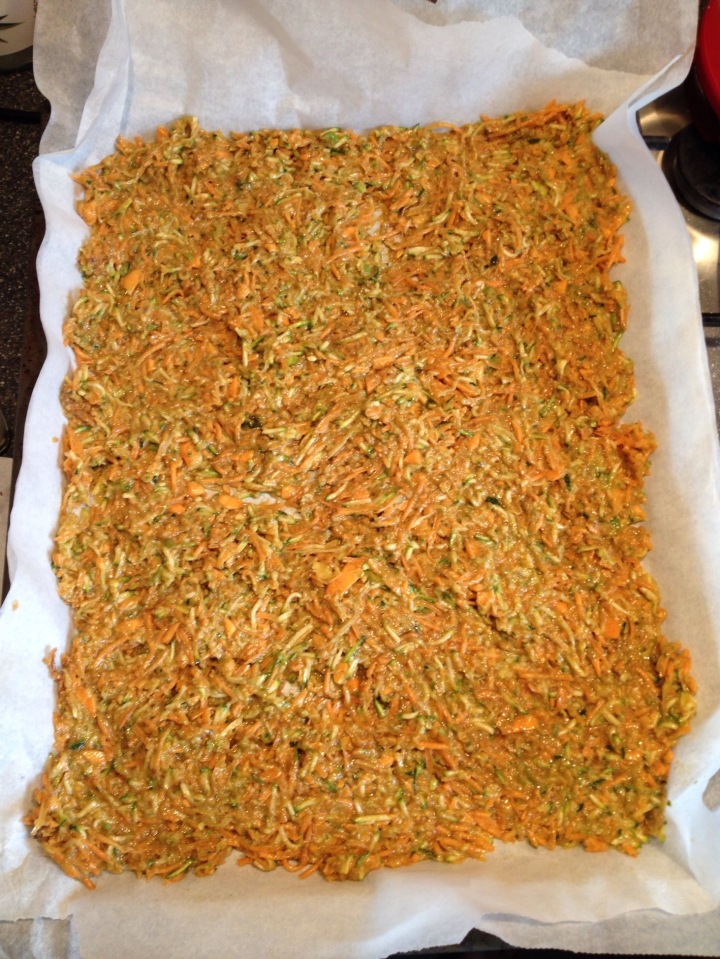
 Spread it out on your tray evenly and cook for 15 min, turn/mix and spread it out and cook for another 15 min. The smell is unusual but this is normal.
In the meantime mix your nuts and seeds. One of my little bags of seeds had goji berries with them. These burnt and I had to pick them out, so avoid any dried fruit.
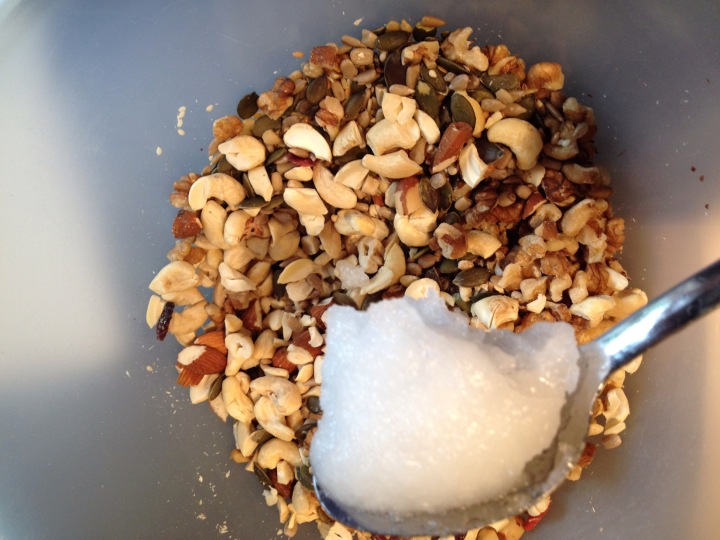
Melt the rest of the oil and add any spices and salt and spread on second lined tray (1 layer of grease proof is fine).
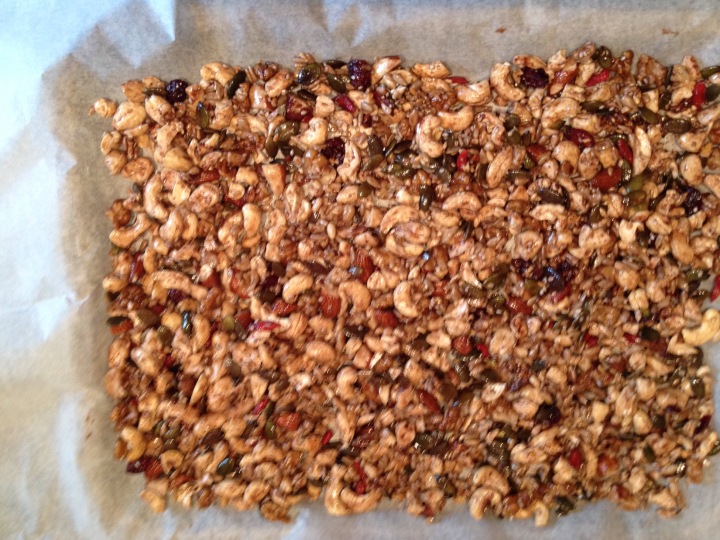 The first tray has now cooked for 30 min on high and should have reduced to half. Now turn the oven down to 180 and cook for 10 min. Put the nuts in on the shelf below the veg. Watch them both, turning after 10 min and cooking for another 8-10 min and repeat. Turn it sooner if you think its going to burn. As soon as the nuts are browned and the pumpkin seeds start to split, take them out. Keep cooking the veg until it has shrunk to about a third.
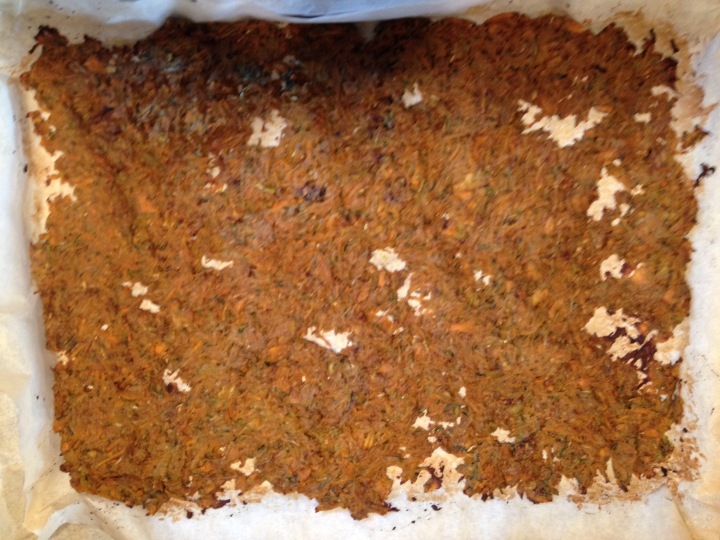
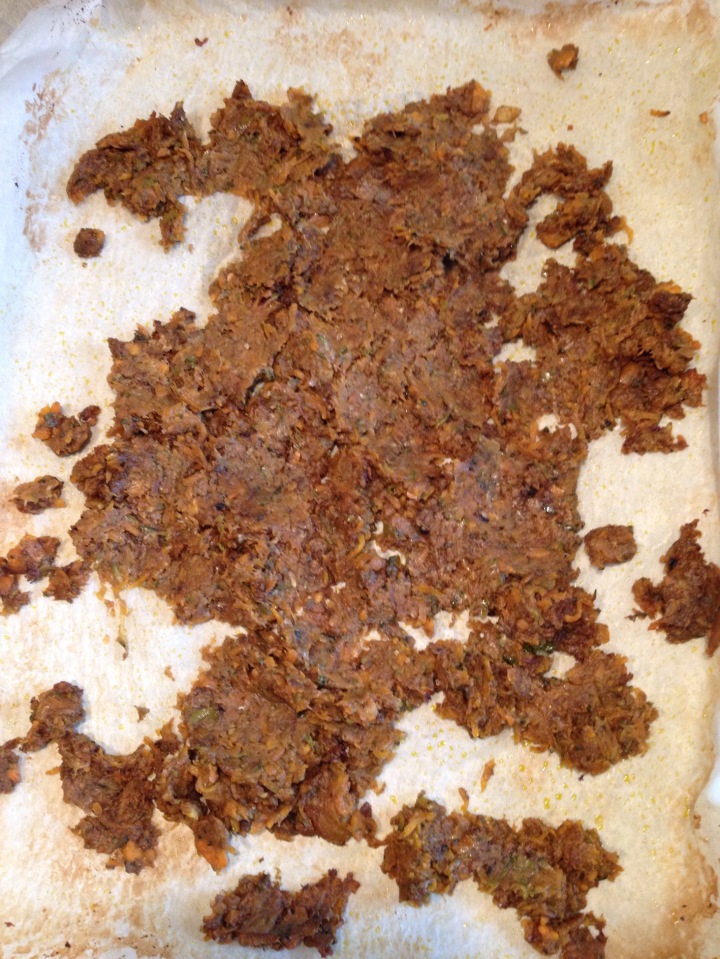 Now add your desiccated coconut and flakes, it helps to break it up. Cook and turn for 3-5 min intervals until it becomes dry and crumbly – if you used mashed ingredients, it seems to take forever, be persistent.
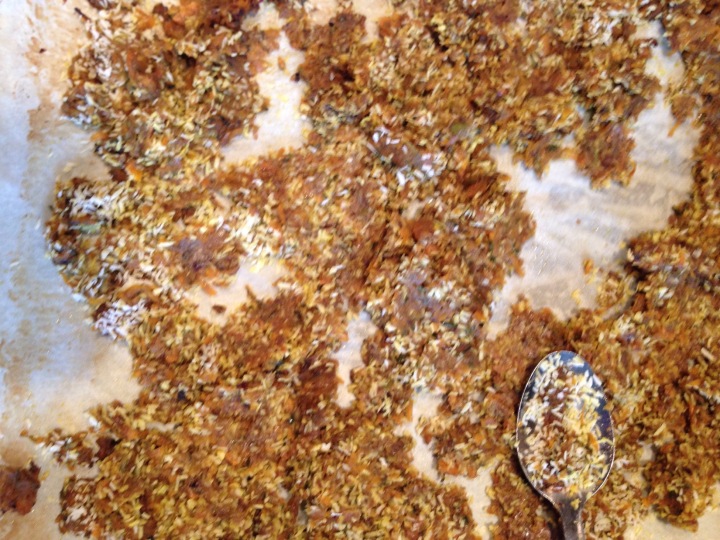
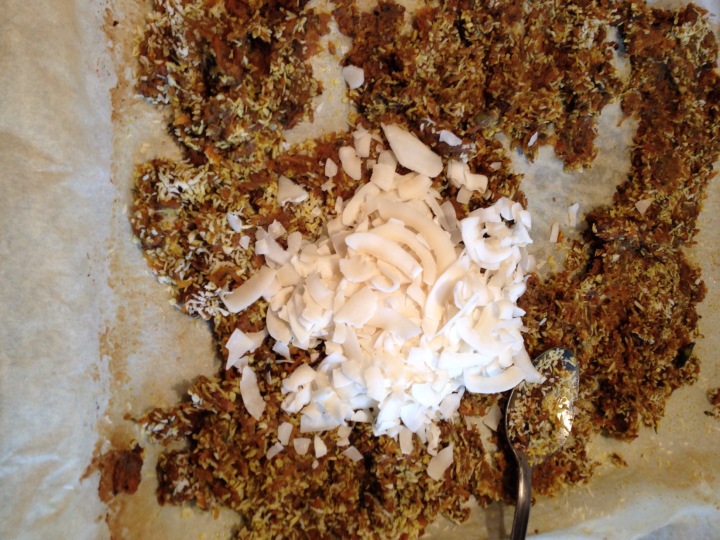
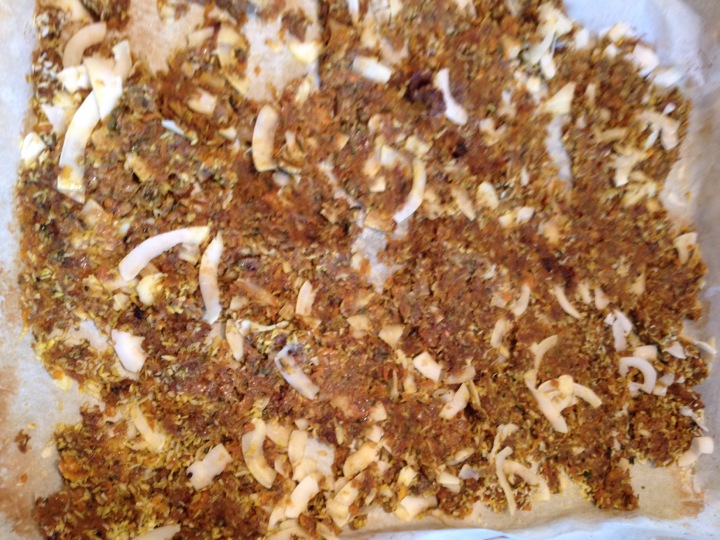
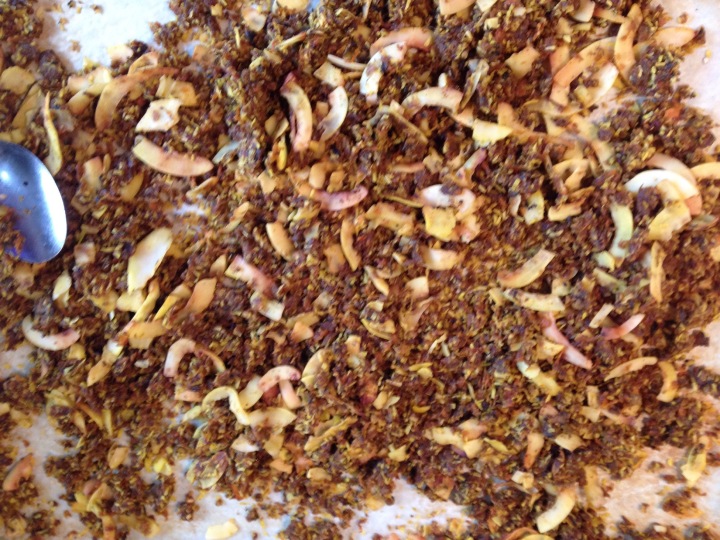 Allow to cool and mix in the nuts. Add some more desiccated coconut if you’re like me and love it.
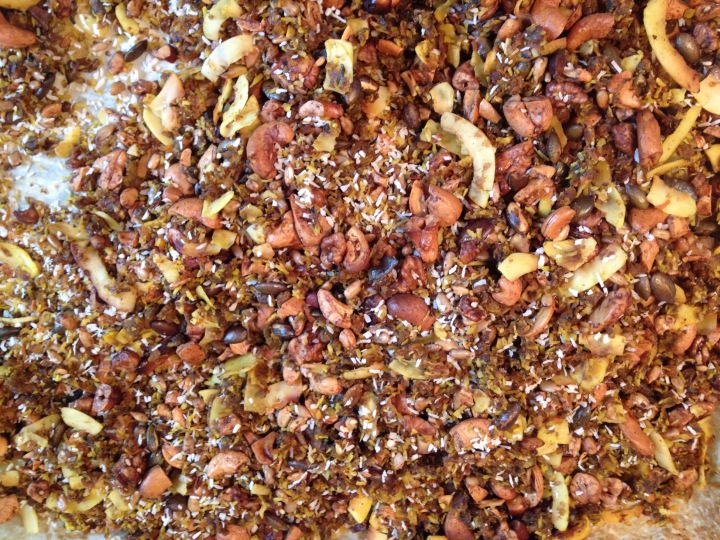 Enjoy! Let me know how you like to eat yours and if any other veggies work well with it.
** Why no mashed ingredients in your first one? Preparing it without mashed ingredients is quicker and easier. It doesn’t form a clump and spreads much easier. There’s also less chance of it burning.
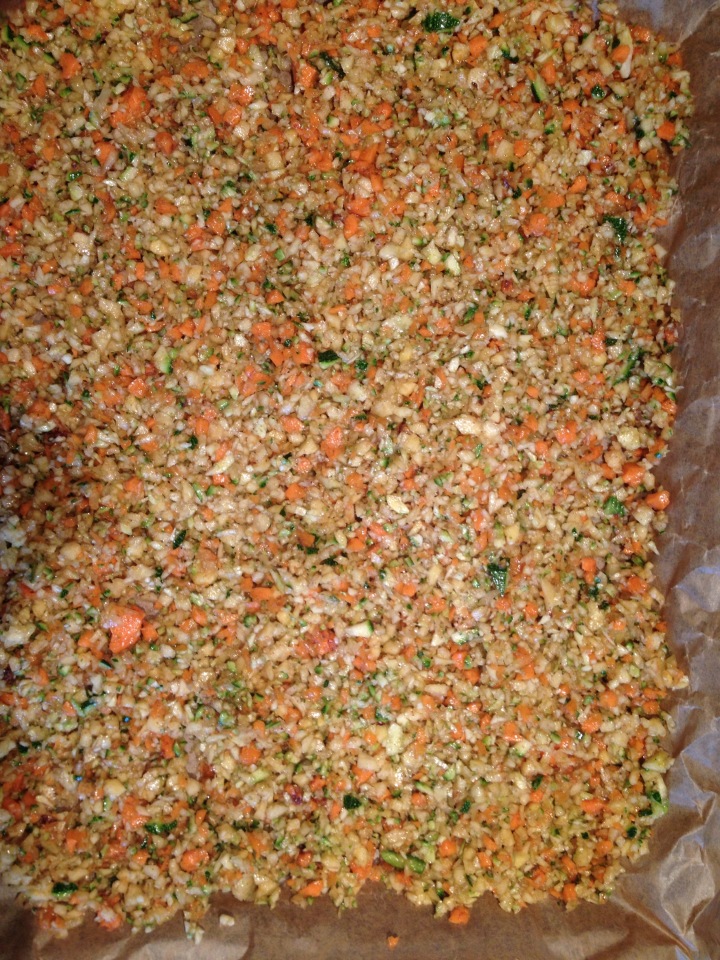
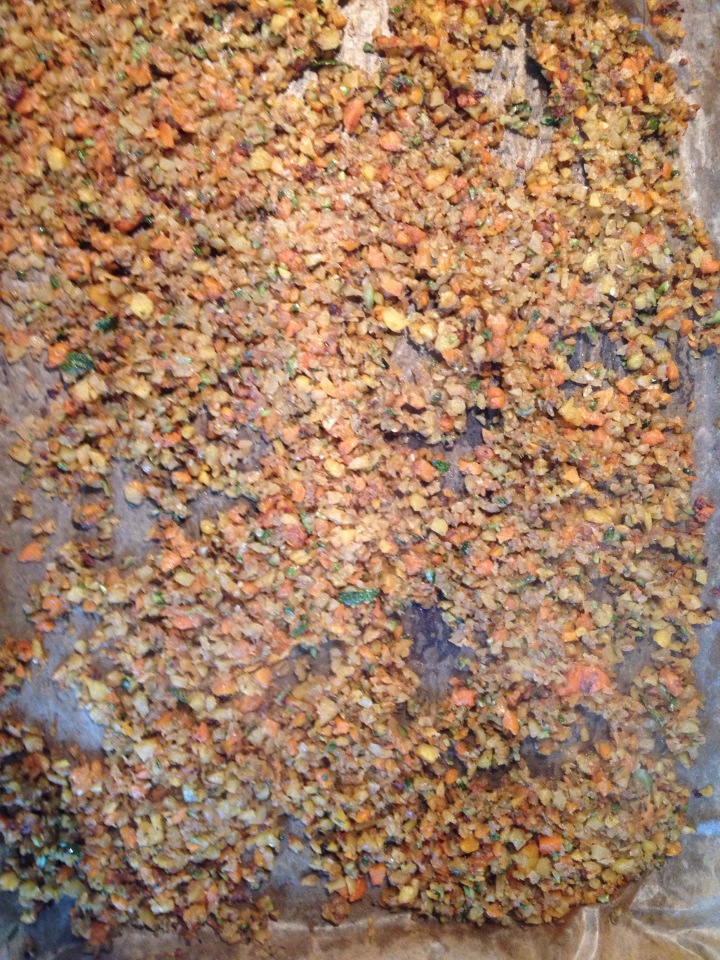
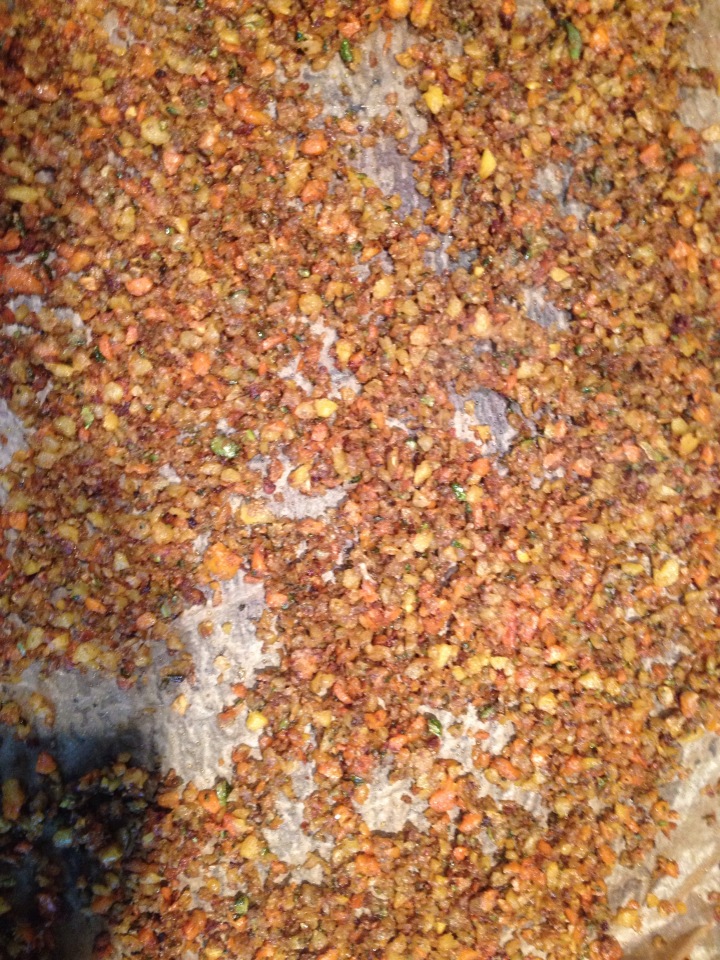
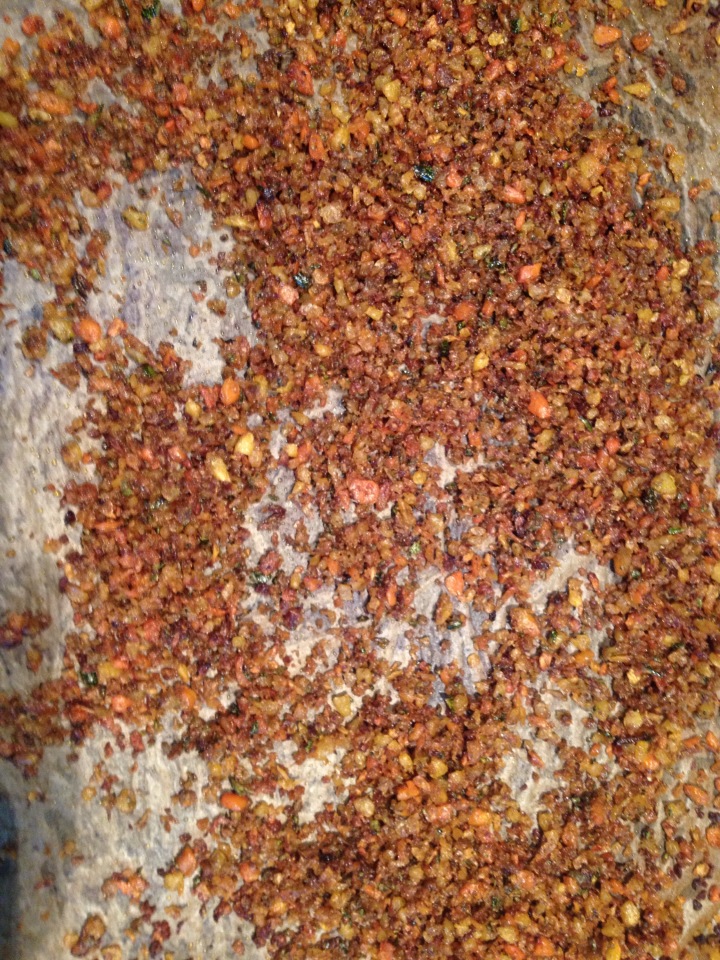
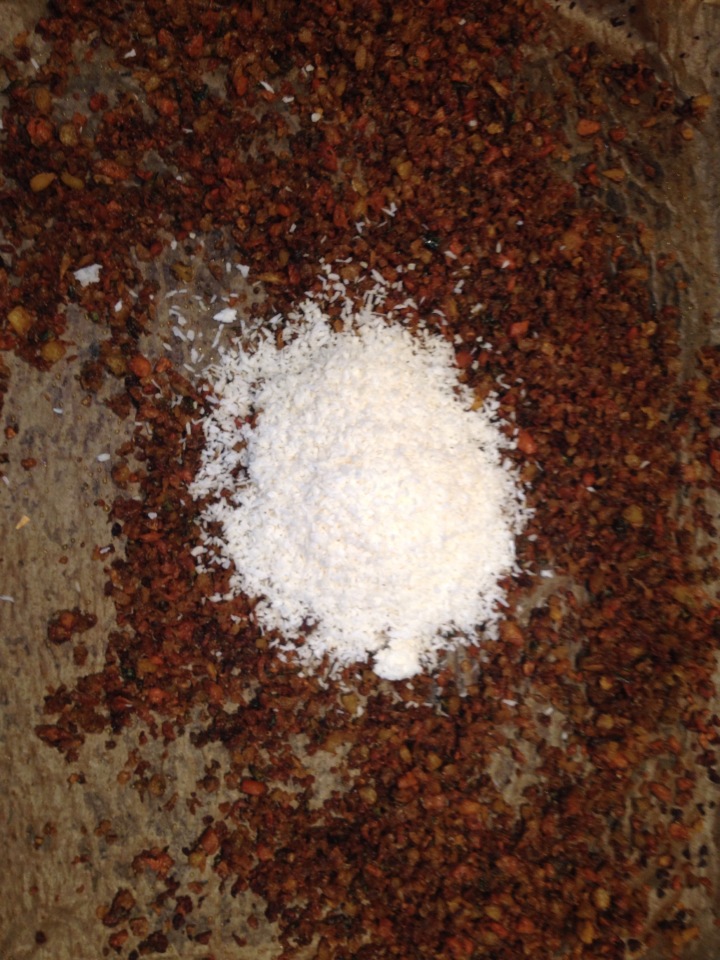 You can add your coconut flakes to your nuts when they have started to brown. Toast the flakes until they are brown and crunchy. Add your desiccated coconut at the end.
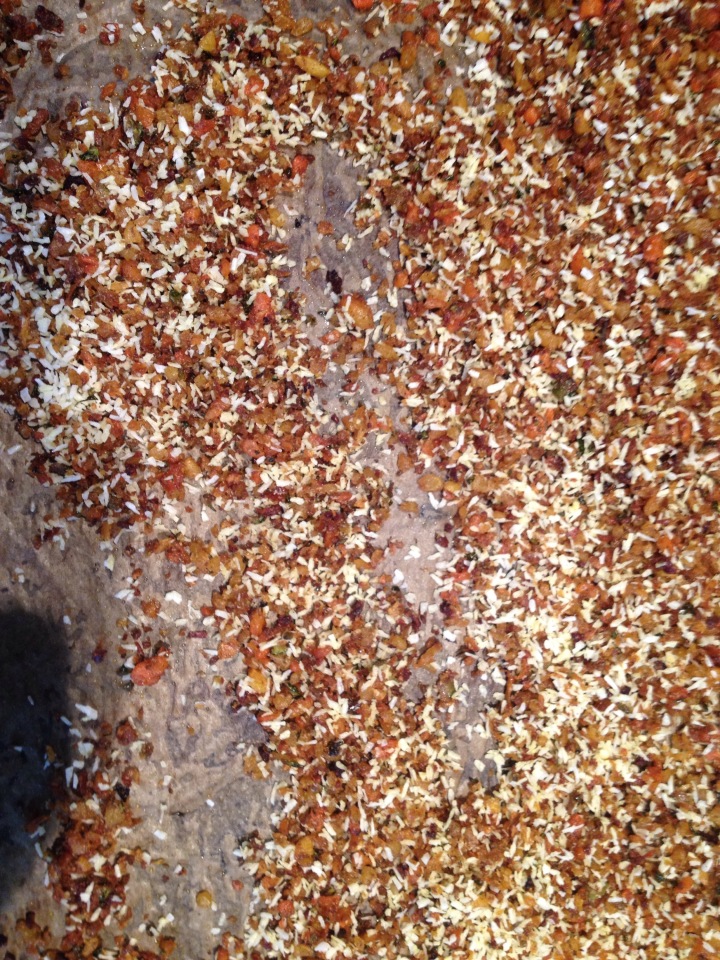
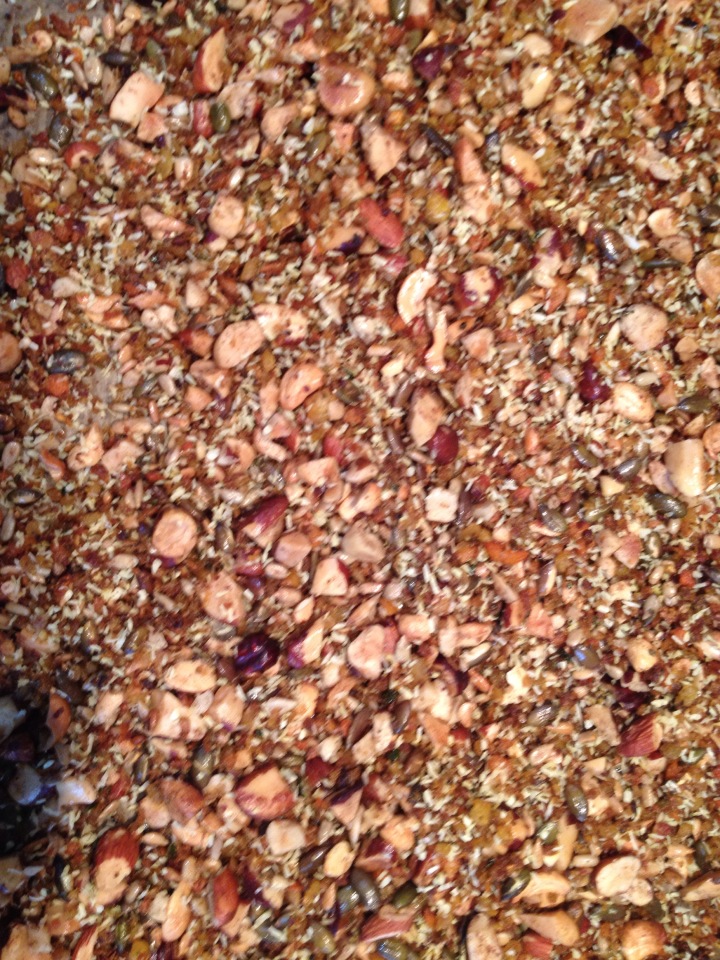
Sadly I had no coconut flakes for this batch. It was half a suede, 1.5 courgette and four carrots. I mixed in mixed spice, cinnamon, salt and oil. I added all spice to the nuts. It turned out great.
Good luck x

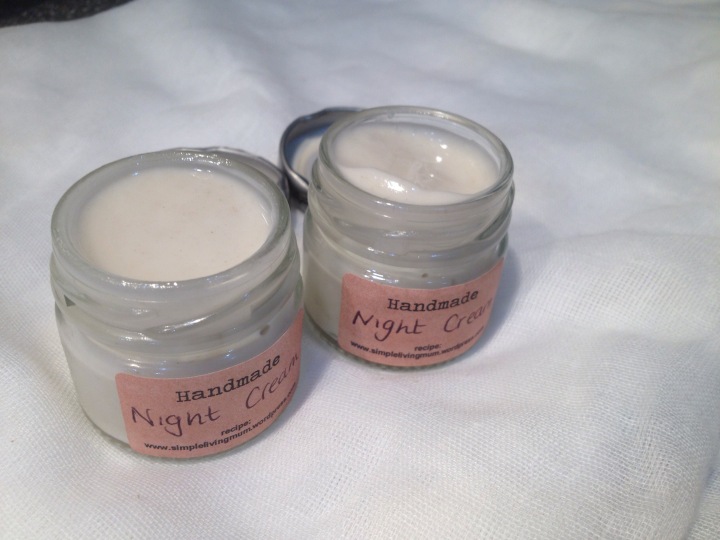 The jars are little jam jars recycled from the hotel I waitress at.


